Epoxy on all your chassis.

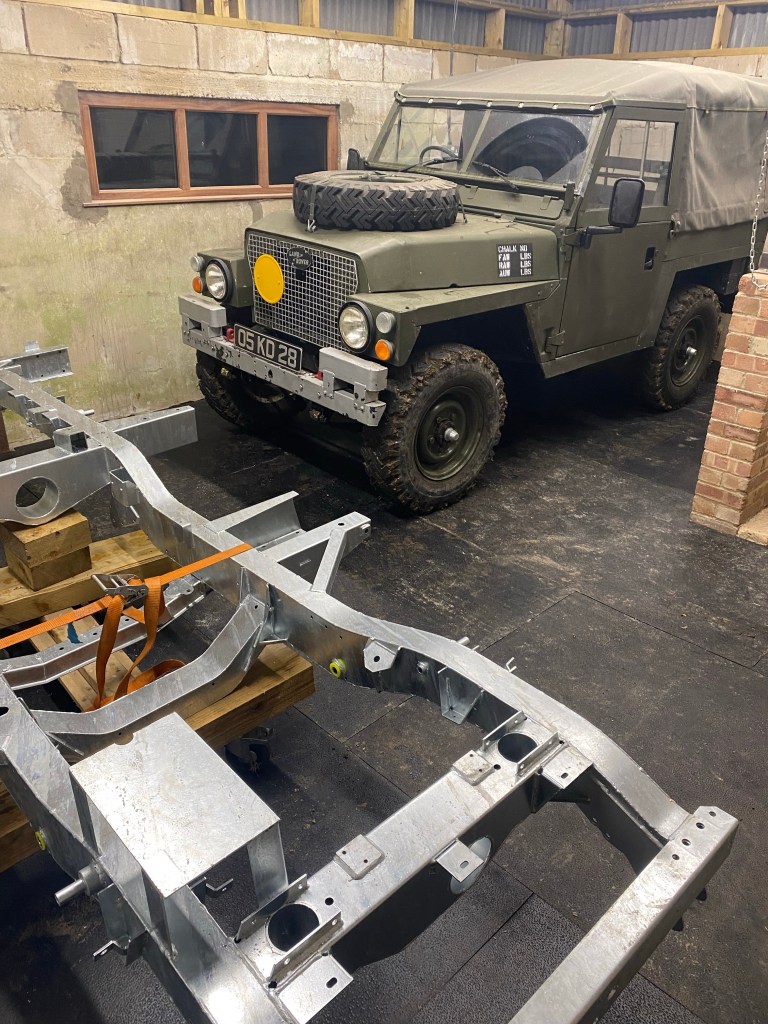
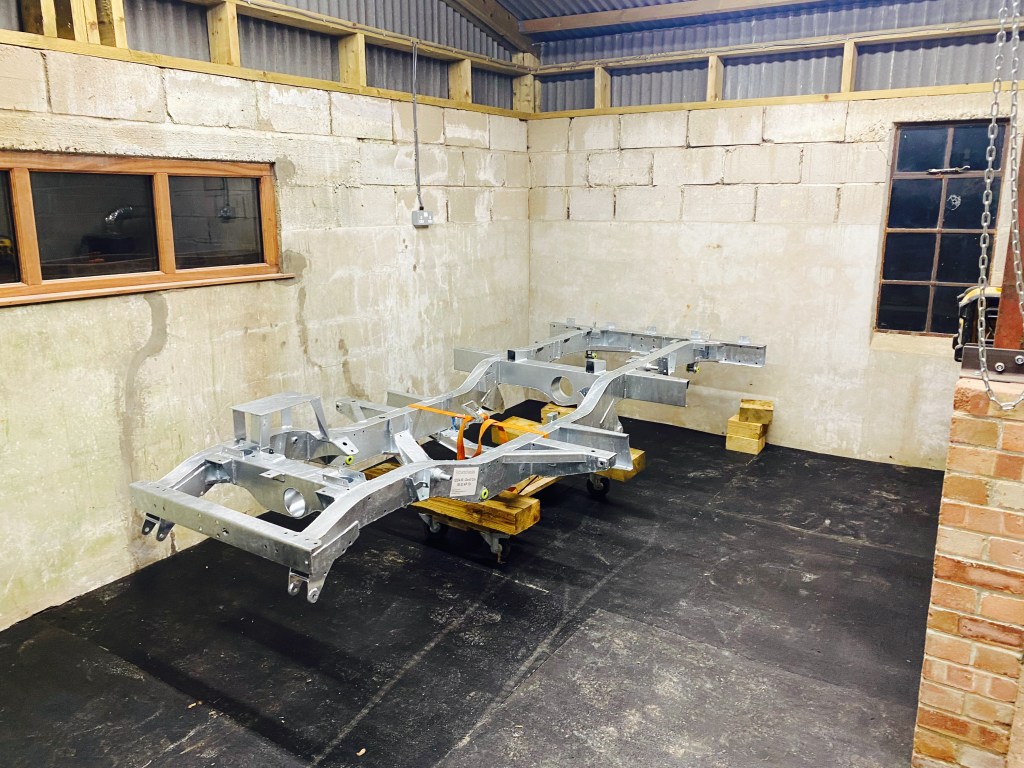
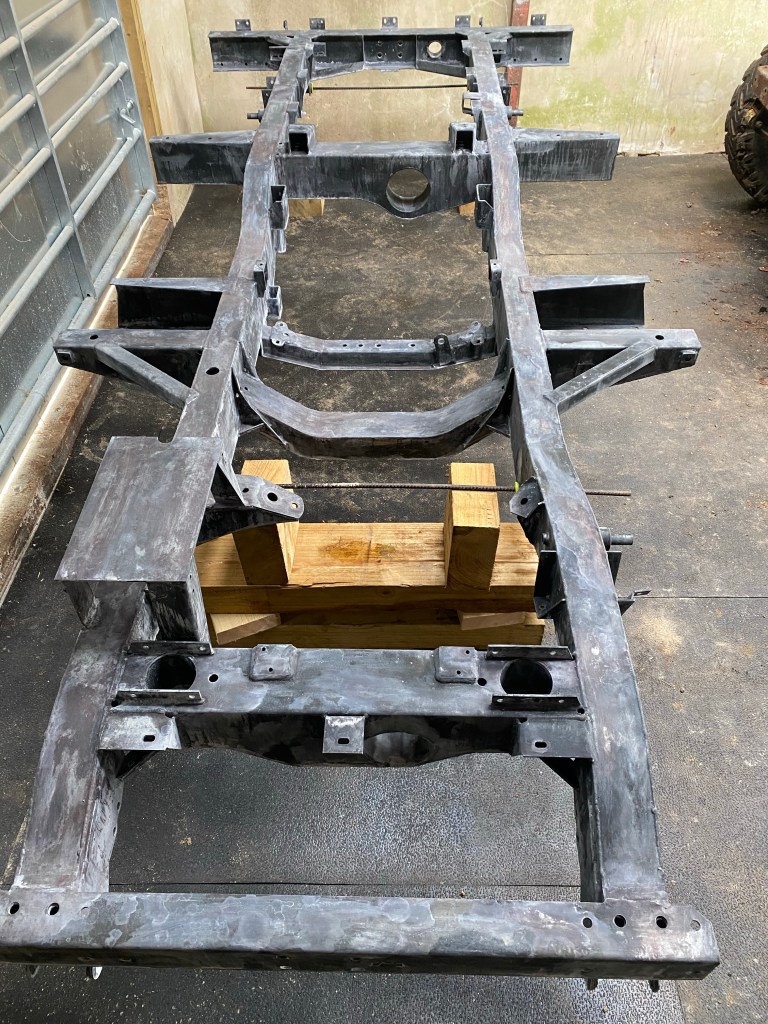
After spending time and money on dulling down my new chassis today was the day to start adding to it. Today was a little cool so I also lit the heater for the first time.

I’m the fire starter (Radio 4 remix).

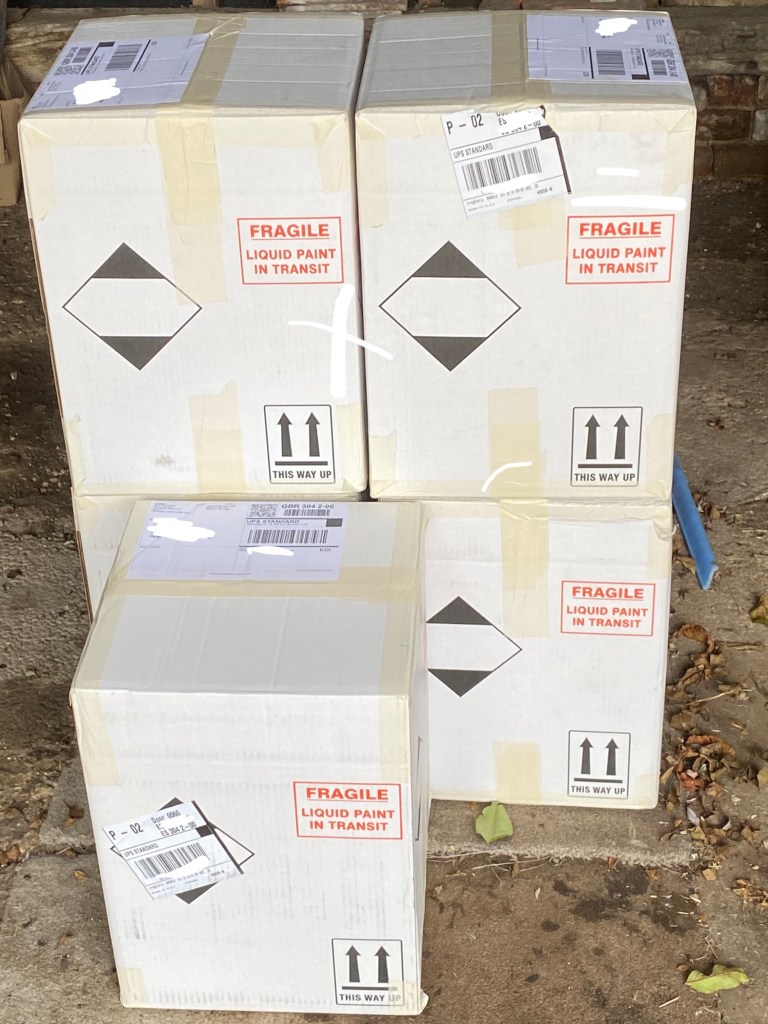
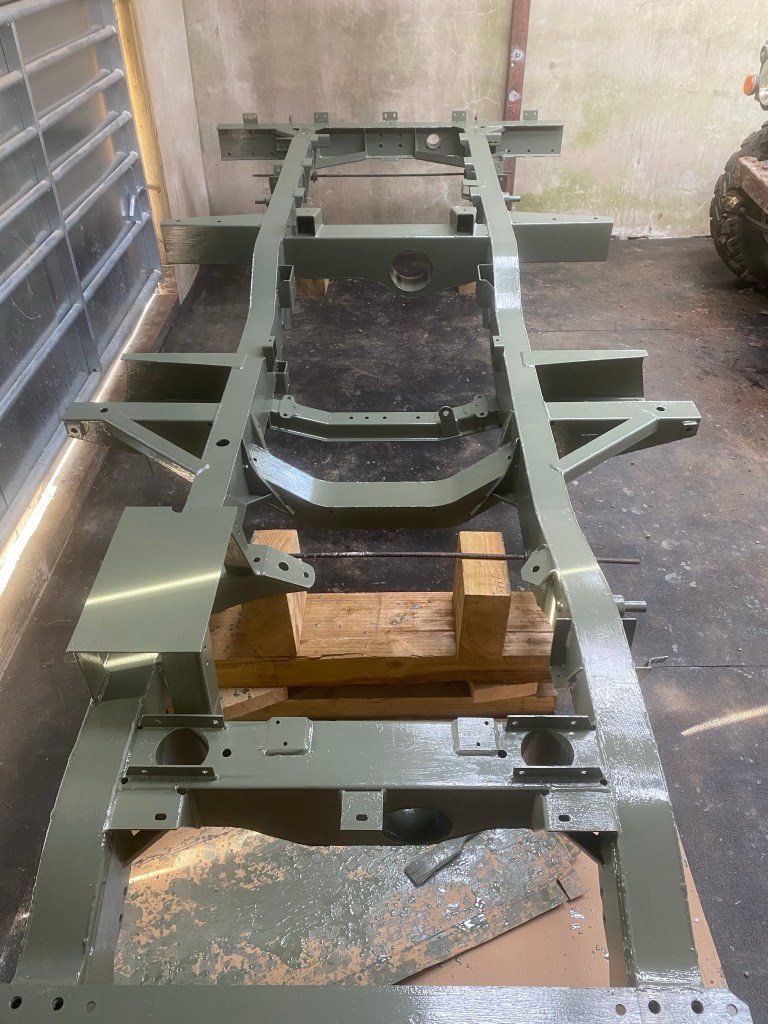
Armed with a 1” brush I set about doing a couple of coats of primer. Actually not too bad to do but it did rather impinge on the time to do anything else. I mixed 550 ml at a time and this kept me within the pot life. I used about 700 ml per coat so I have plenty for the bulkhead when I get to that.

A bit of cribbage to allow full access.
None of this will be seen again

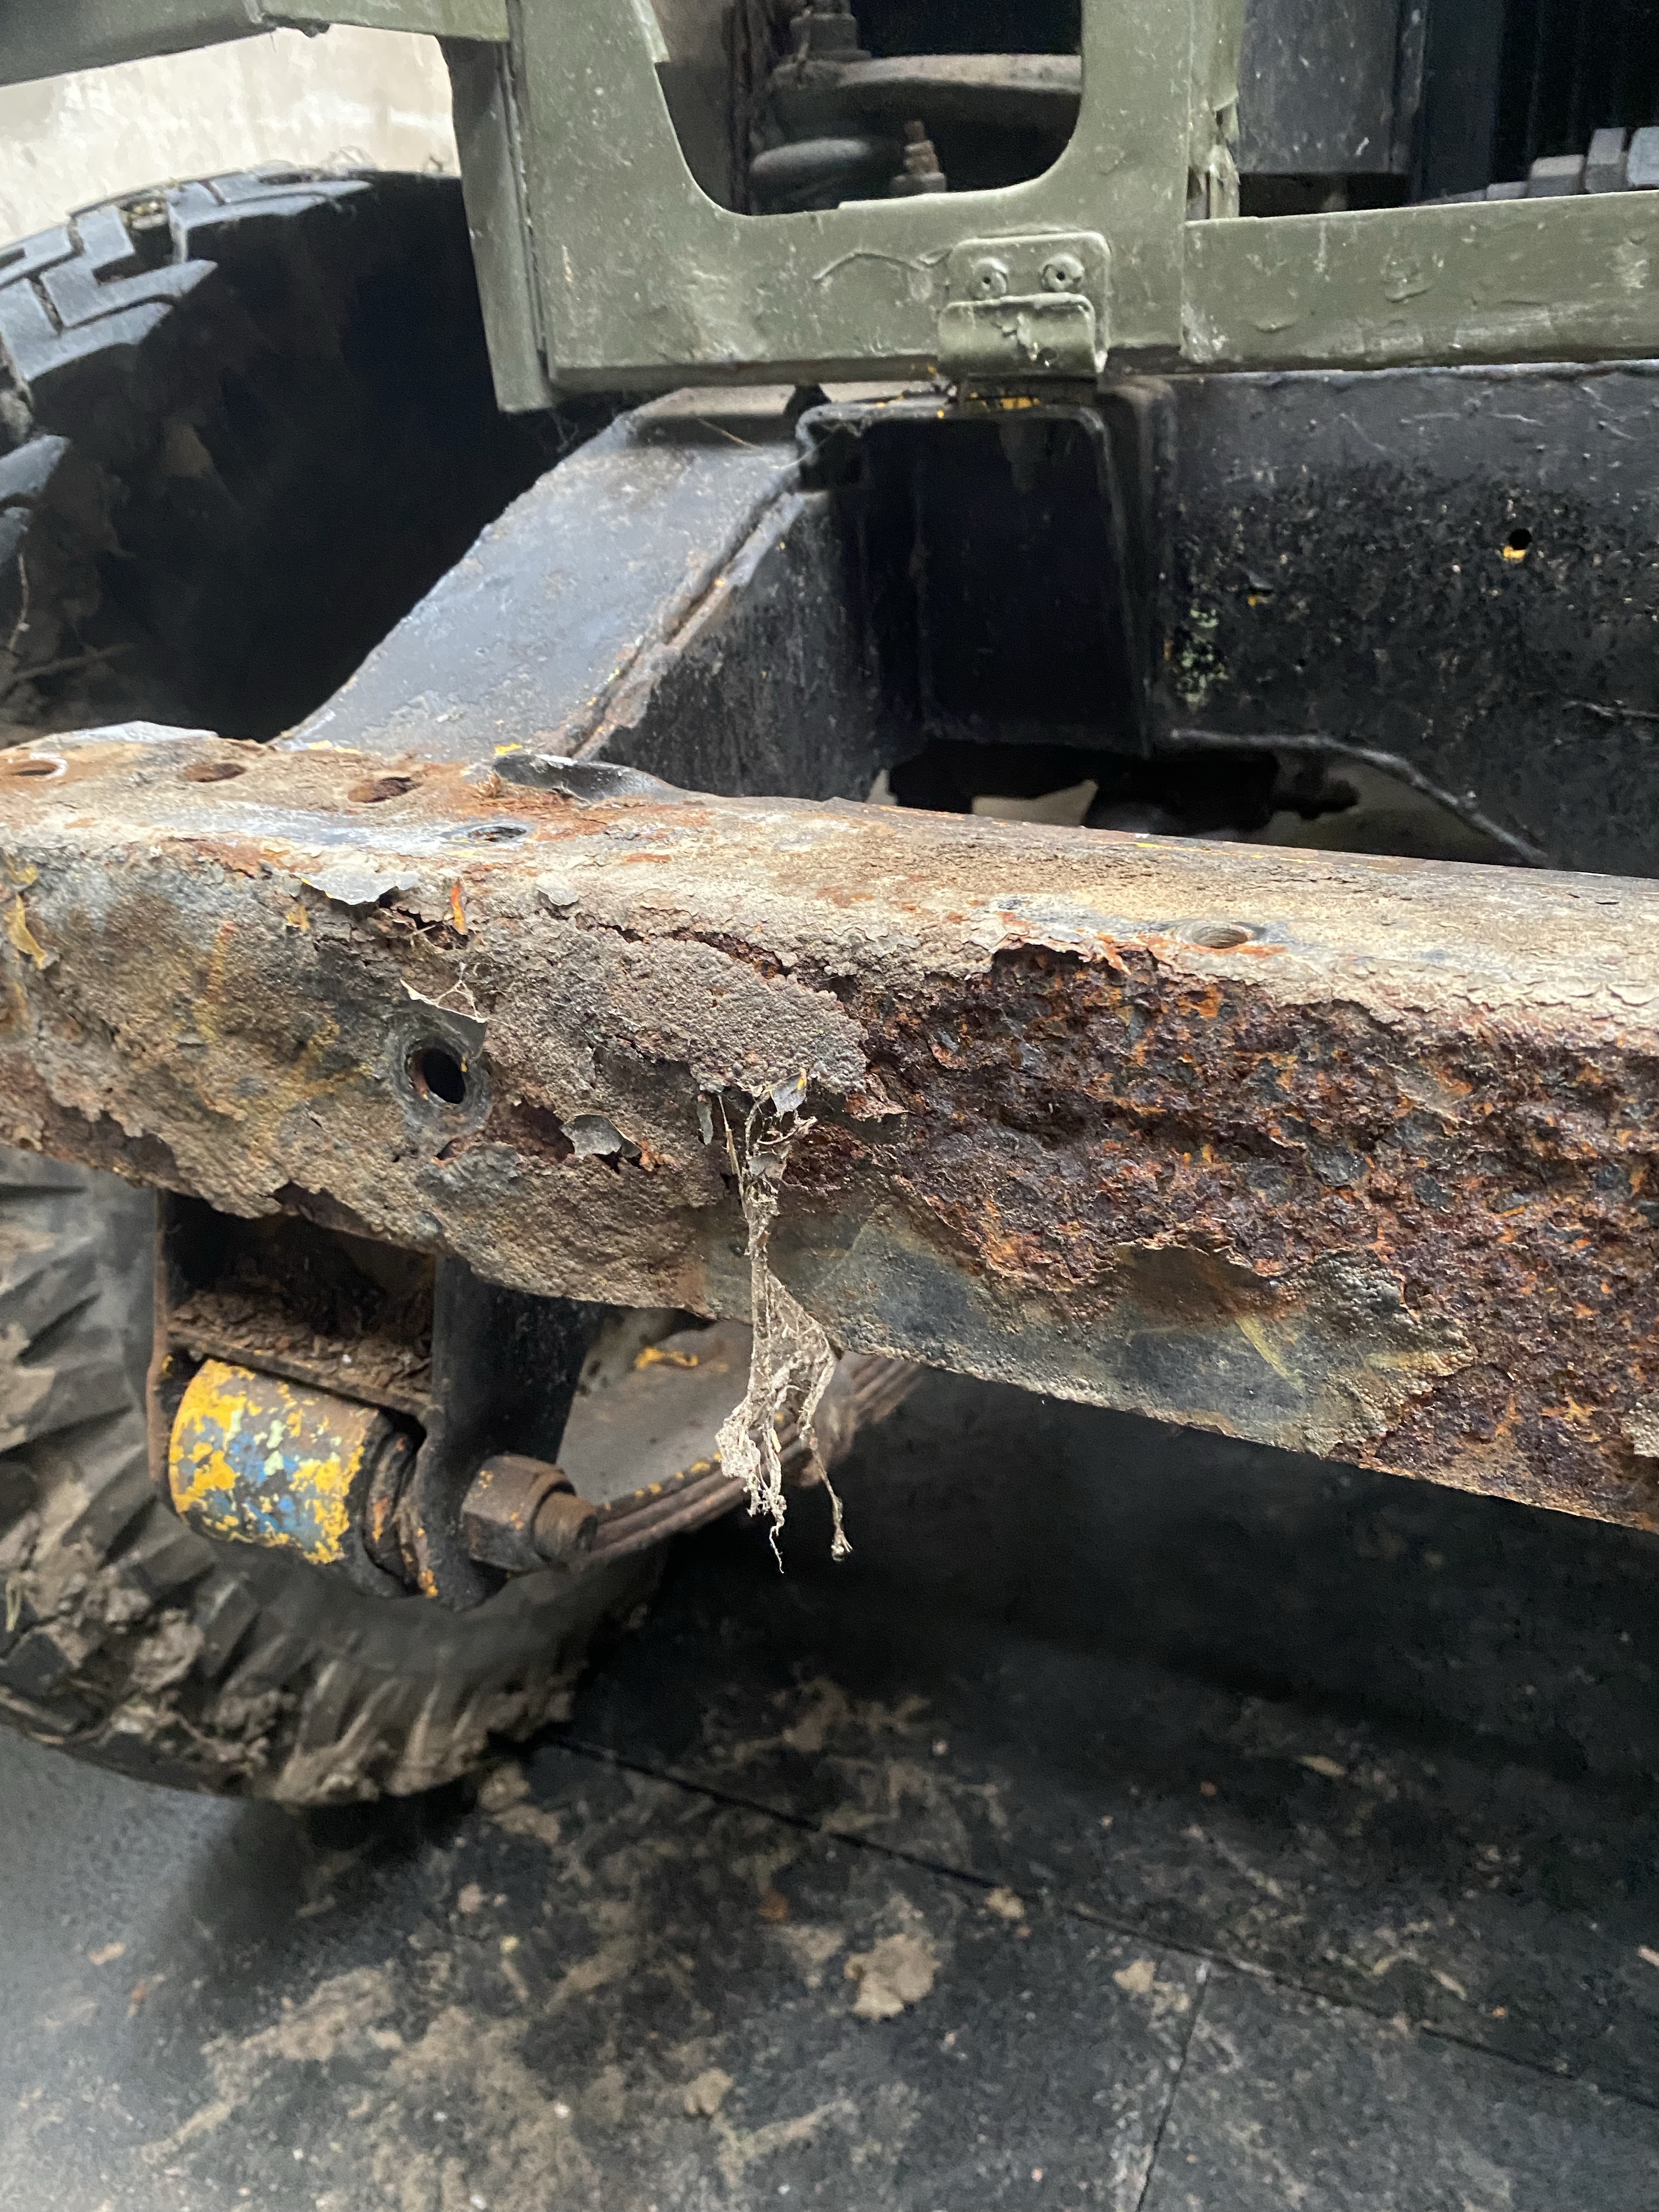
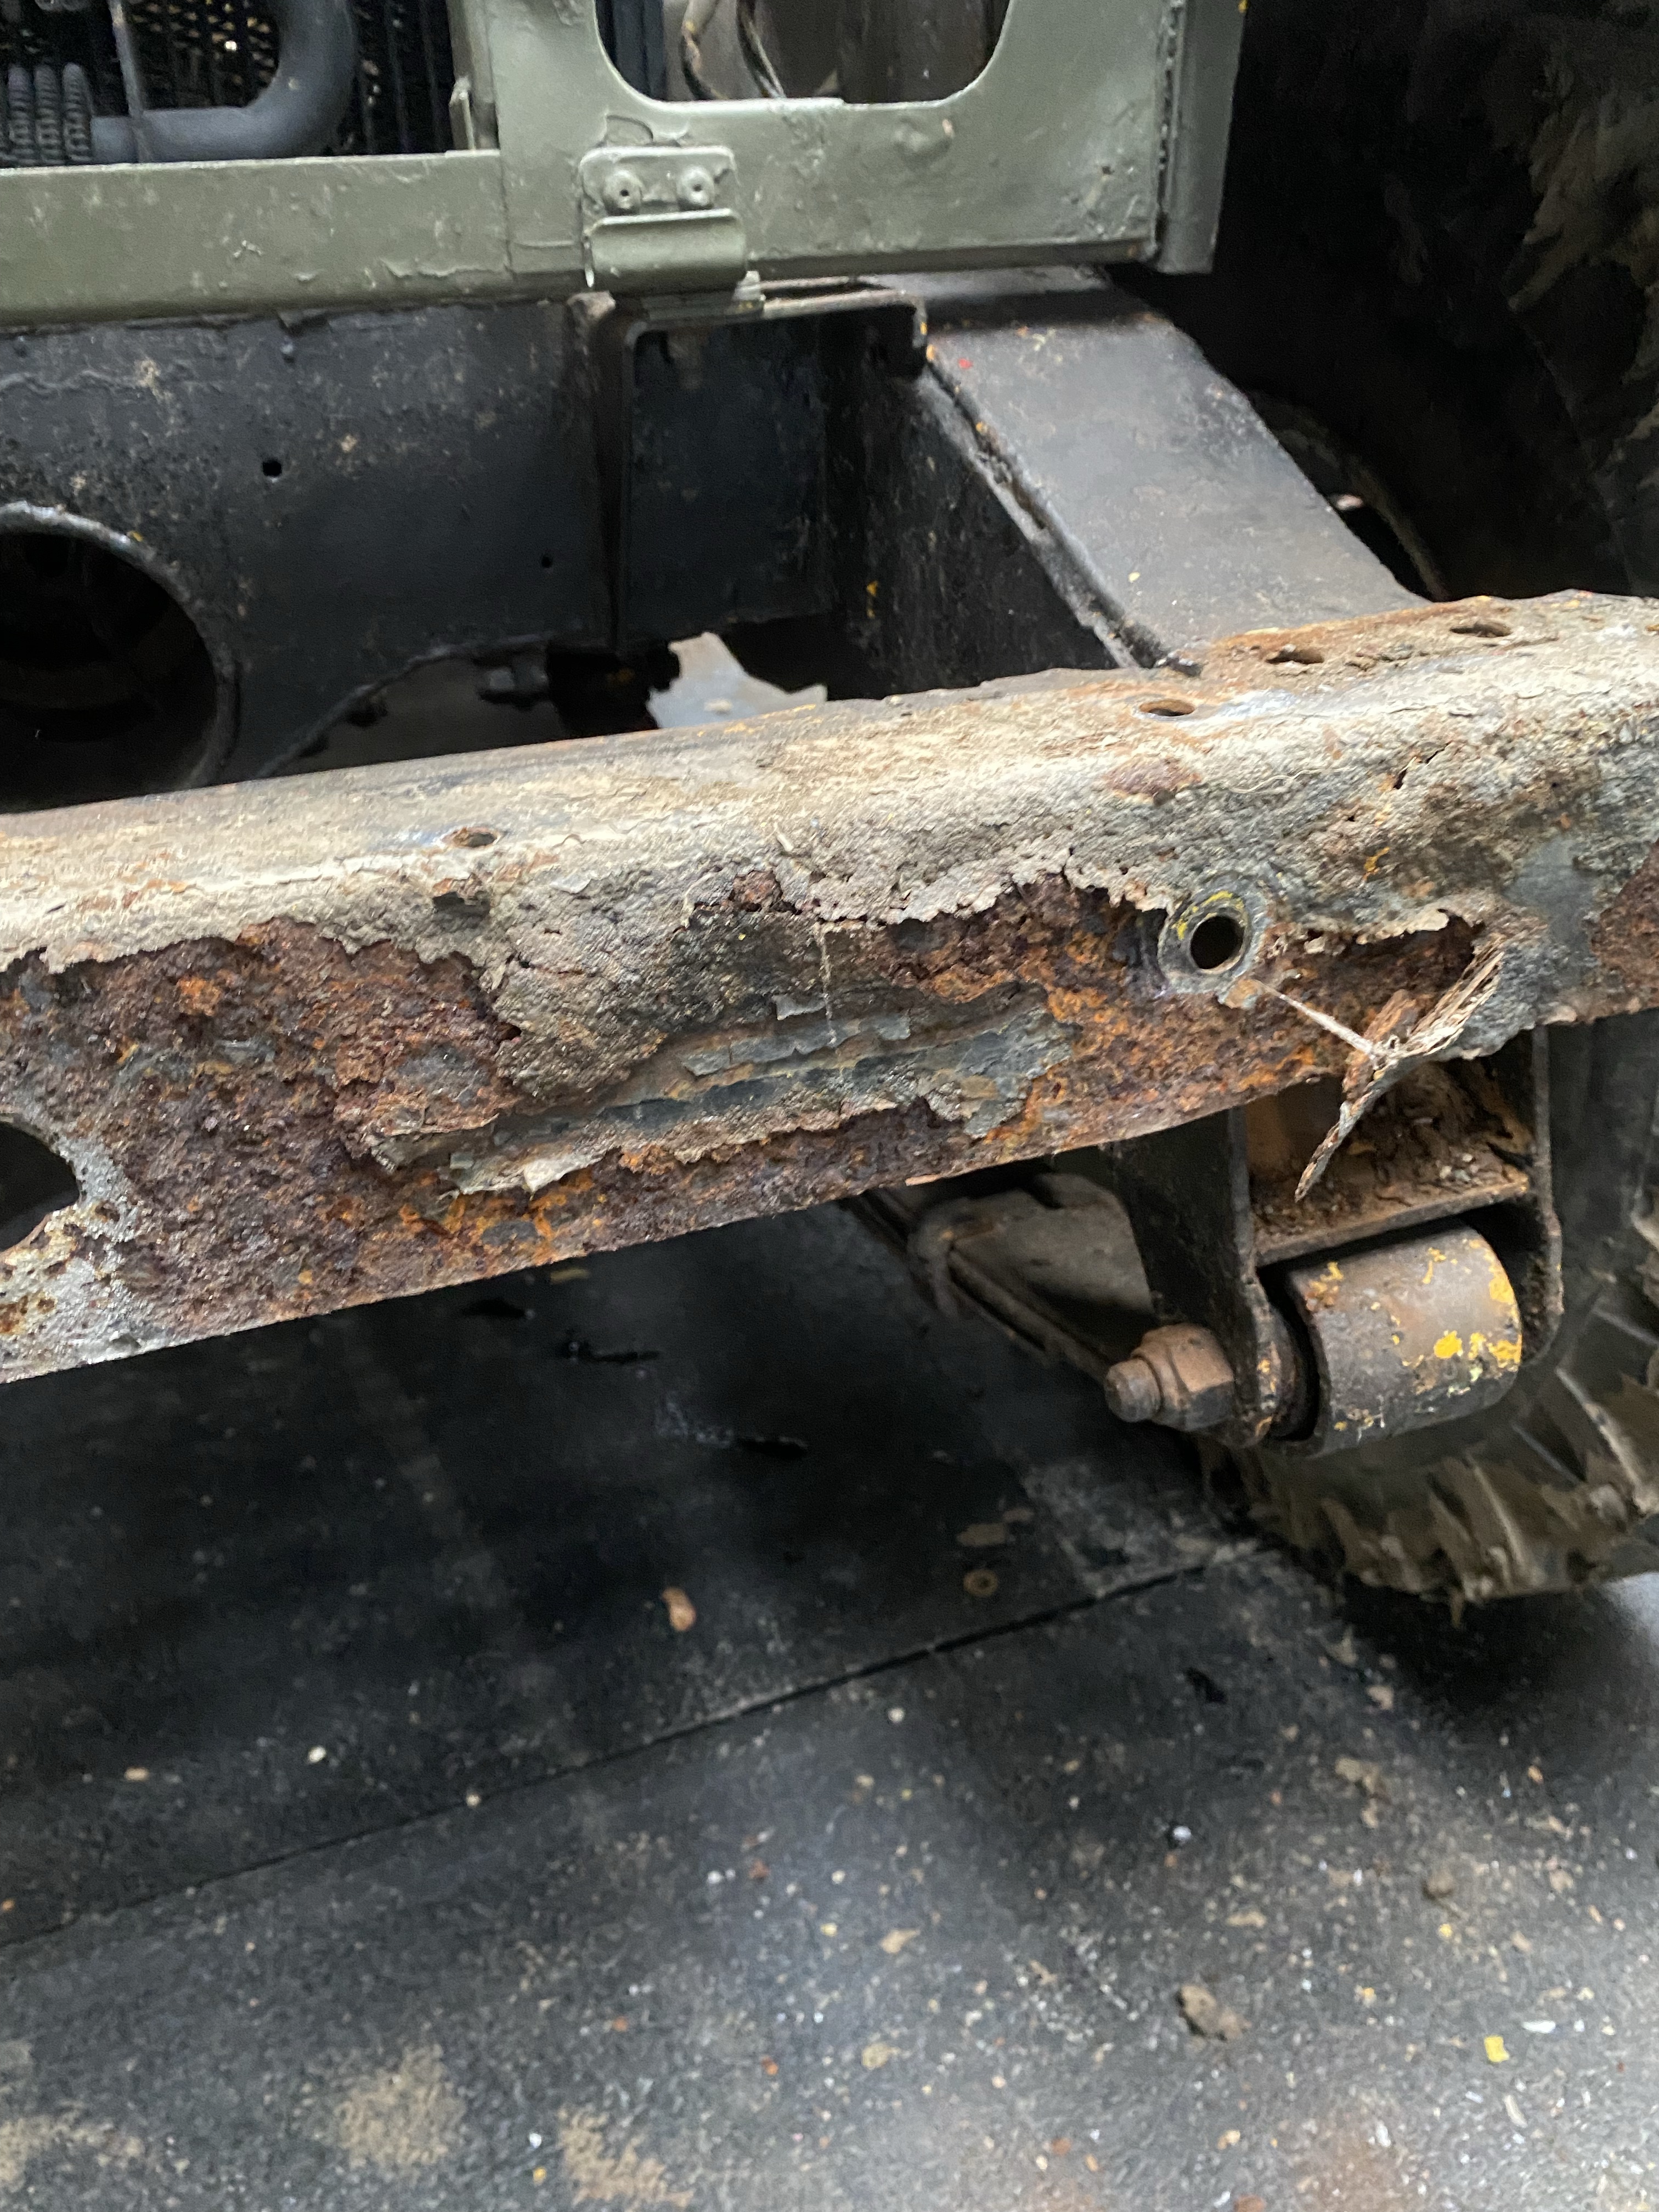
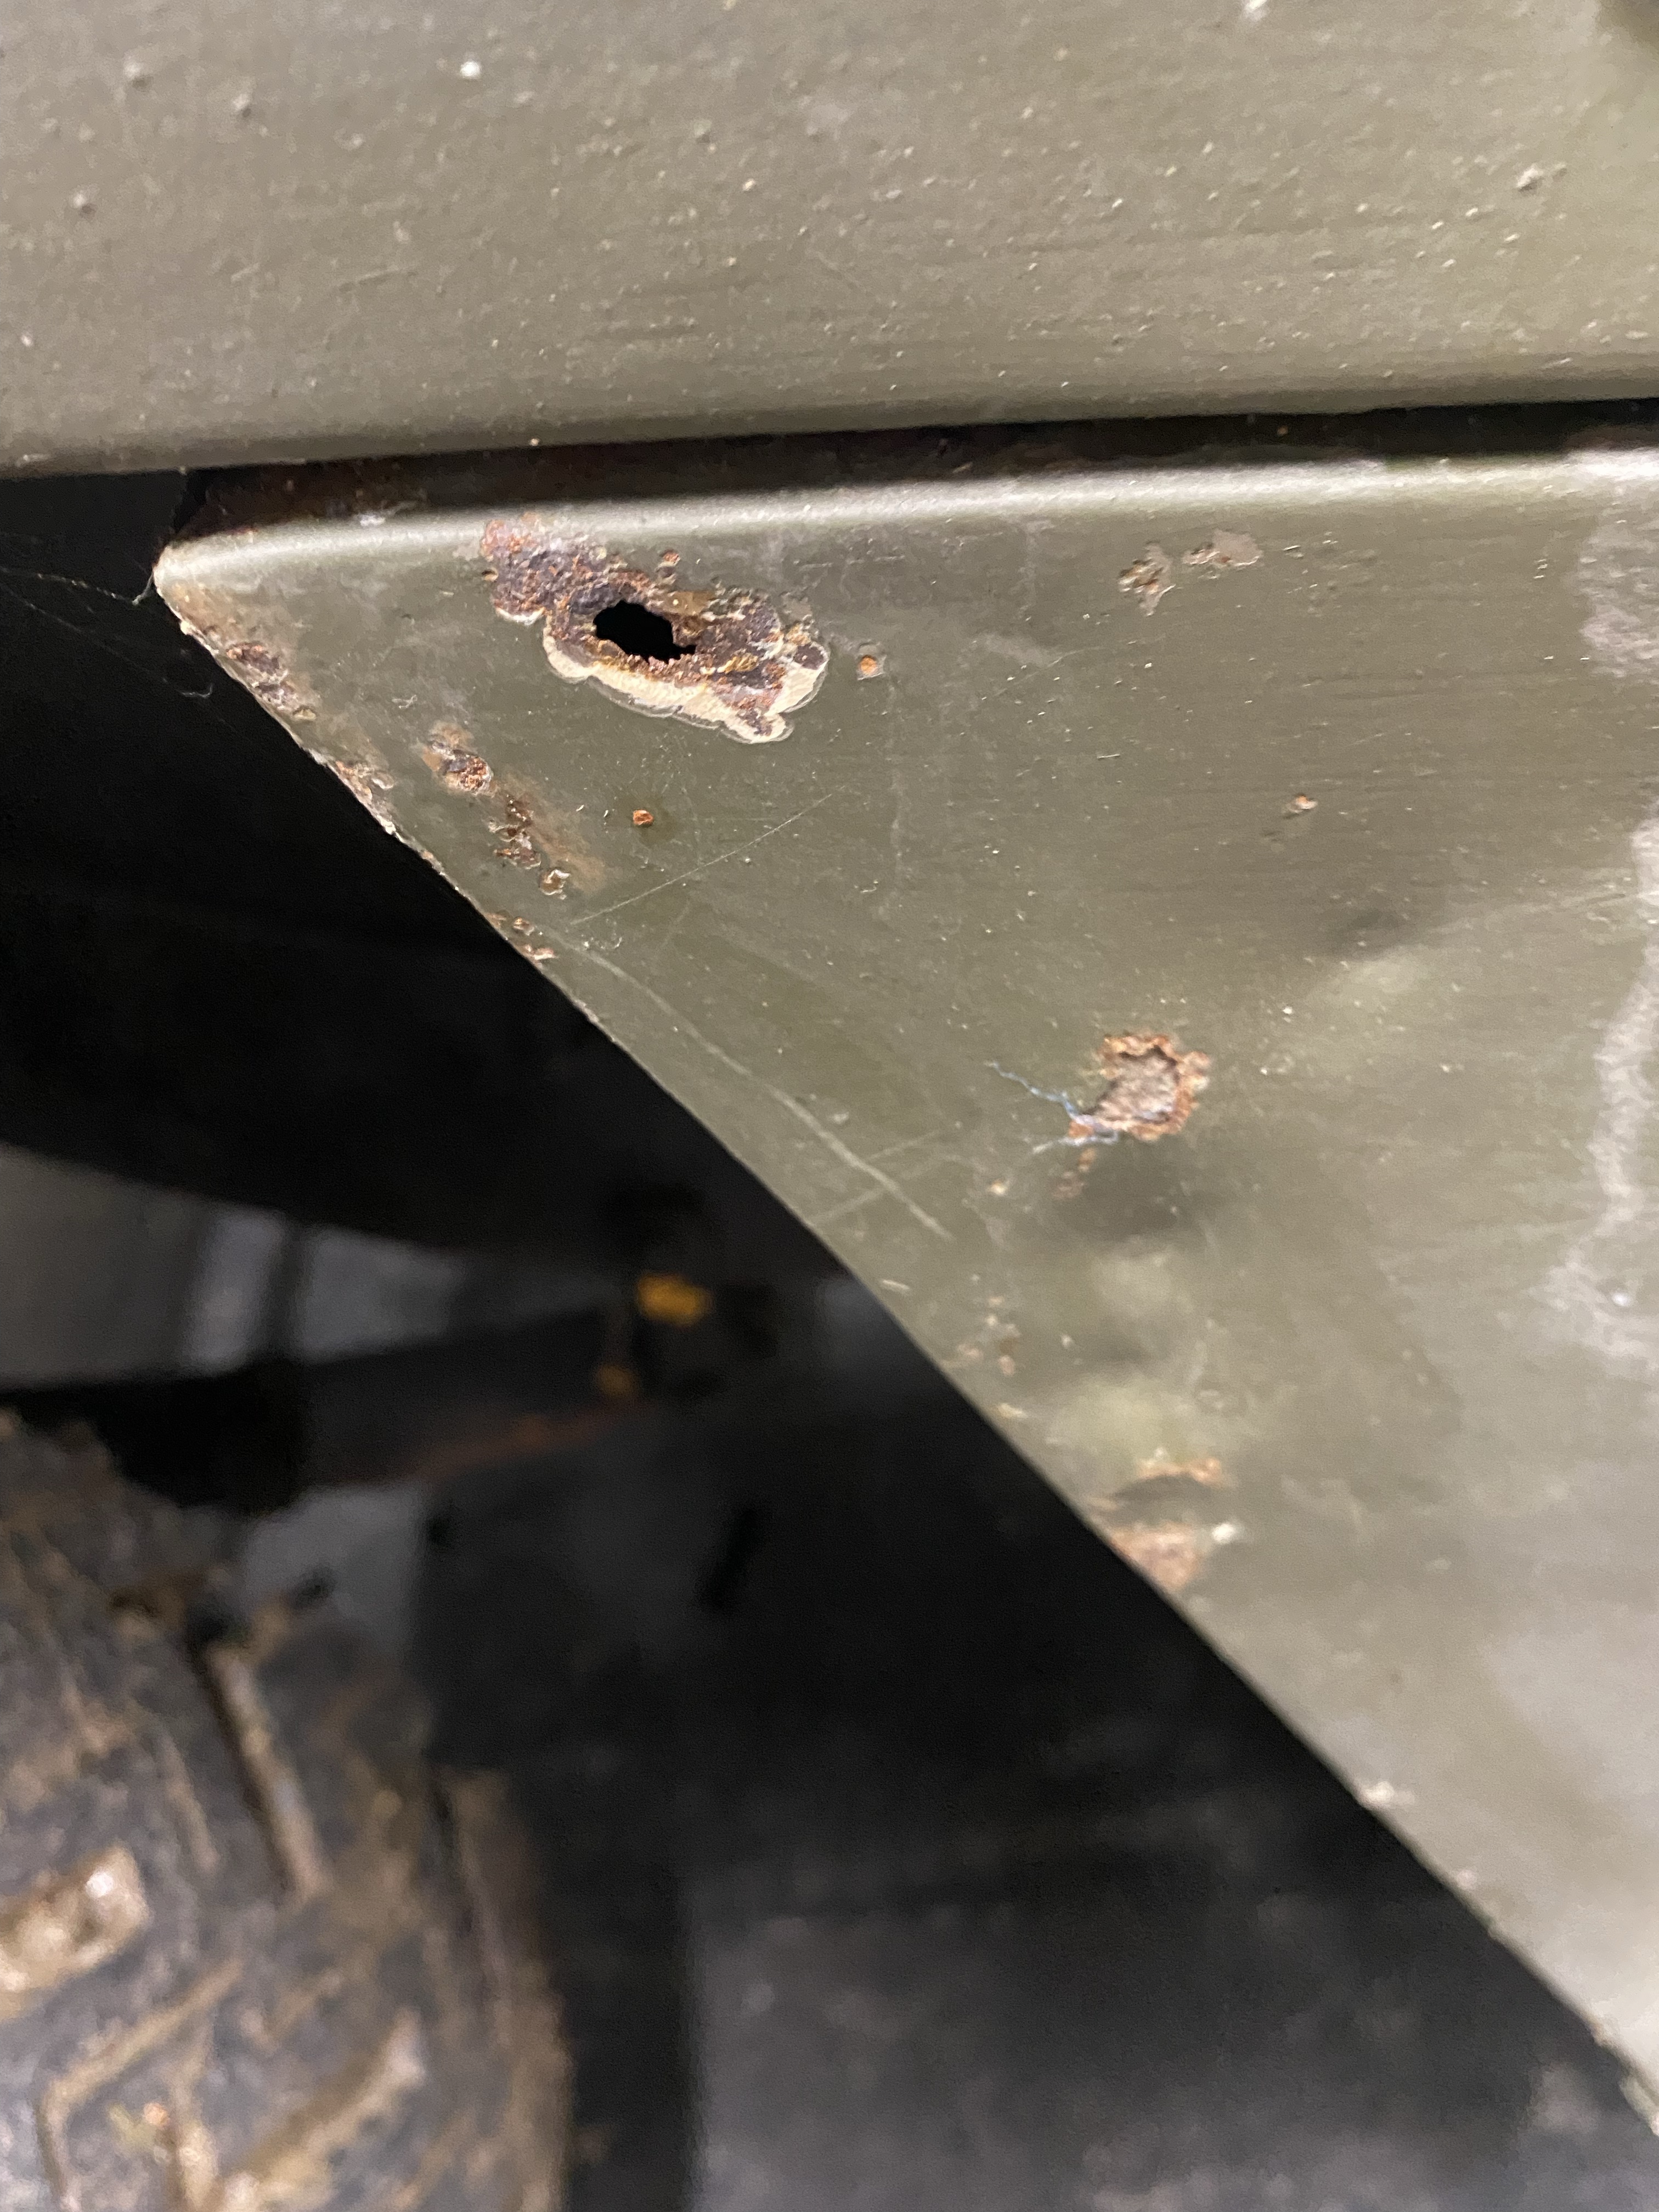
I now have between 24 hrs and 7 days to add the top coat. No pressure. I can see why people advocate leaving the galvanised chassis well alone!

I will shortly add a page listing the suppliers and products used for reference. Absolutely not an endorsement of anyone or anything just who and what I have chosen, not than I am against freebies changing my view!

Floored logic.

In amongst prepping the chassis I also started stripping out the floor panels with a view to removing the seat box. The panels were held down with a variety of fixings and the original mushroom screws were either the easiest to remove or the hardest. The latter required drilling an screw extractor. I didn’t want to risk grinding the floor panels.

Not a huge amount of difference to the normal airflow.

At this point I went straight into removing the transmission tunnel panel. The fittings came out easily, but the panel would not. Logically I needed to remove the heater first. Time to drain the coolant.

Like watching paint dry.

I did also take the heater apart for no particular reason other than I was interested, and it will need a good clean.

The Matrix.

The first coat is the hardest.

If you read any Land Rover related forum you’ll find a thread about the rights and wrongs of painting a chassis. These vary from just slap it on, through having to do it on the third Friday in Capricorn rising and only after sacrificing your first born, to ‘why would you want to damage your brand new chassis?’ I went for the relatively mundane wash down with degreaser and Scotch-Brite, wash down, dry, Mordant T-wash, wash down dry.

Balancing act.

The real fun started with the first brush stroke of Mordant T-wash – this man is not for turning but the chassis was now turning black.

That’s taken the shine of things.

Tomorrow is priming day. Epoxy primer tinted golden yellow. I hope I like the colour!

A bumper crop of rust.

After spending time at the back of 05 KD 28 I thought I would set to work on the front. The grille came off easily. I decided that the radiator panel would wait until i have drained the fluids and so it was time to remove the bumper. This was as some might say ‘a right bugger’. Mr Impact Gun and Mr Angle Grinder provided much needed muscle.

With all this stripping down and fighting nuts it was heartening to receive something to put on.

I see a green door and I want to paint it yellow.

A good soak in the tub.

The easy bits have now been done and I am moving onto the nuts and bolts that are subjected to road spray (which is the vast majority of 05 KD 28). Attempt to remove seat belt mount / gun rack will have to be finished when tub is removed.

Time for the big guns.
Not sure how that got so corroded.

You may notice that the bench seats are removed here. Almost certainly retrofitted, they were not quite in the same position relative to the rear splash guards. Why does this matter? Because it means that one seat bolt is behind said panel. Solution: remove the panel with little bit of a James Herriot impression.

The hidden nut.

Whilst at it I also took off the near side splash guard. This revealed some accident damage that had been covered up with filler.

Time to play snap.

Round 2 of the strip down was to remove the vent panel. There are a grand total of seven bolts and a piece of foam stuck between it and the bulkhead. So seven bolts? About seven minutes until tea and medals?

Not a bolt from the blue…
Slightly better. More on the chequer plate later.

By this point four of the seven bolts are out without having to resort to anything beyond socket and spanner. Time to start thinking about my tea ….

The first of the many expletives this project will elicit was uttered.
Snap!

Fortunately the middle, the final, bolt came away from the captive but intact. So onto the process of extracting the broken halves of the other two.

Tapping the 5/16 threads. All good now.

The actual vent panel did not disintegrate which is a plus. It will need some TLC with the welder and some new steel.

Now back to the chequer plate. I have been aware of it since owning 05 KD 28 and it seemed a way to cover the apertures for pedals if it had been LHD and strengthen where tool box is fitted. All good but it looks absolutely rubbish so that has gone into the scrap pile.

Time to chequer out.

Sticks and hoods won’t break my bones.

Day 1. Let the stripping commence! I started the dissection of 05 KD 28 with removal of the spare wheel, then the bonnet, then doors and the tilt sticks and all, and finally the wind screen. Straightforward stuff so far!

Earth strap previously cut by others sped up bonnet removal
Fixings that only beelzebub has the right size screw driver for.
Ready for open top driving.

Sticks and most of the galvanised parts have been painted (badly) in NATO green and in some cases over painted with silver paint – most annoyingly this includes the fly screens.

No flies on you if you notice the wiper system and vent flaps have been removed.

Plan for later is to remove the vent panel. This is likely to be less straight forward.

It’s all yellow. Well it was.

If you were to read the History of 05 KD 28 you’ll see that the MERLIN record has it as NATO IRR Green. Paperwork suggests a respray for the first civilian owner. I am convinced that it was yellow, and when I say yellow I mean it was all yellow. Painted in the chassis military style with a yard broom dipped in paint. Here’s some of the evidence.

Now the big question is which yellow? Seems the consensus is BS 356 Golden Yellow or ‘any yellow that was lying around’. So I think I’ll go with BS!

We’re going to need a bigger shed.

Righto. 05 KD 28 is now bunking with the younger model. Hopefully they will get on.

Cosy.

The old chassis was starting to show its age. I made the cardinal sin of washing the make up off the old girl and that is what put me on this path. Amongst the numerous holes easily plugged with a spot of weld was the impending doom on the rear cross member.

Wafer thin and not mint.

Well the chassis is toast anyway so onto the bits I’ll keep. At this point of the project it is probably all to easy to think that all will come off one chassis and onto the next quickly and easily. There is trouble ahead. Lots of trouble. The rogues gallery below gives a taster …..

Shiny! Happy People (well me).

The chassis has arrived and now the small challenge of getting it from the delivery point to the workshop.

What could possibly go wrong?

I was thinking I would be awash with space, but the chassis does take up more room than o thought! I am lucky I have space for old and new under cover but it is a tad tighter than ideal. No matter chassis is in and on dolly I made for the Sankey trailer axle.

Bare Naked Landy

Next stop to get 05 KD 28 SORN and into the workshop. Must remember some cardboard for her to drip on!