It has been looming over me.

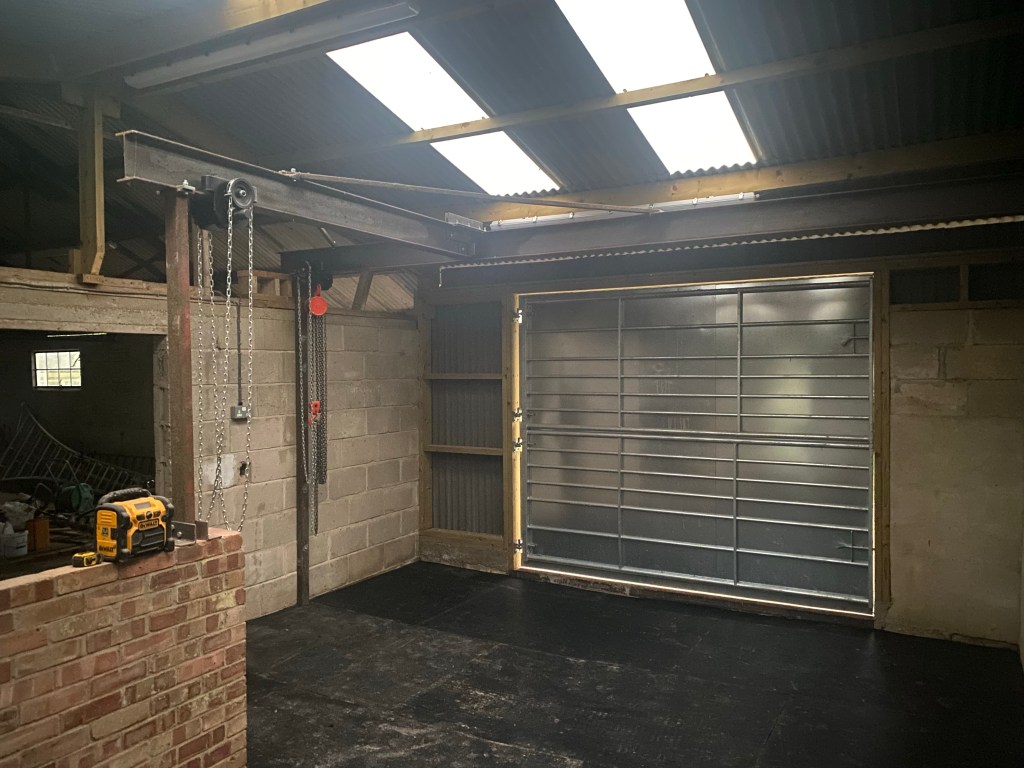
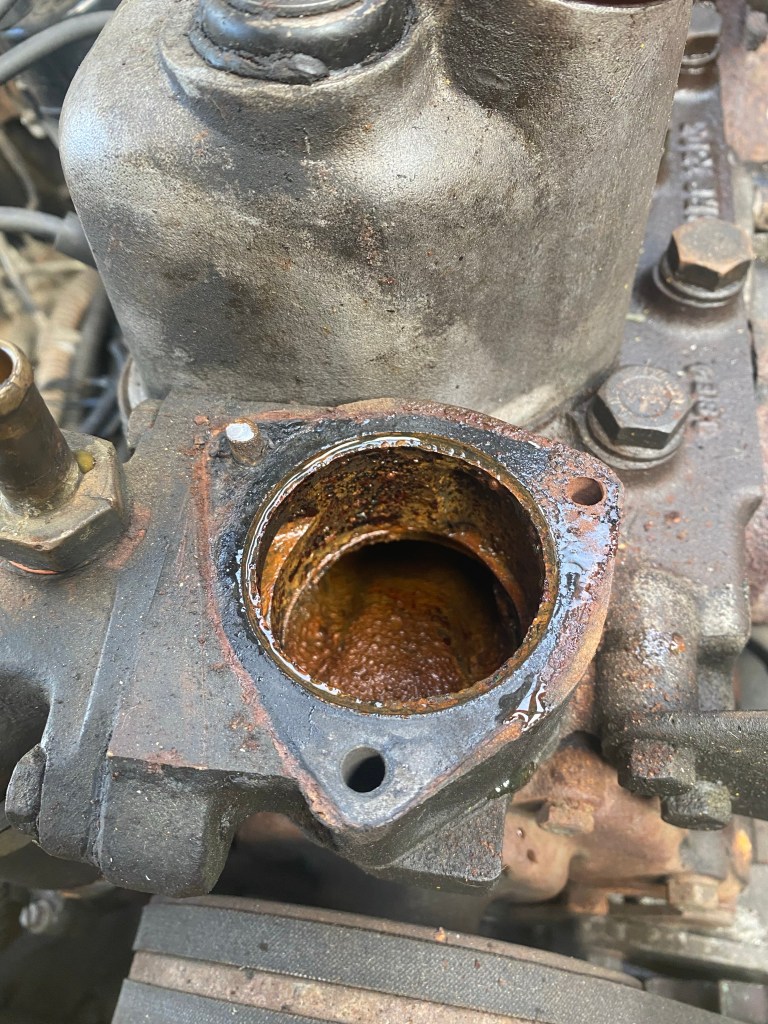
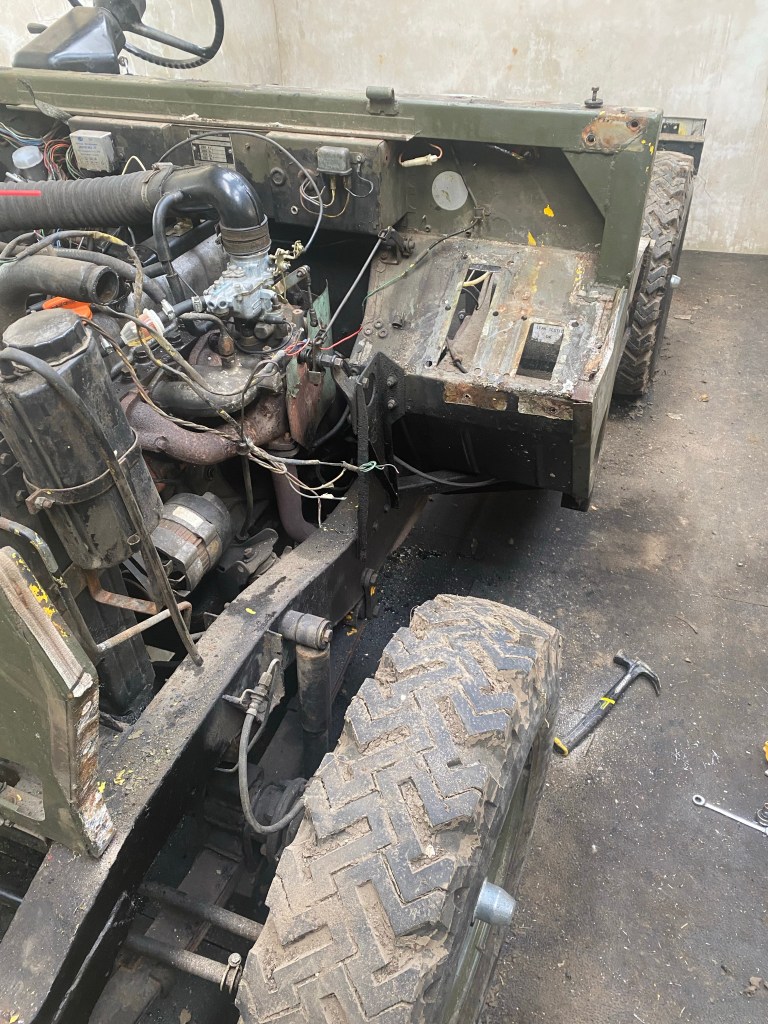
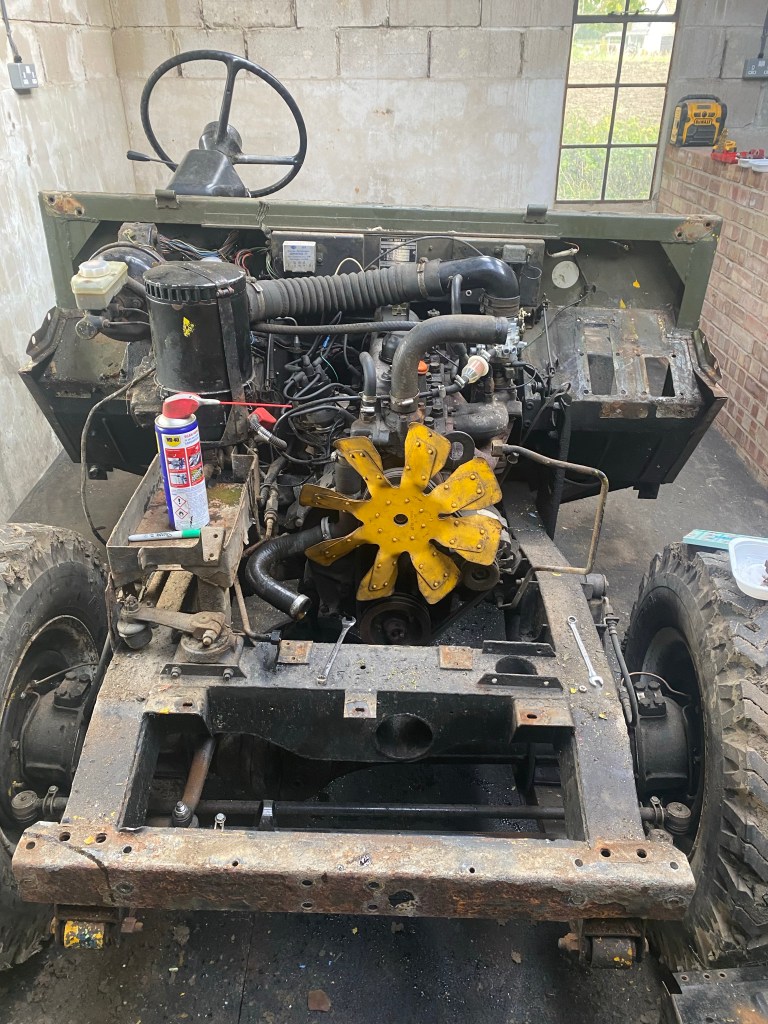
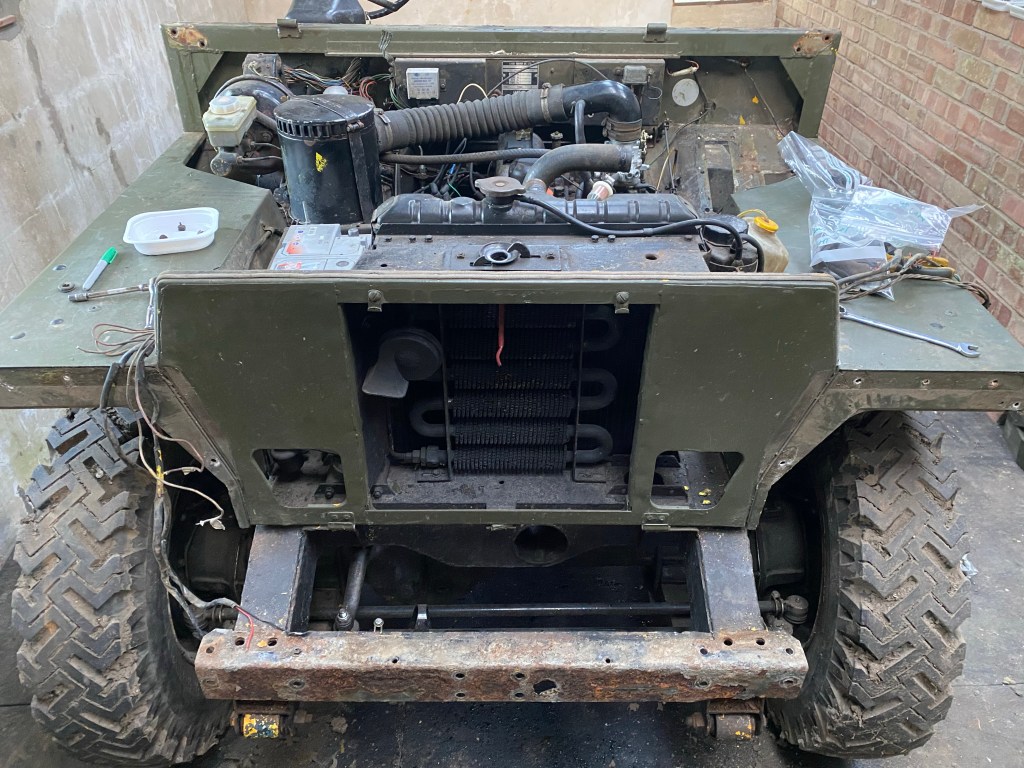
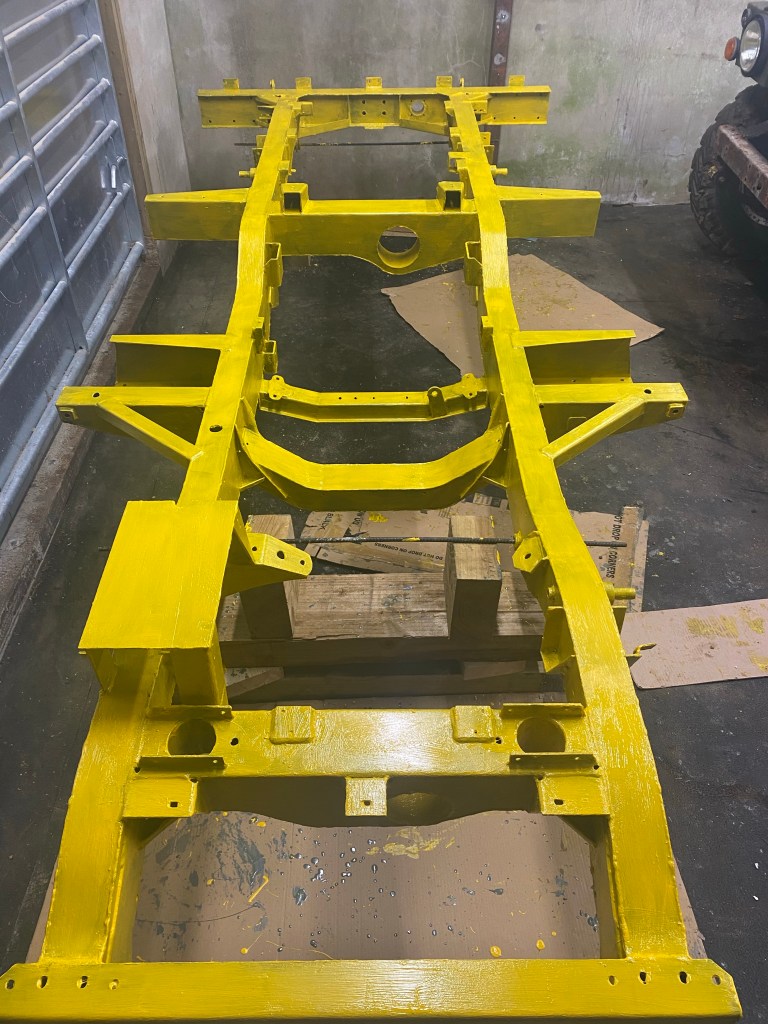
I set myself the target for today of getting the transmission ready to lift and to remove the bulkhead. No pressure but I really did want to get to this milestone. Perhaps not the end of the beginning and all that but still a milestone. Or millstone?

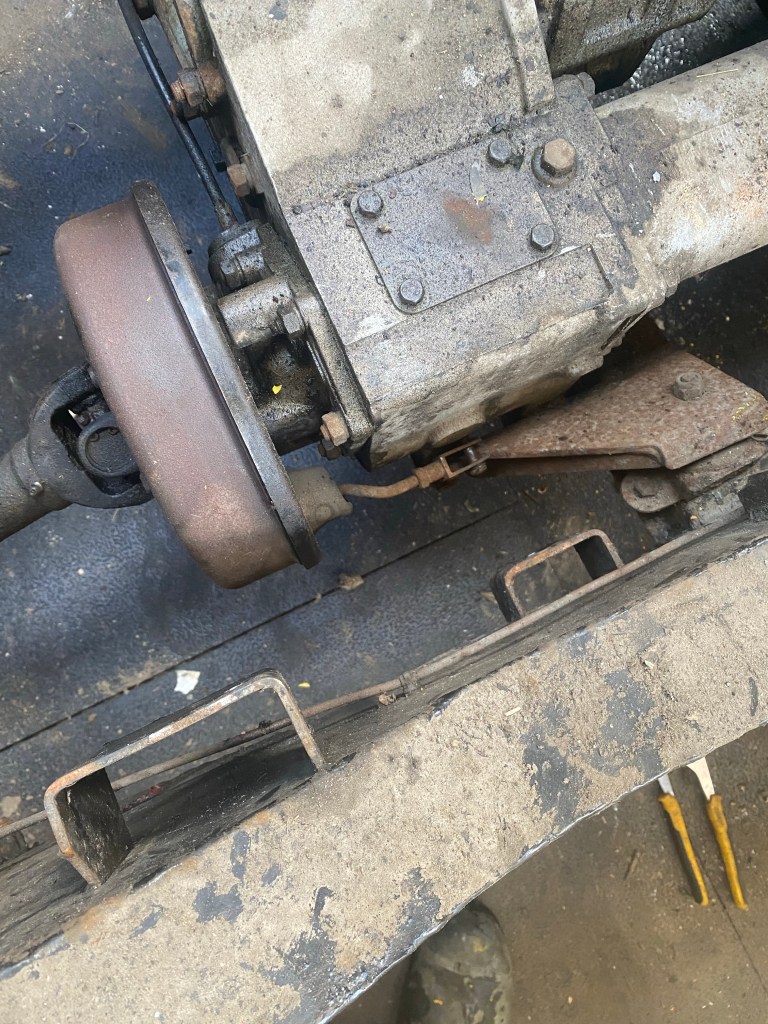
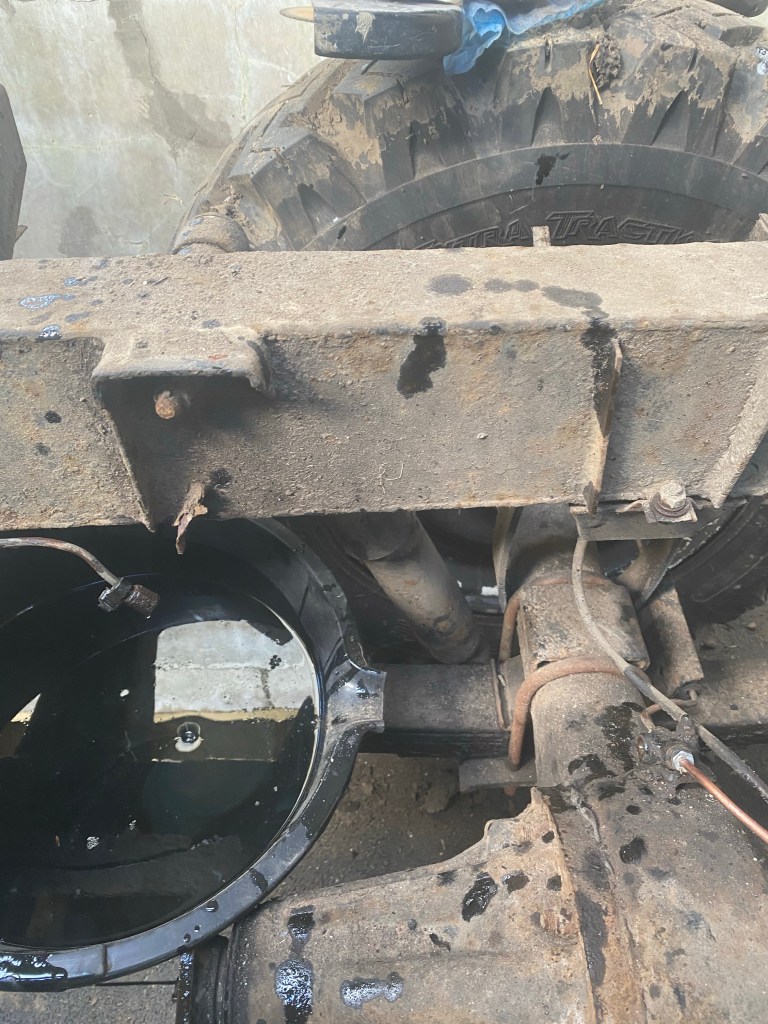
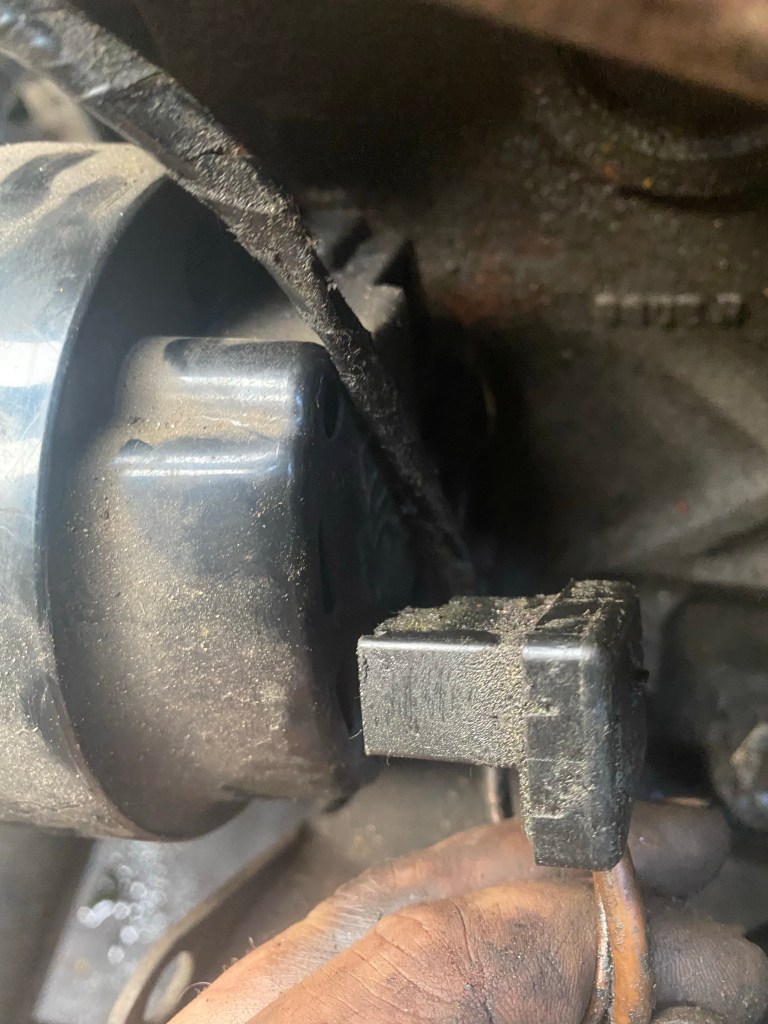
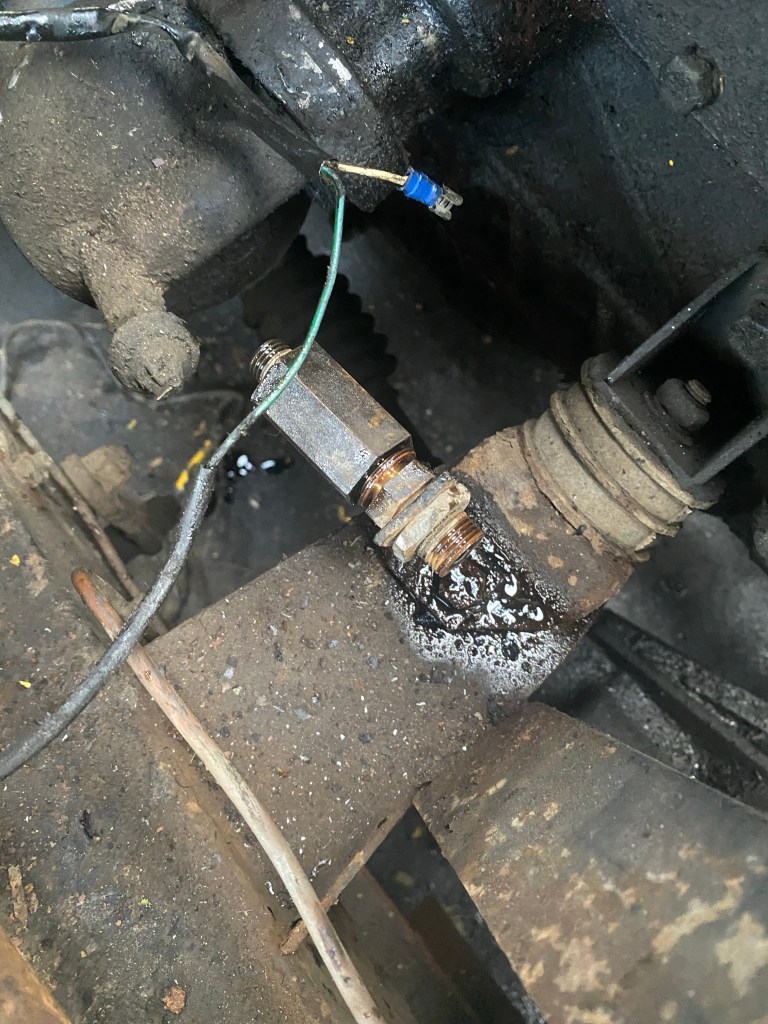
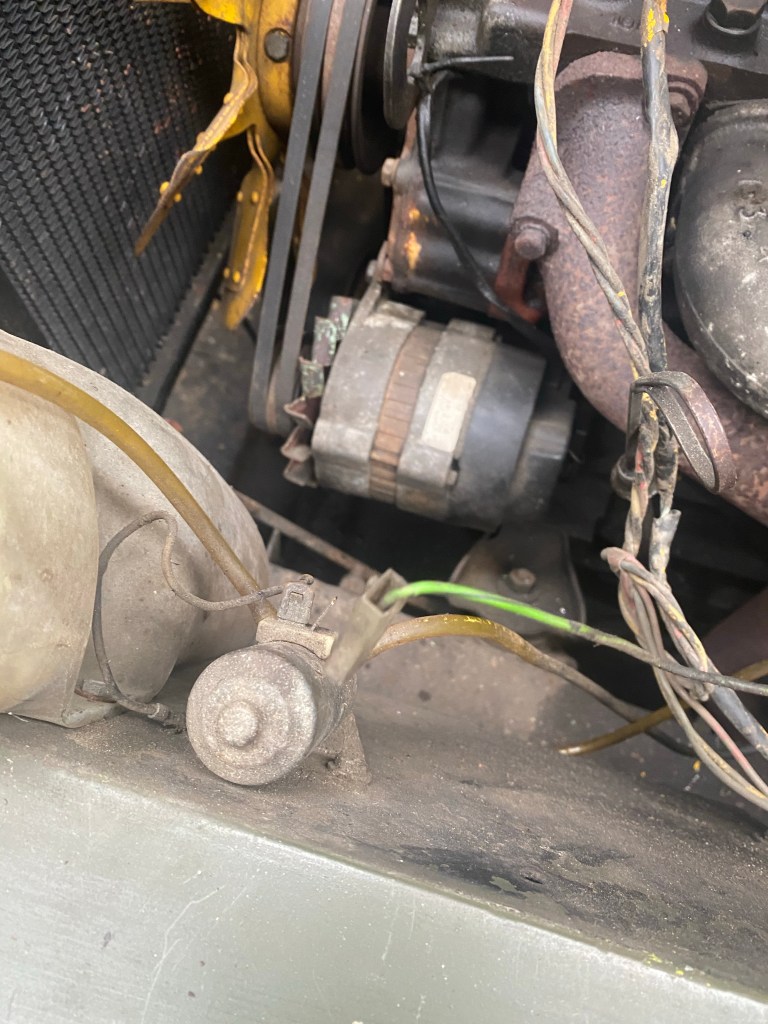
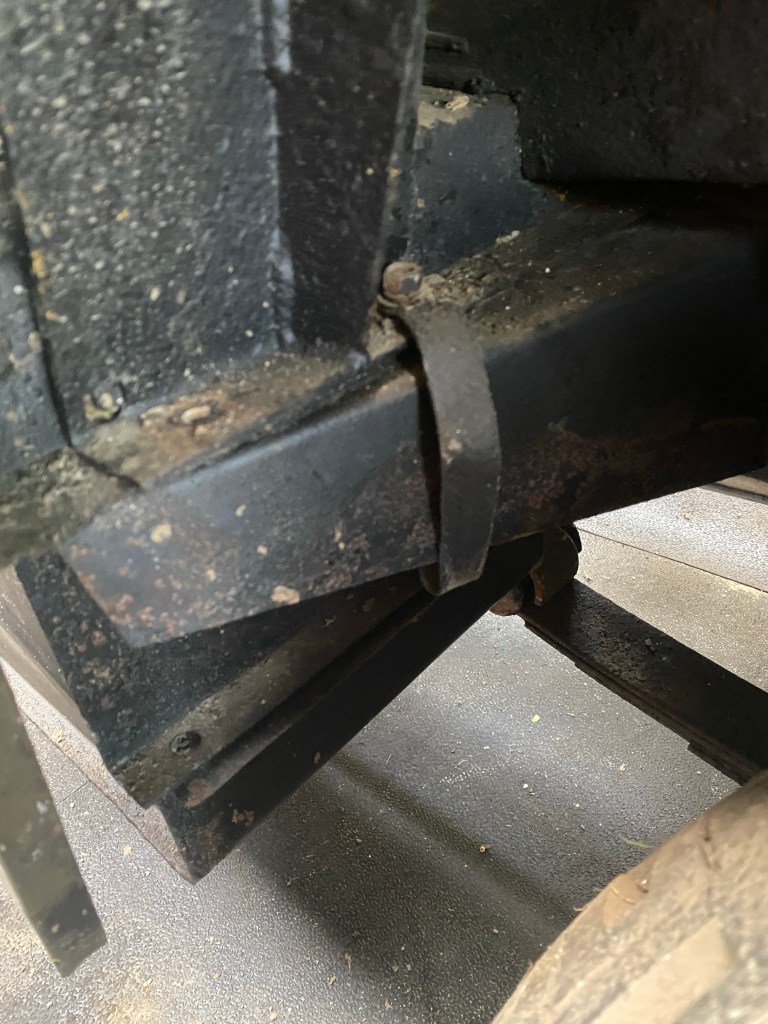
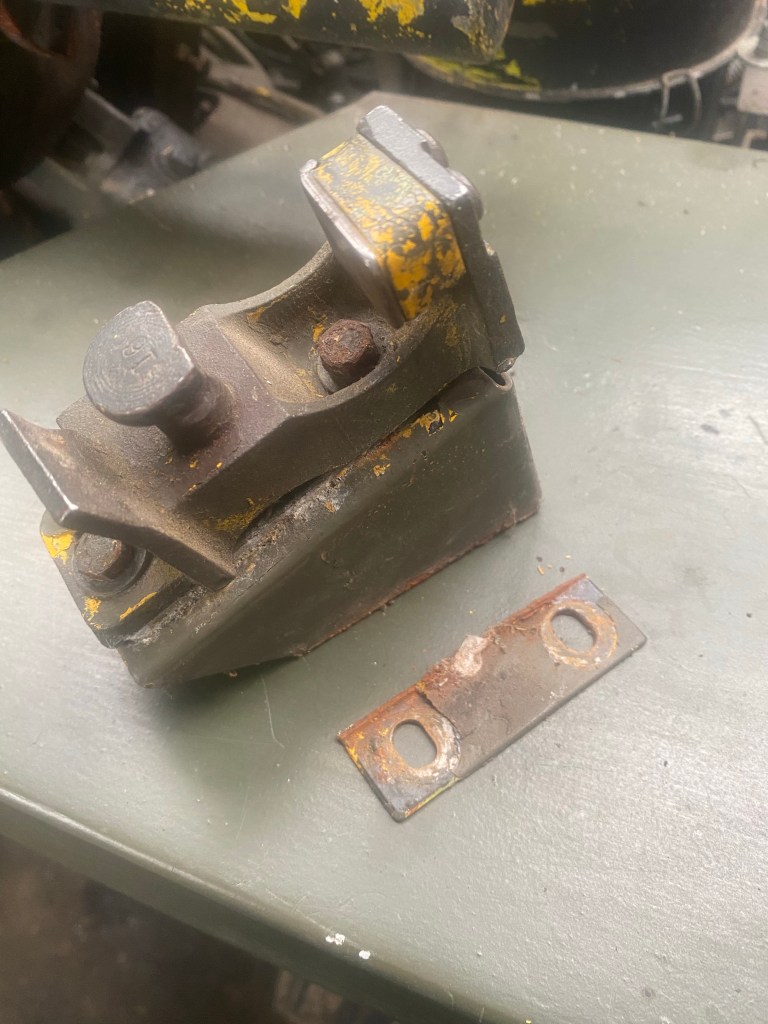
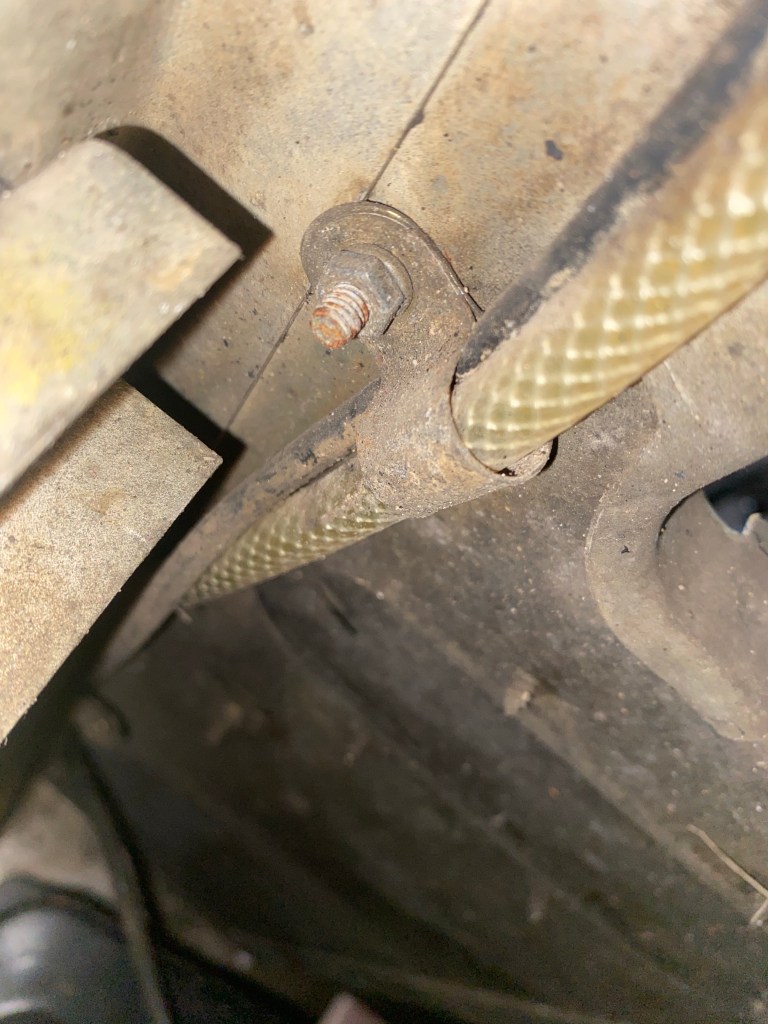
First off was the front prop shaft. Easy albeit oily and the access wasn’t great even with most of 05 KD 28 removed. Then came the gearbox tie rod – a dinky little thing to help stop the engine going through the radiator – which had seen better days.

More oil than rubber.

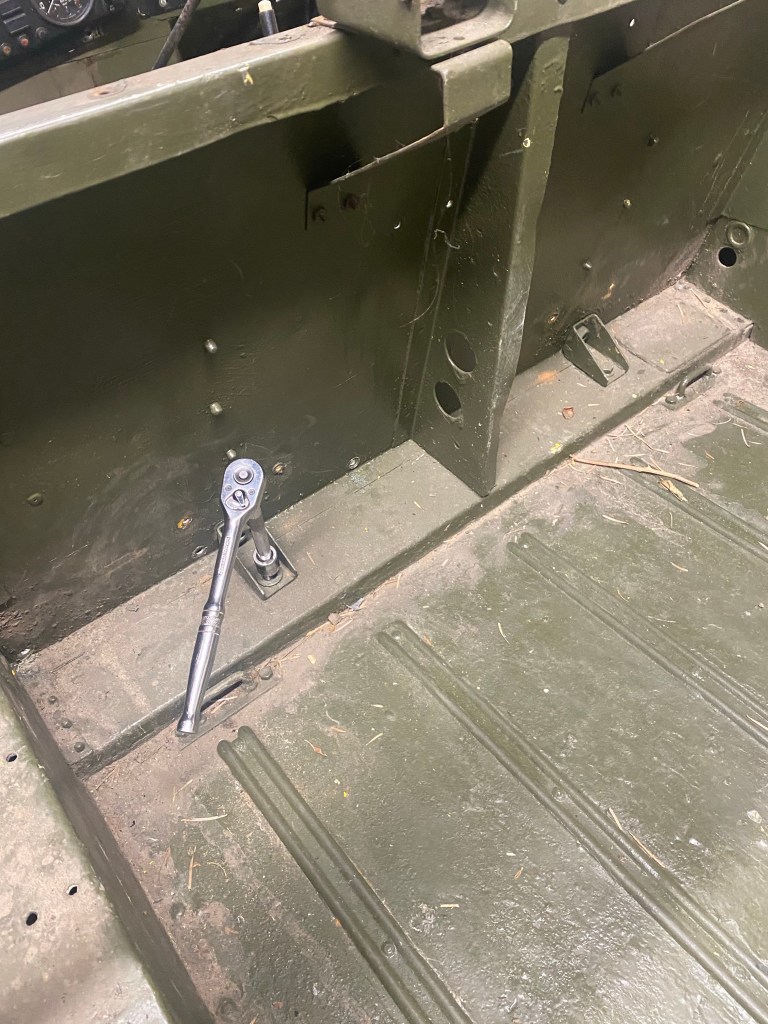
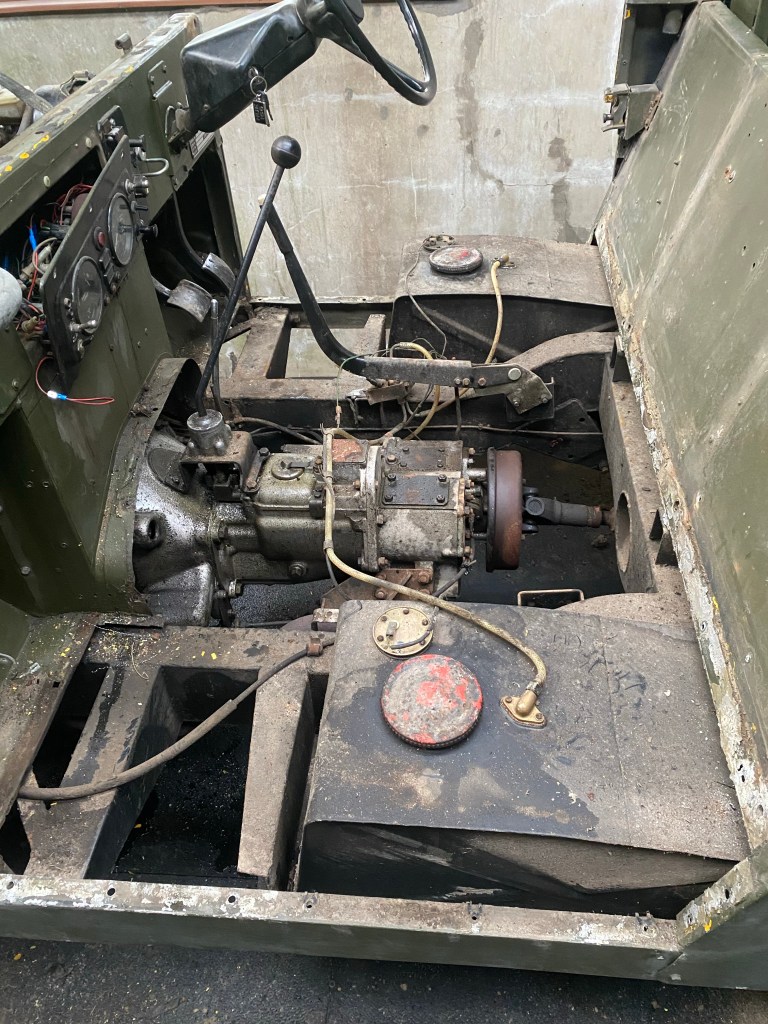
Back at the business end I started on the pedal boxes. First was the clutch mainly as I had had this out before to replace the master cylinder and it was straight forward. Next the brake pedal for which I thought I would remove the servo first.

No assistance required.

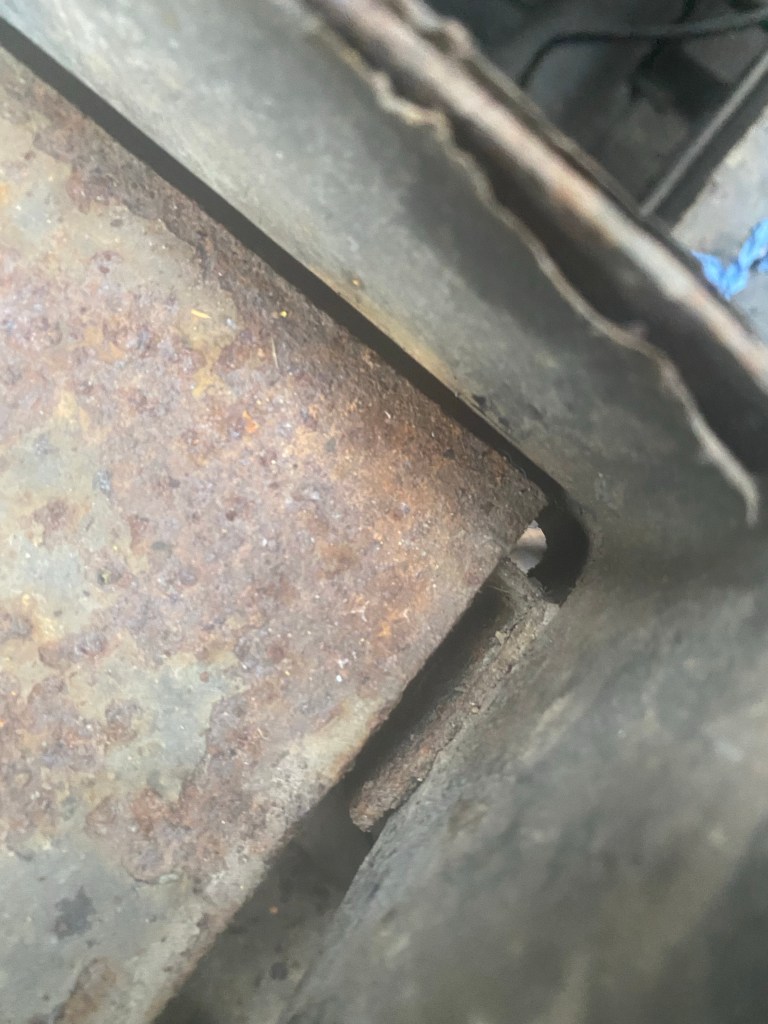
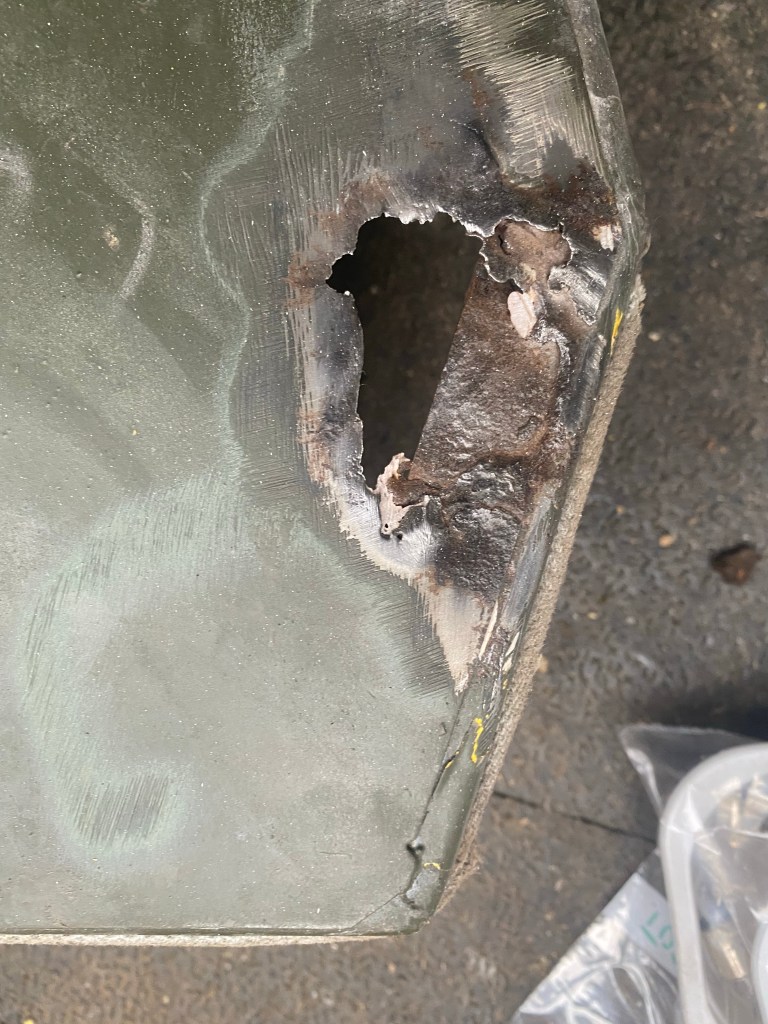
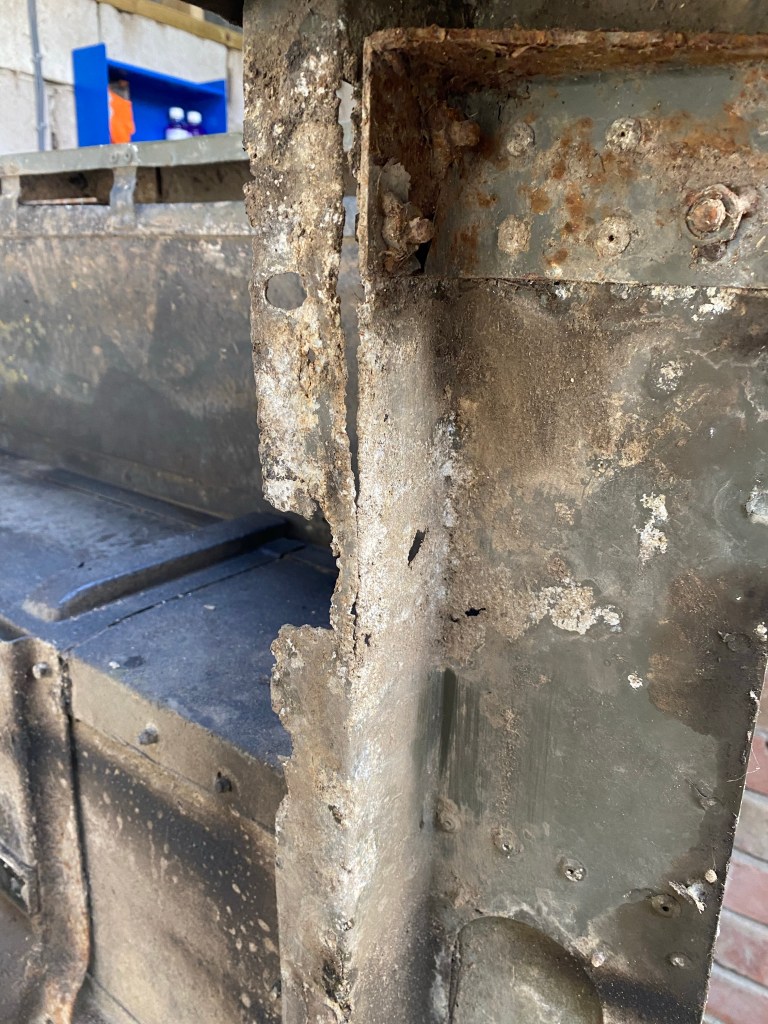
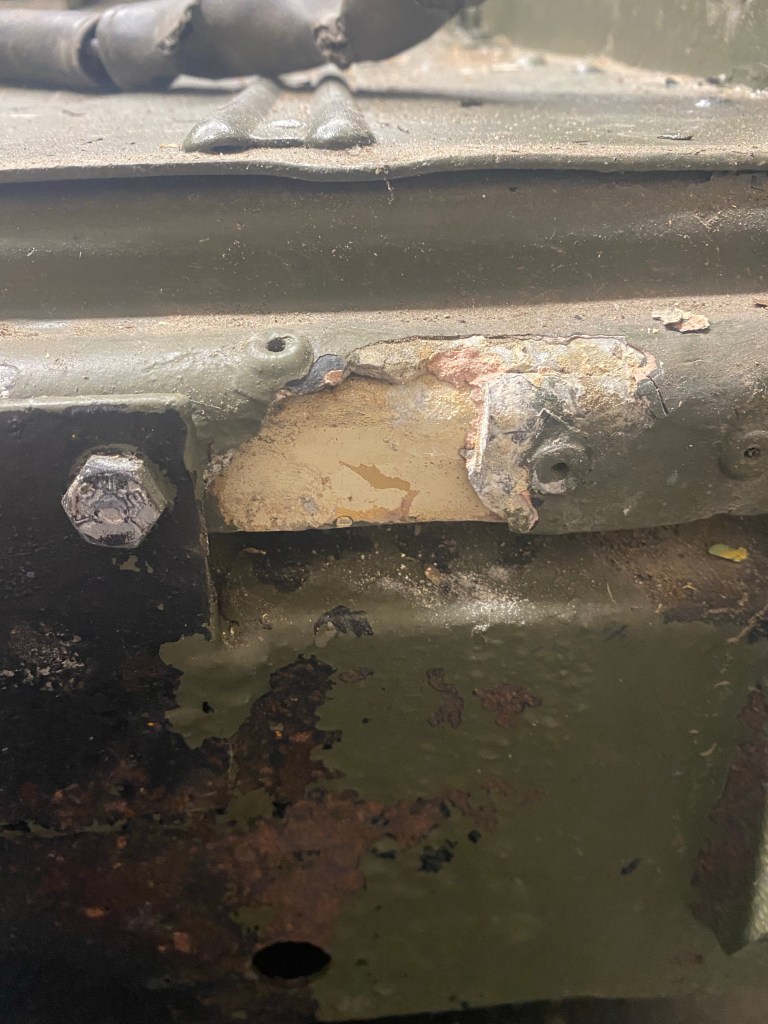
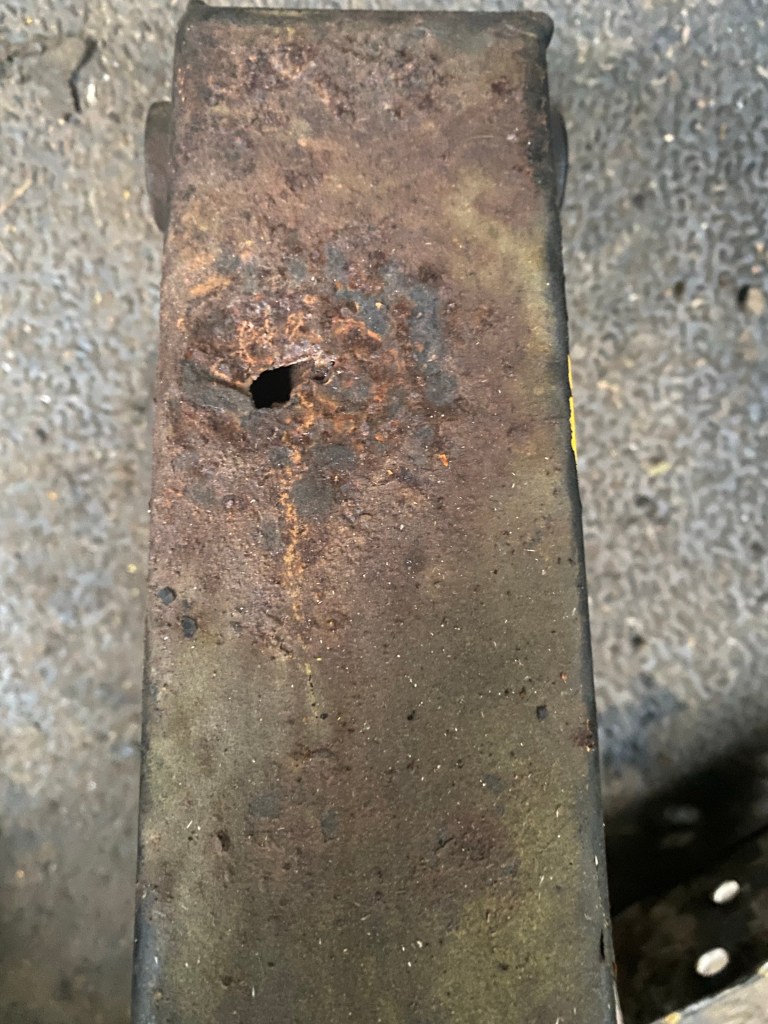
The actual pedal box was a little stiffer to get out than the clutch but came out soon enough to reveal the accuracy of the previous paint jobs and an extra hole.

Over spray, under spray, wombling free.
Didn’t manage to spray here though, did you?

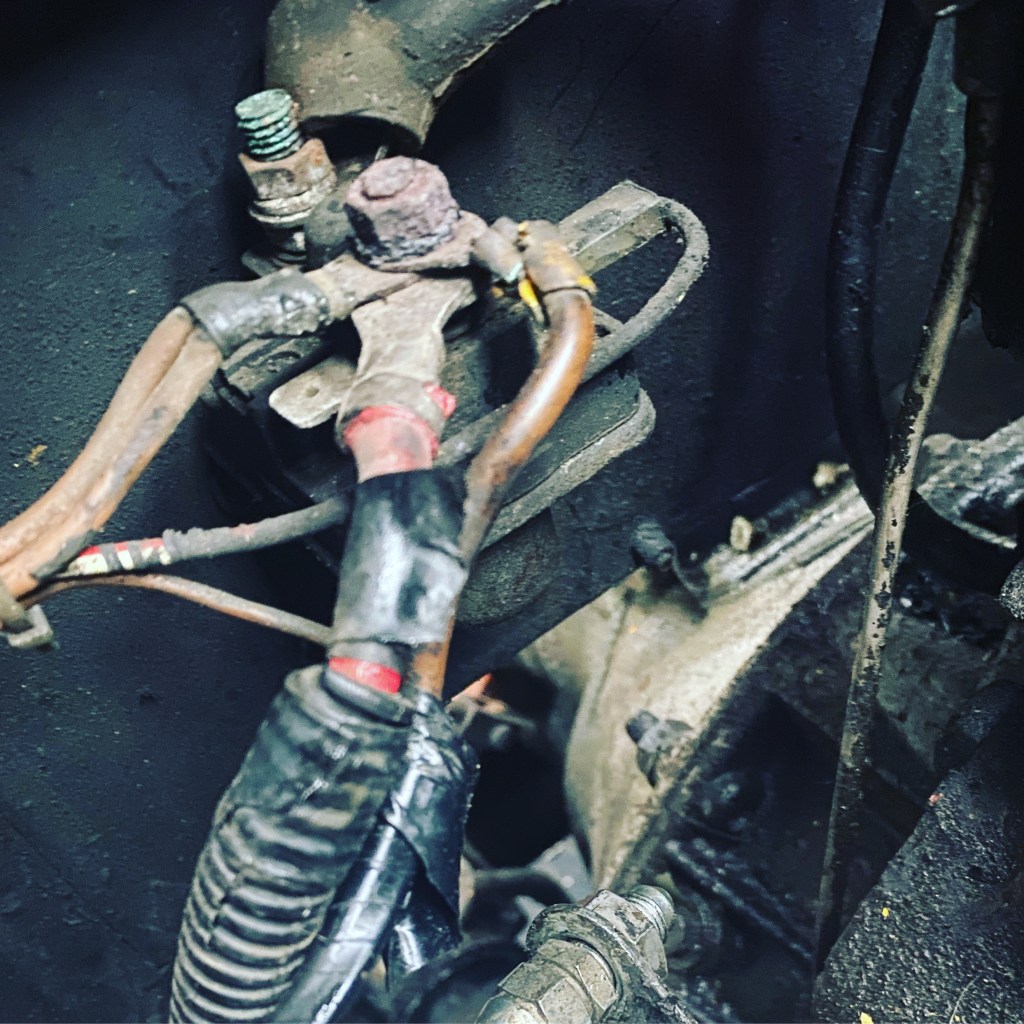
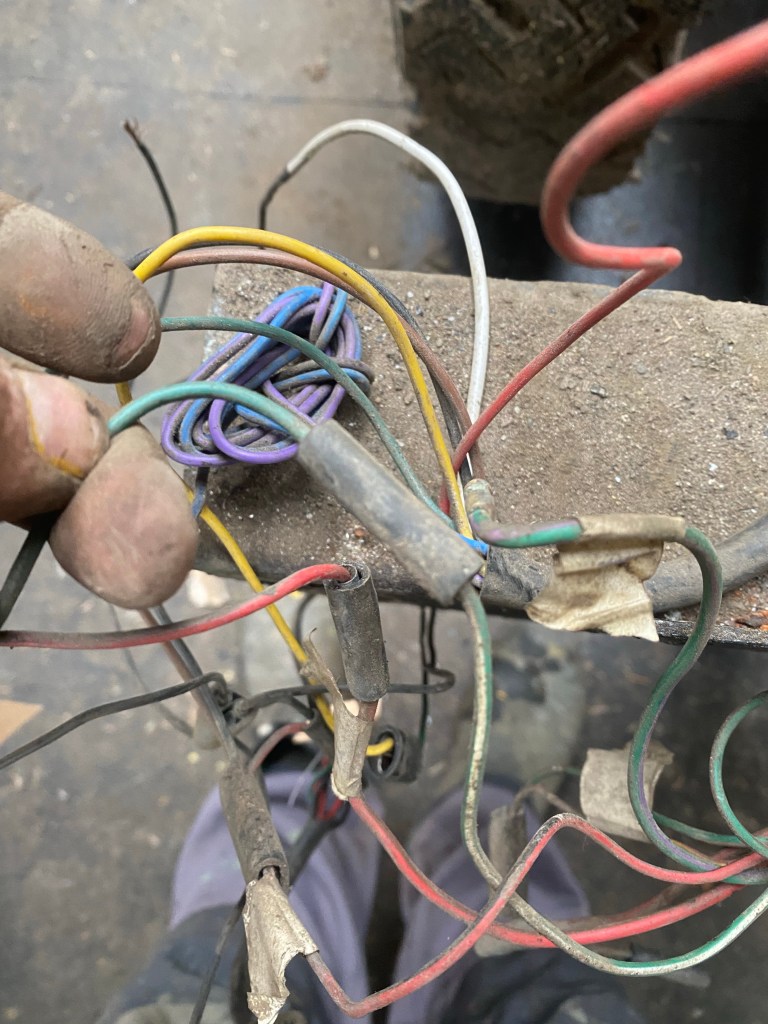
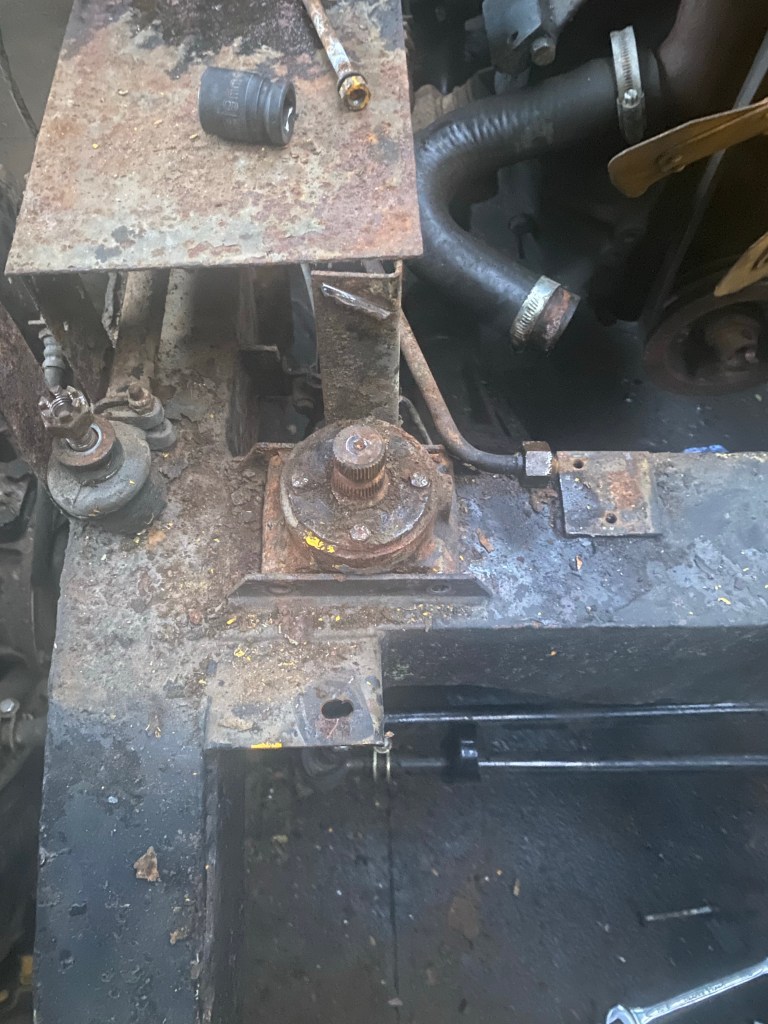
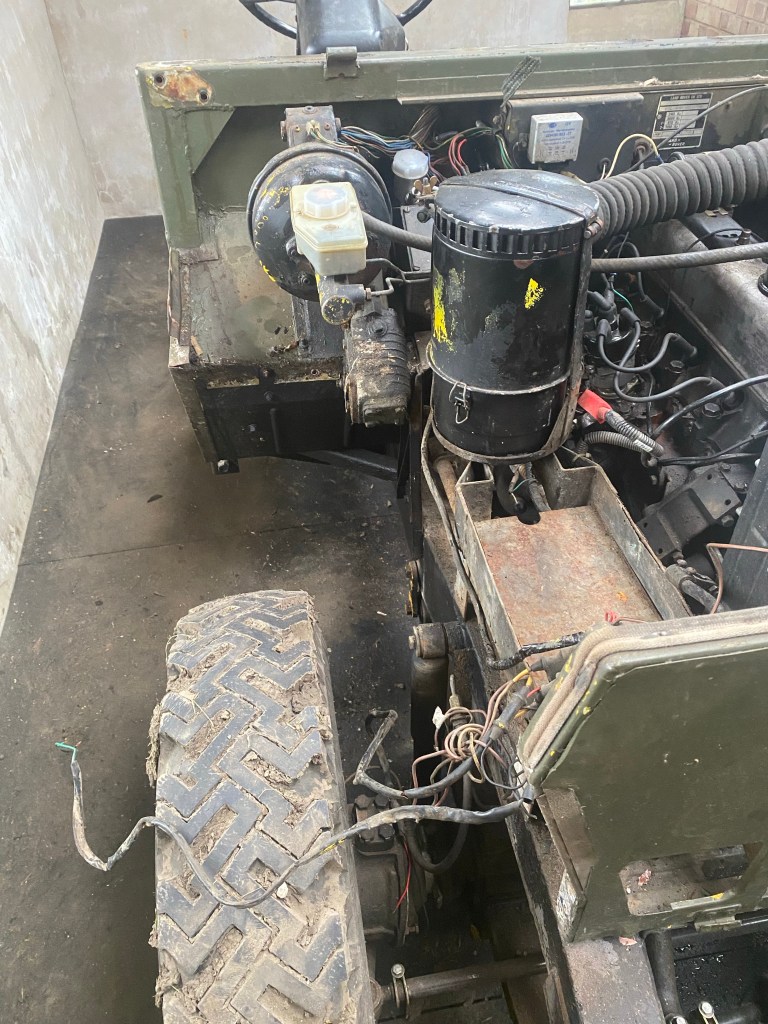
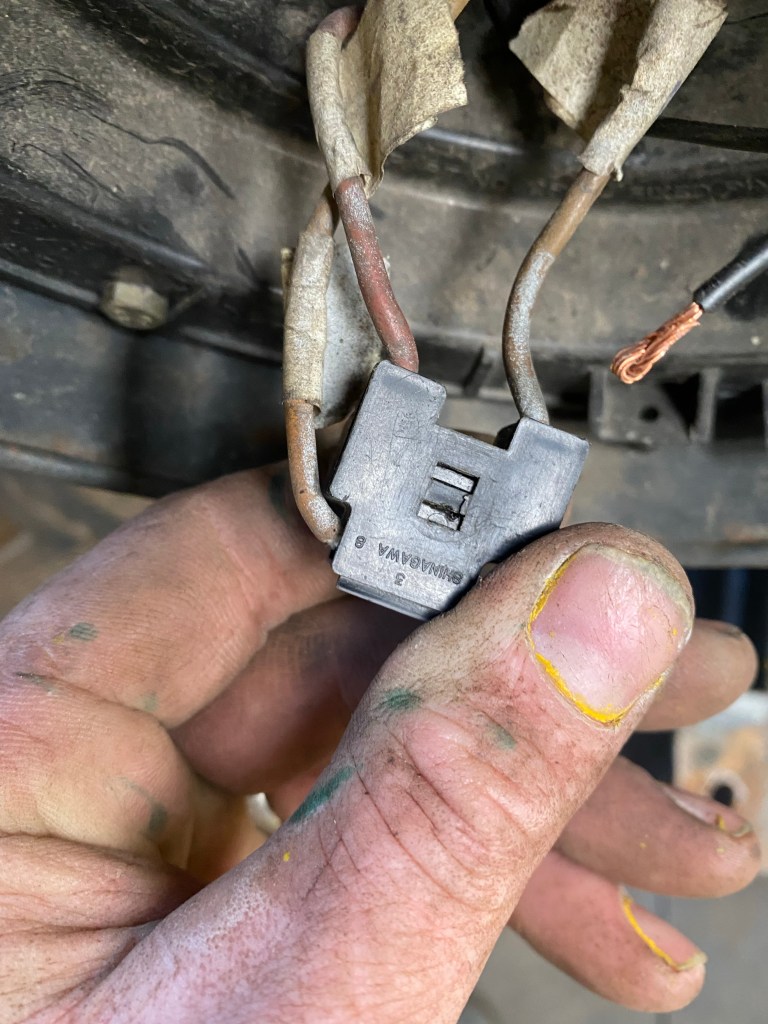
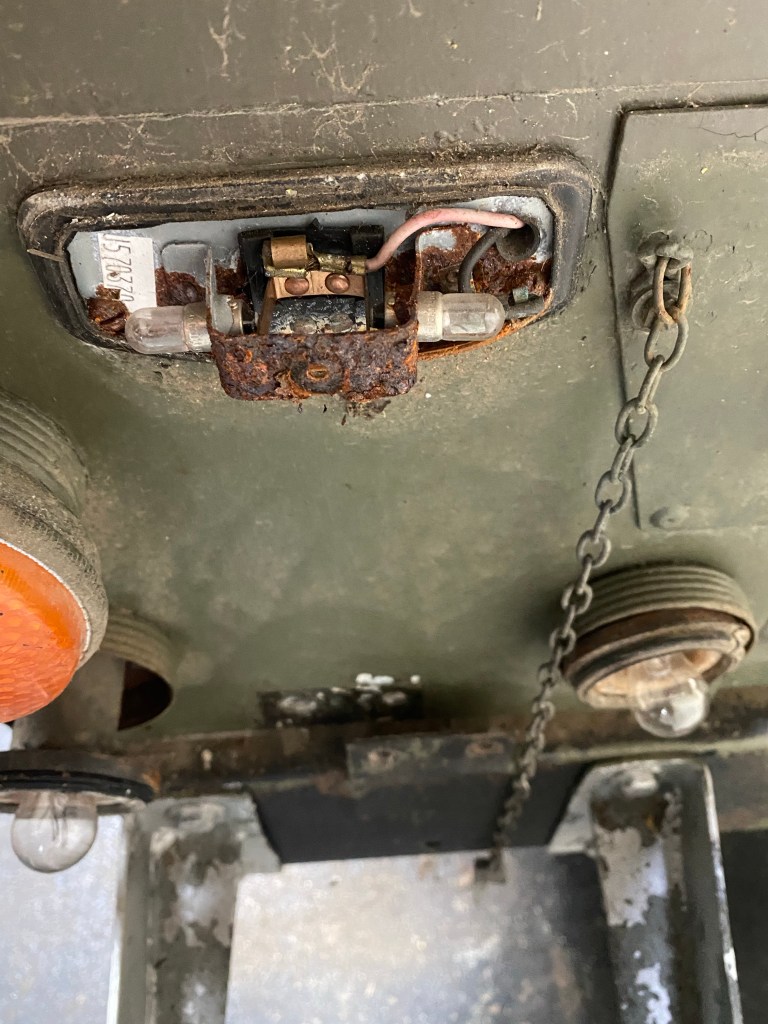
Steering column was next up and I removed the shroud to find I had left the keys in the ignition. Steering wheel off, and the electrics released I removed the bulkhead support.

The looming ….

I should say at this point that I have not referred to a manual or anything similar to work out how to take 05 KD 28 apart. I am working to a ‘look and undo’ model.

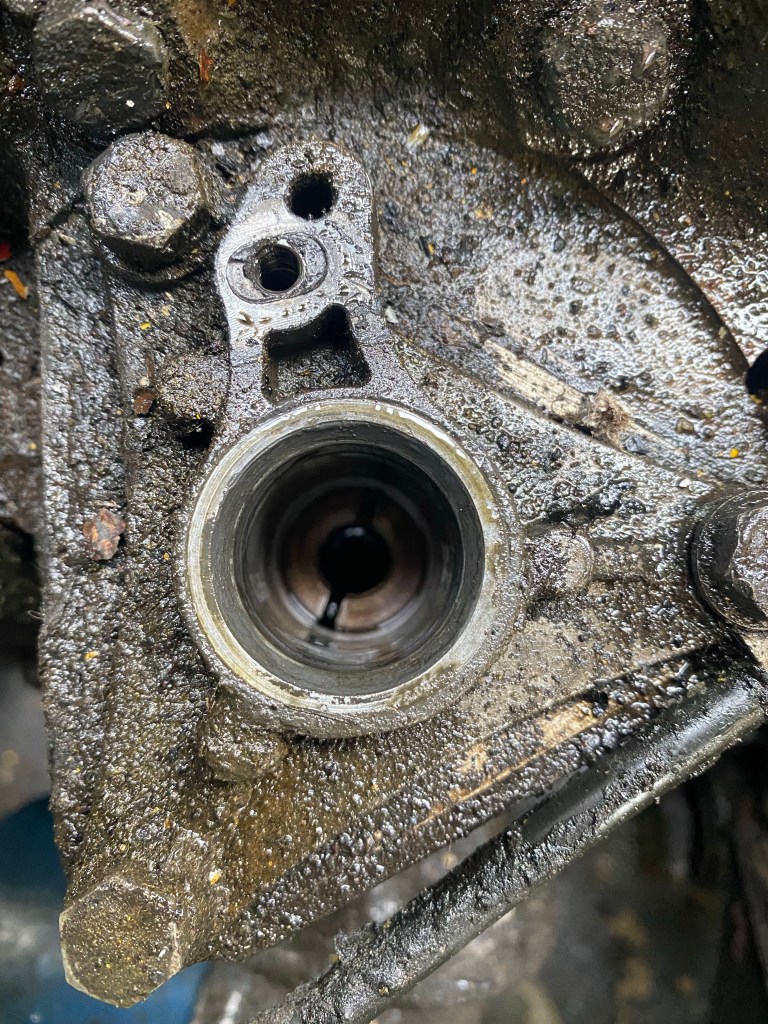
The steering column is actually more involved than I thought it would be, but logic worked. Step one: undo biggest nut you find.

I see, I undo

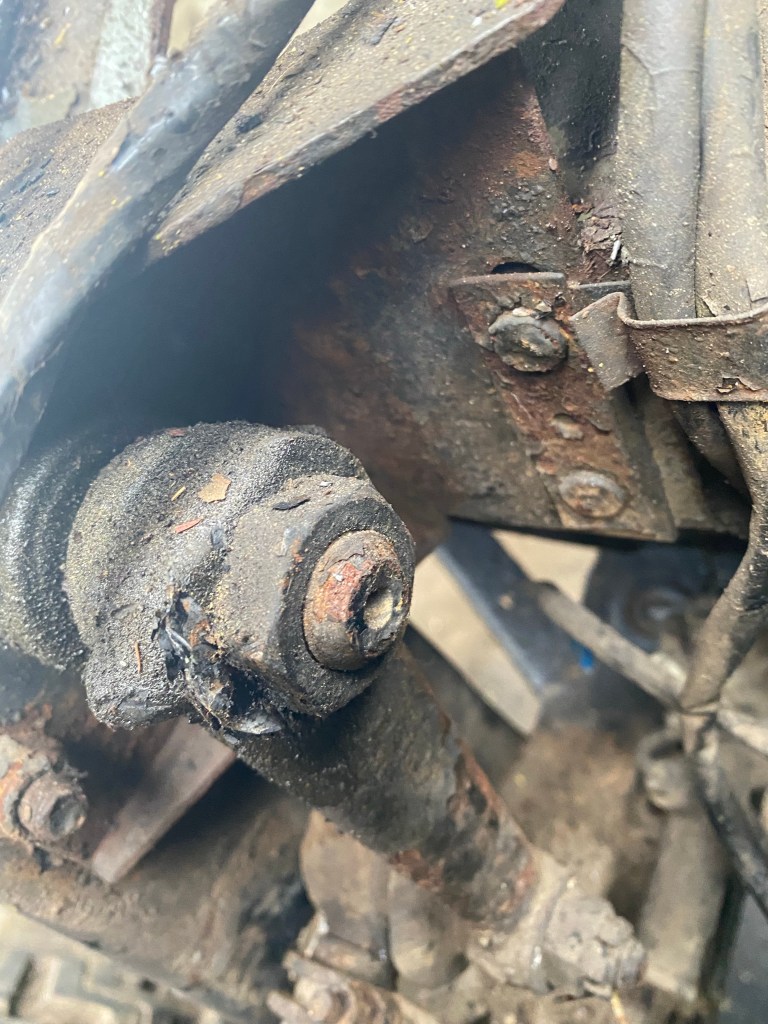
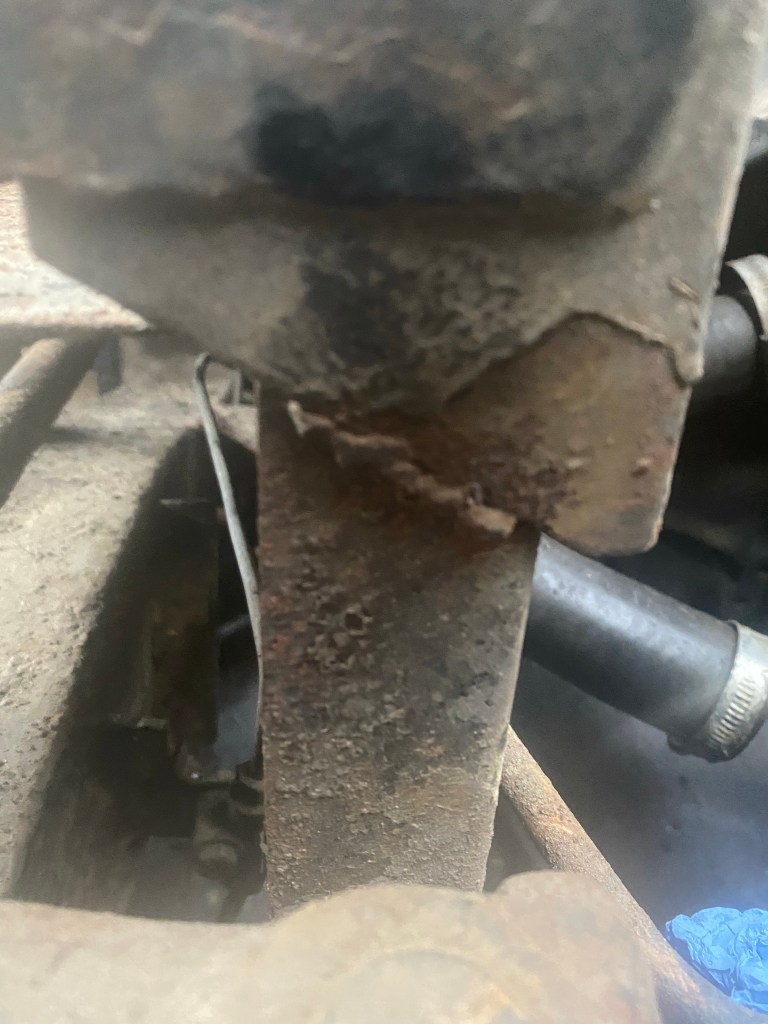
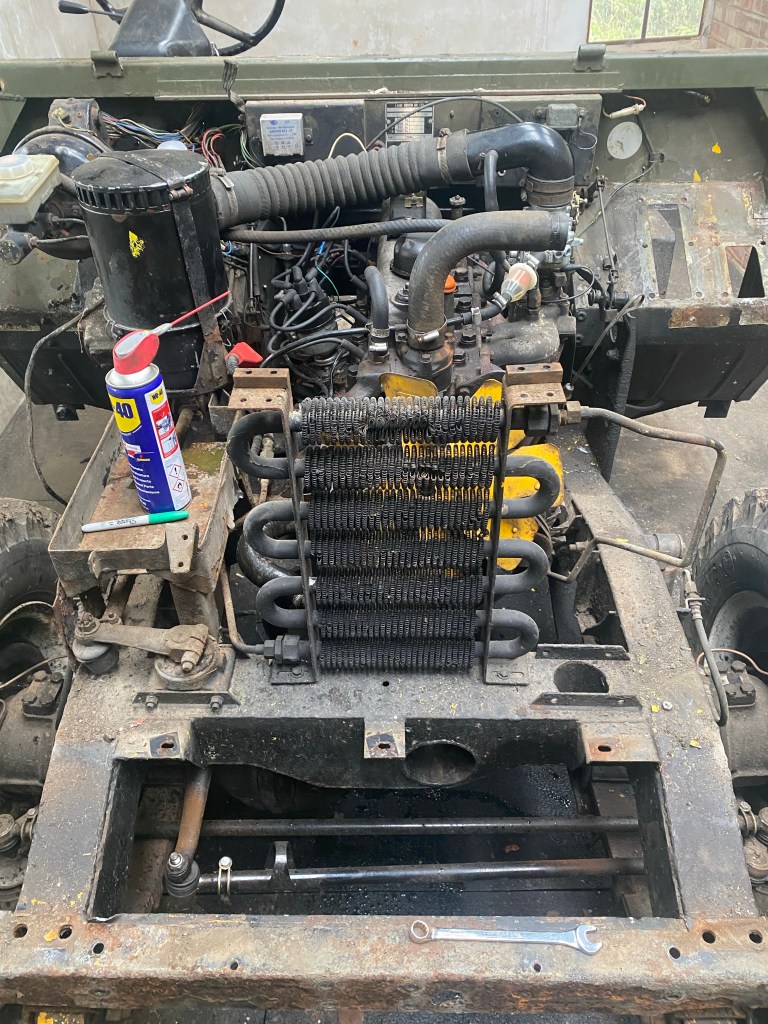
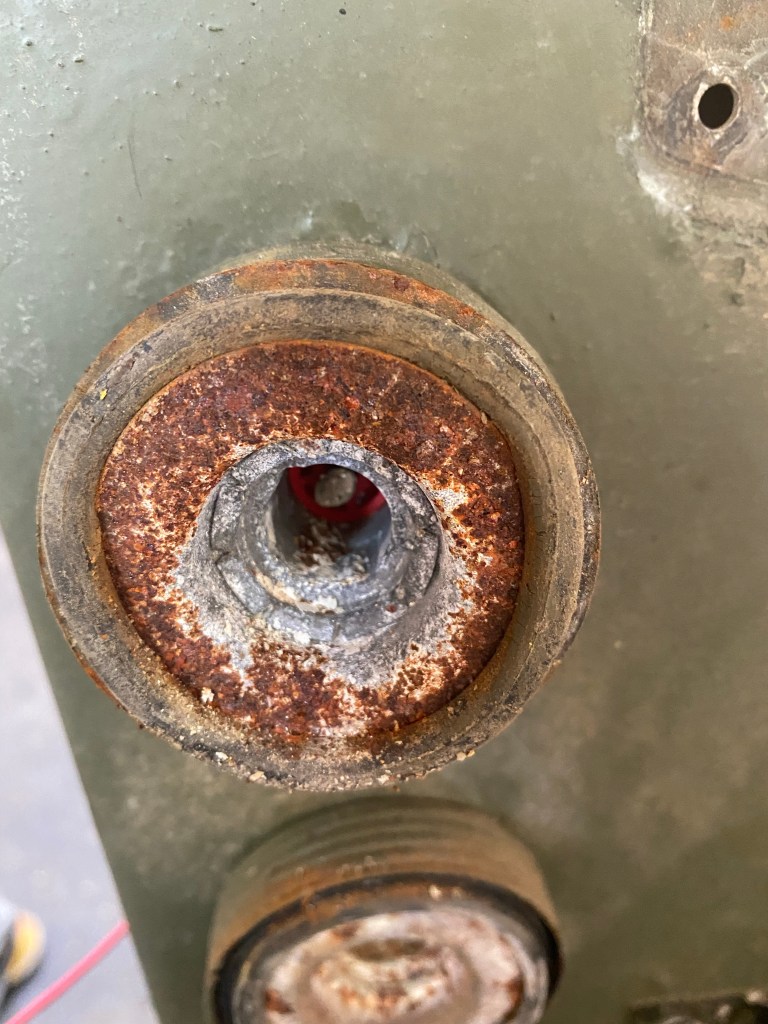
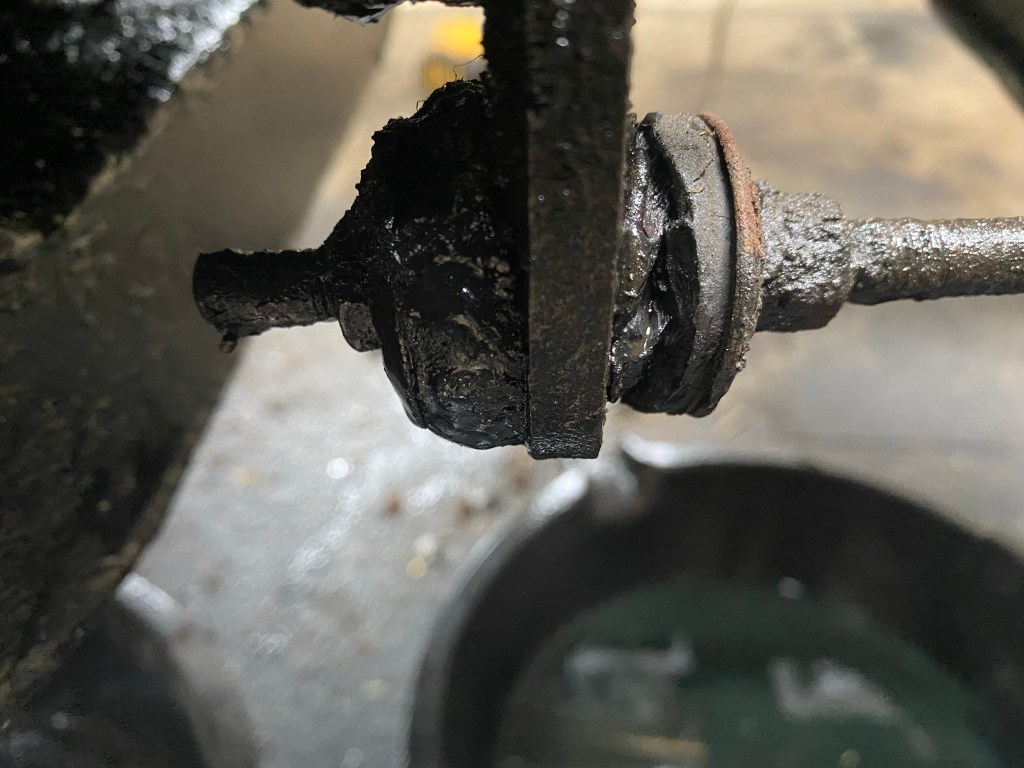
Next was the attempt to get the arm off the steering box shaft. Ball joint extractor? No. Bearing puller? Yes but ….

With great timing the dizzy disappeared.

My bearing puller was about two Rizla papers and a 3/16 tho too long to fit. So off came the distributor. I am sure I should have marked something but ….

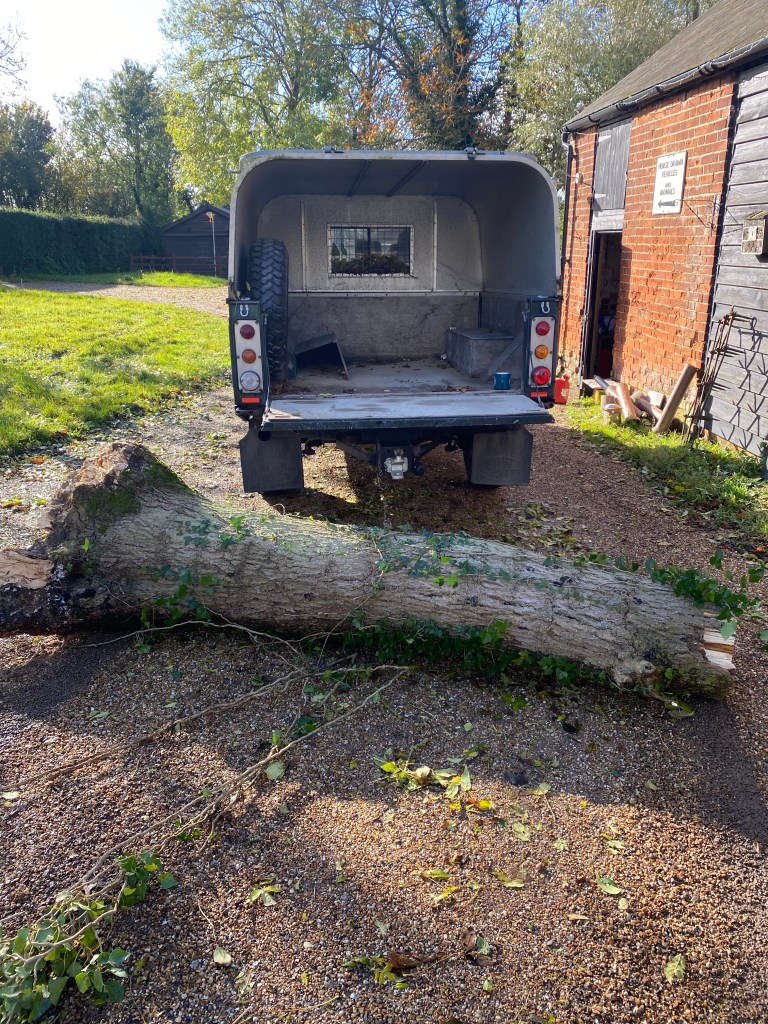
It has been a miserable day today and blowing a hooley, so with impeccable timing I was called to deal with a tree that had blown over into the road. Took a little time as chainsaw wouldn’t start but cut it up and then towed the last bit out of the ditch and onto drive to cut up. No Health and Safety breaches at all, honest.

That’s a big trunk, and a big log too!

I still have a milestone to reach today!!

Dropping more oil than usual.

I am moving into the phase of lots of small oily jobs such that the engine / gearbox and transfer box can be removed. I have put painting the chassis on hold until I have swapped the positions of what remains of 05 KD 28 and the new chassis. This is necessary due to the location of the lifting beam I installed.

Not so mobile.

Today’s first job was to remove the handbrake. I think this is the epitome of Land Rovers; its efficacy coupled with simplicity is a marvel. Electronic handbrakes on the D4 cost a small fortune and do the same job.

Levered out.

Next came the handbrake drum and then prop shaft. All came off easily though it may have been helped by the transmission oil sprayed around. Some seals might be needed!

Whilst at the back I also disconnected the flexi hose between chassis and rear axle brake block. This ultimately required the paper this mount to be cut out.

No stopping now.

The rear is now ready to remove axle so it is done for now. So stepping forward of the bulkhead once more I started to disconnect the engine from anything that may snap when I lift it out! Cue oily hands. First in removed the front section of the exhaust. Bolt out ok, one stud snapped and one spinning so cut off. I think a new exhaust manifold is needed.

This was leaking before and needs replacing.

Whilst on this side of the engine I removed the wiring from the oil temperature gauge, the started motor and the alternator. Annoyingly the connector was too big to pass through the gap between the black and the water pump where the cable did. I therefore had to take the plug apart.

Too big.

Having looked long and hard at the water pump I thought it would be a good idea to relax move one bolt in the thermostat housing so the fuel pipe clip could be released. Of course this bolt broke. So cue removing the housing and drilling out the bolt.

Temperature rising.

Also removed was the carb, vacuum tubes and the lowers and upper hard pipes to the oil cooler and the flexi and non return valve on the lower side of the oil cooler. Bit more wiring also removed and also I took out the clutch piping.

Don’t open this!

Most seems disconnected and I am back towards toward the solenoid. This doesn’t look that good but is works!

Could so with a clean.

The last half hour of my day was spent searching for a 3/4 in AF spanner. If anyone finds it, please return to the usual competition address.

Its relay stuck.

Few odds and sods ticked off now. Rear bumperettes off, NATO hitch off and civilian towing electrics out. I hate to break up any wedding but these snakes had to go.

I am glad bomb disposal isn’t this messy.

Once all the back end bits were done I took the air cleaner off, and set about removing the battery and air cleaner mounts. I was expecting four bolts. I found three and some welding.

That doesn’t look right.
Urgh!

Mr Grinder came to visit that. Fortunately there was zero weld penetration into the tray so no harm done. I am now thinking about paint or powder coating for it and some other bits.

I took the arms of the steering relay which was surprising difficult as my bearing puller wouldn’t fit until they had moved a little. Bolts also came out of the relay mounts easily and now I am at the point of wondering if I spend a huge amount of effort pulling the relay or get a new one.

Arms off, but ….

It is not going to come easily. I have left it stewing in WD40. Part of me can’t be bothered to try more but part of me loves a challenge and does not like to lose. Cutting the chassis is cheating before anyone suggests this.

Cougar lost it, turned in his wings.

I have been putting off the wings as I know I’ll have to drill out the mushroom screws that hold then to the bulkhead and as I’ll also take out the front panel I’ll have to drain the oil so I can disconnect the oil cooler. Of course various bits are also connected to the wings.

All the mod cons.

After drilling and ultimately twisting the heads off the mushrooms the wing came away fairly easily.

Hammer included for scale only (honestly)

No particular surprises as I already knew the side panel of the footwell needs some welding.

Quite why I hadn’t taken battery out before.

The offside wing took a little more to extract once all the bolts were out – basically where the edge of the inner wing passes through the footwell side panel means it only wants to come out one way.

Wingless.

Next up was the radiator panel. Shroud off and then the horn and bonnet catch were removed. Whilst I undid the bolts holding the radiator to the panel I left the oil drain.

Oil cooler than you.

With the front panel off I descended into the rabbit hole of looking at a previous repair. The repair consisted of a small plate of seal held in place with fibre glass and then a good layer of filler on the front.

Bodge removed.

05 KD 28 is now looking decidedly naked. I do like the military spec fan.

I’m a fan.

Time for a break. Not too long as I’ll start having nightmares about the steering relay.

A snake’s wedding.

The removal of the tub started the process of getting involved in the mess of wiring that has been bundled up out of sight for a long time. The removal of the military wiring has left a lot to be desired.

More wires go in than come out.

With all the rear lights off I thought I would repeat the process at the front. It was the headlight wiring that had been causing me issues – brittle wires that snapped every time the were soldered.

Black wire was installed to get MOT pass.

The wiring had been labelled by a helpful soul – 1, 2, and 3 – but the logic between left and right head lamps escaped me. Still not as intriguing as this delight.

Dr Who would be proud.

My question is really one of if there was method in this madness or just plain wrong.

Still has wings.

I am labelling the wiring as I go even though most won’t be reused. My intention is to return it to the original military wiring. What could possibly go wrong?

Tub thumping.

Today was a day off work to make up for the day off 05 KD 28 yesterday. My aim was to remove the tub.

Bonding time.

The supports came out easily. This finally allowed some reasonable access to the seatbelt bar bolts that remained. This removed I turned my attention to the last bits connecting the tub to the chassis; the rear lights. These had seen better days. The number plate lamp needed a visit from Mr Grinder.

Numbers up.
Blinking rust.

A bit of time and effort finally removed all the lights and mounts. I even drilled out any snapped self tappers. Strangely the indicators were the hardest and it is also the indicators which are a problem on the front.

With the lights disconnected, and the final bonding strap removed I lifted the tub clear such that the full horror of steel and aluminium contact points could be witnessed.

This is a pain.

To be fair it is actually in fairly good nick. The underfloor braces are ok and it really is only this section that needs work. I am not sure what work yet but it need something.

Down to the bones.

It feels like I am turning a corner now, dissection into resurrection.

Mellow yellow.

Yellow is a difficult colour to paint as it fairly poor at covering other colours, even white. Nevertheless it cannot fail to bring a smile to your face.

Not yellow enough.

Two coats of Raptor tinted to BS 356 and the undercoat is still visible. The plan is to let this harden, give it a rub down with P180 and then top coat with coach enamel to get a flatter finish. The layers of Raptor will give toughness to the overall paint system but I feel that having the enamel will help tie in body and chassis and give the look I am after.

Unhinged and in the slammer.

Lunchtime afforded a little time to take some more bits of 05 KD 28. It afforded a little time, the jobs as ever demanded more. I started with taking the hinges off the bulkhead. I had attempted this before in an attempt to deal with the alignment issues of the drivers door, but had retreated gracefully. Every bloody single bloody screw required drilling and screw extractor. I had already twisted a Teng screwdriver bit on the first.

Is that WD40, sweat or tears?

Wanting to achieve something more straight forward I attacked the door catches. Only one bolt on each is placed awkwardly so this took twice as long as the other four. Turns out that the door alignment issues mentioned before may have encouraged previous owners / drivers to closed the door with vigour.

Less than ideal
Oh crack.
Back rest and crack

Still on the hunt for a win I took the cill panels off. Three bolts each side and not a problem to report. Maybe this heralds easier times ahead.

Maybe this is what tin worms become.

My moth oracle tells me that this is a Herald and that they like to over-winter in caves. Seems cilly to have chosen this location.

Mogwai.

Just a few little jobs the evening to keep some momentum. First off the seat belt stalk brackets.

Reassuringly solid.

Next off came the pioneer tools and the rear panels.

A tub normally advertised during early evenings on ITV

The last job of the day was to removed the tub to rear cross member bolts. All came out really rather well, and I must congratulate LR on placement of the brackets such that both sides were actually accessible. With only three left to do I noticed a suspiciously smooth area on the trailing edge of the tub. A judicious use of a sharp stick revealed a lump of filler.

Plasterer engaged for previous repairs

Now I am not sure how this came about but my suspicion is corrosion. In 1984 Mogwai came with three rules. Rule 2 could apply to 05 KD 28 which is of the same vintage: Never get it wet! If you do there will be Gremlins.

Unboxing!

After a long session painting I moved my attention back to 05 KD 28 and the removal of the seat box. First up was to remove hoses from the back of the heater and so I once again channeled my inner James Herriot to remove the jubilee clips. That done I realised that the wiring hade to be removed from the dash rather than there being connectors in the heater. Back to James Herriot.

From A to B via the engine bay.

Heater out (loosing some brown sludge on the way) the transmission tunnel panels came out without any drama. Now back the the seat box. All the mushroom screws came out whole, with only occasional use of impact screw driver. All the bolts holding it to the tube were relatively easy albeit the bolts were much longer than needed! The only tricky ones were the pair on each side which go into a single stiffening bar, this time I channeled Tristan Farnon and recover the bar.

Double trouble.

Bolts out and time to lift the box out …. after taking the fuel switch over valve off …. and undoing the fuel line clips.

Line out of sight.

Finally it came free and the guts of 05 KD 28 were on show. No guts no glory.

Tanks not yet on the lawn.