The piston crown affair.

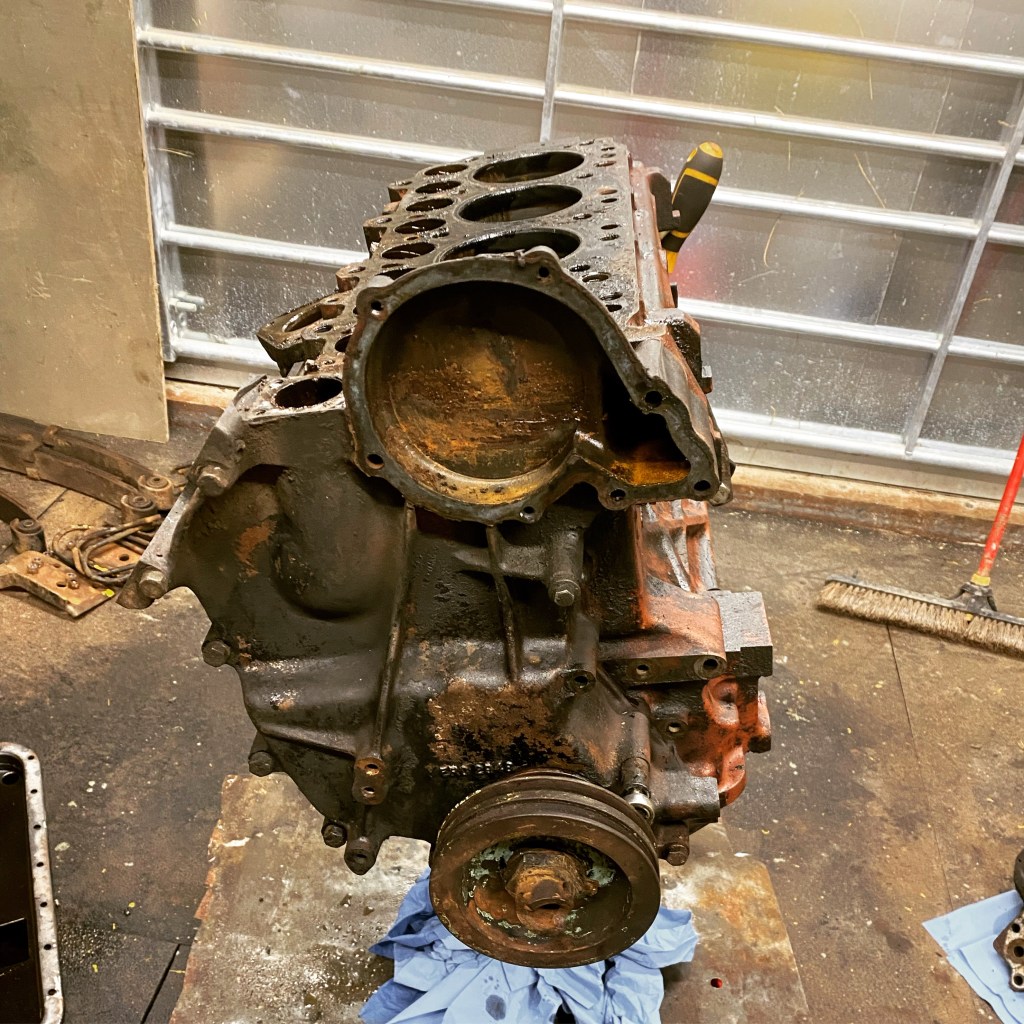
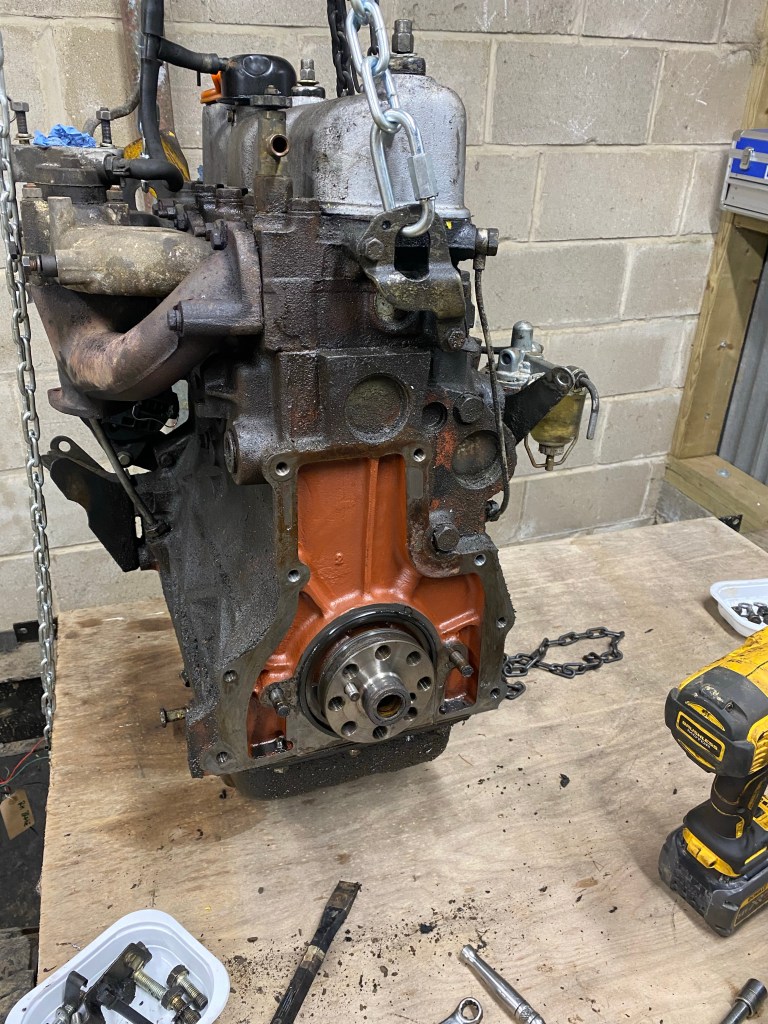
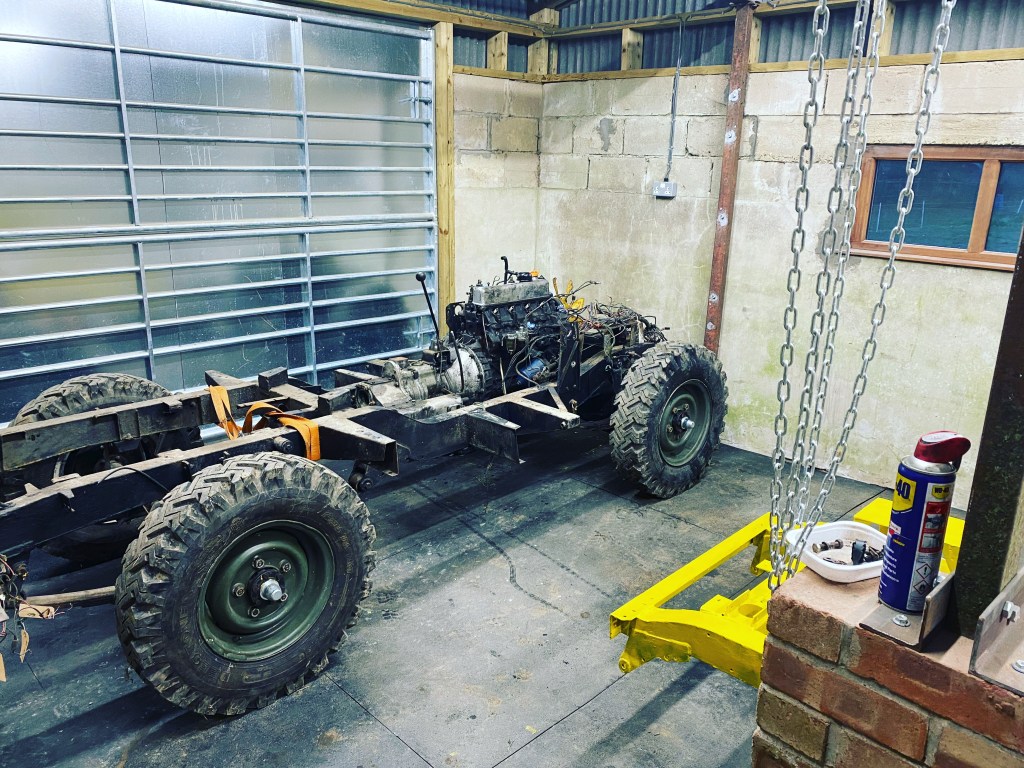
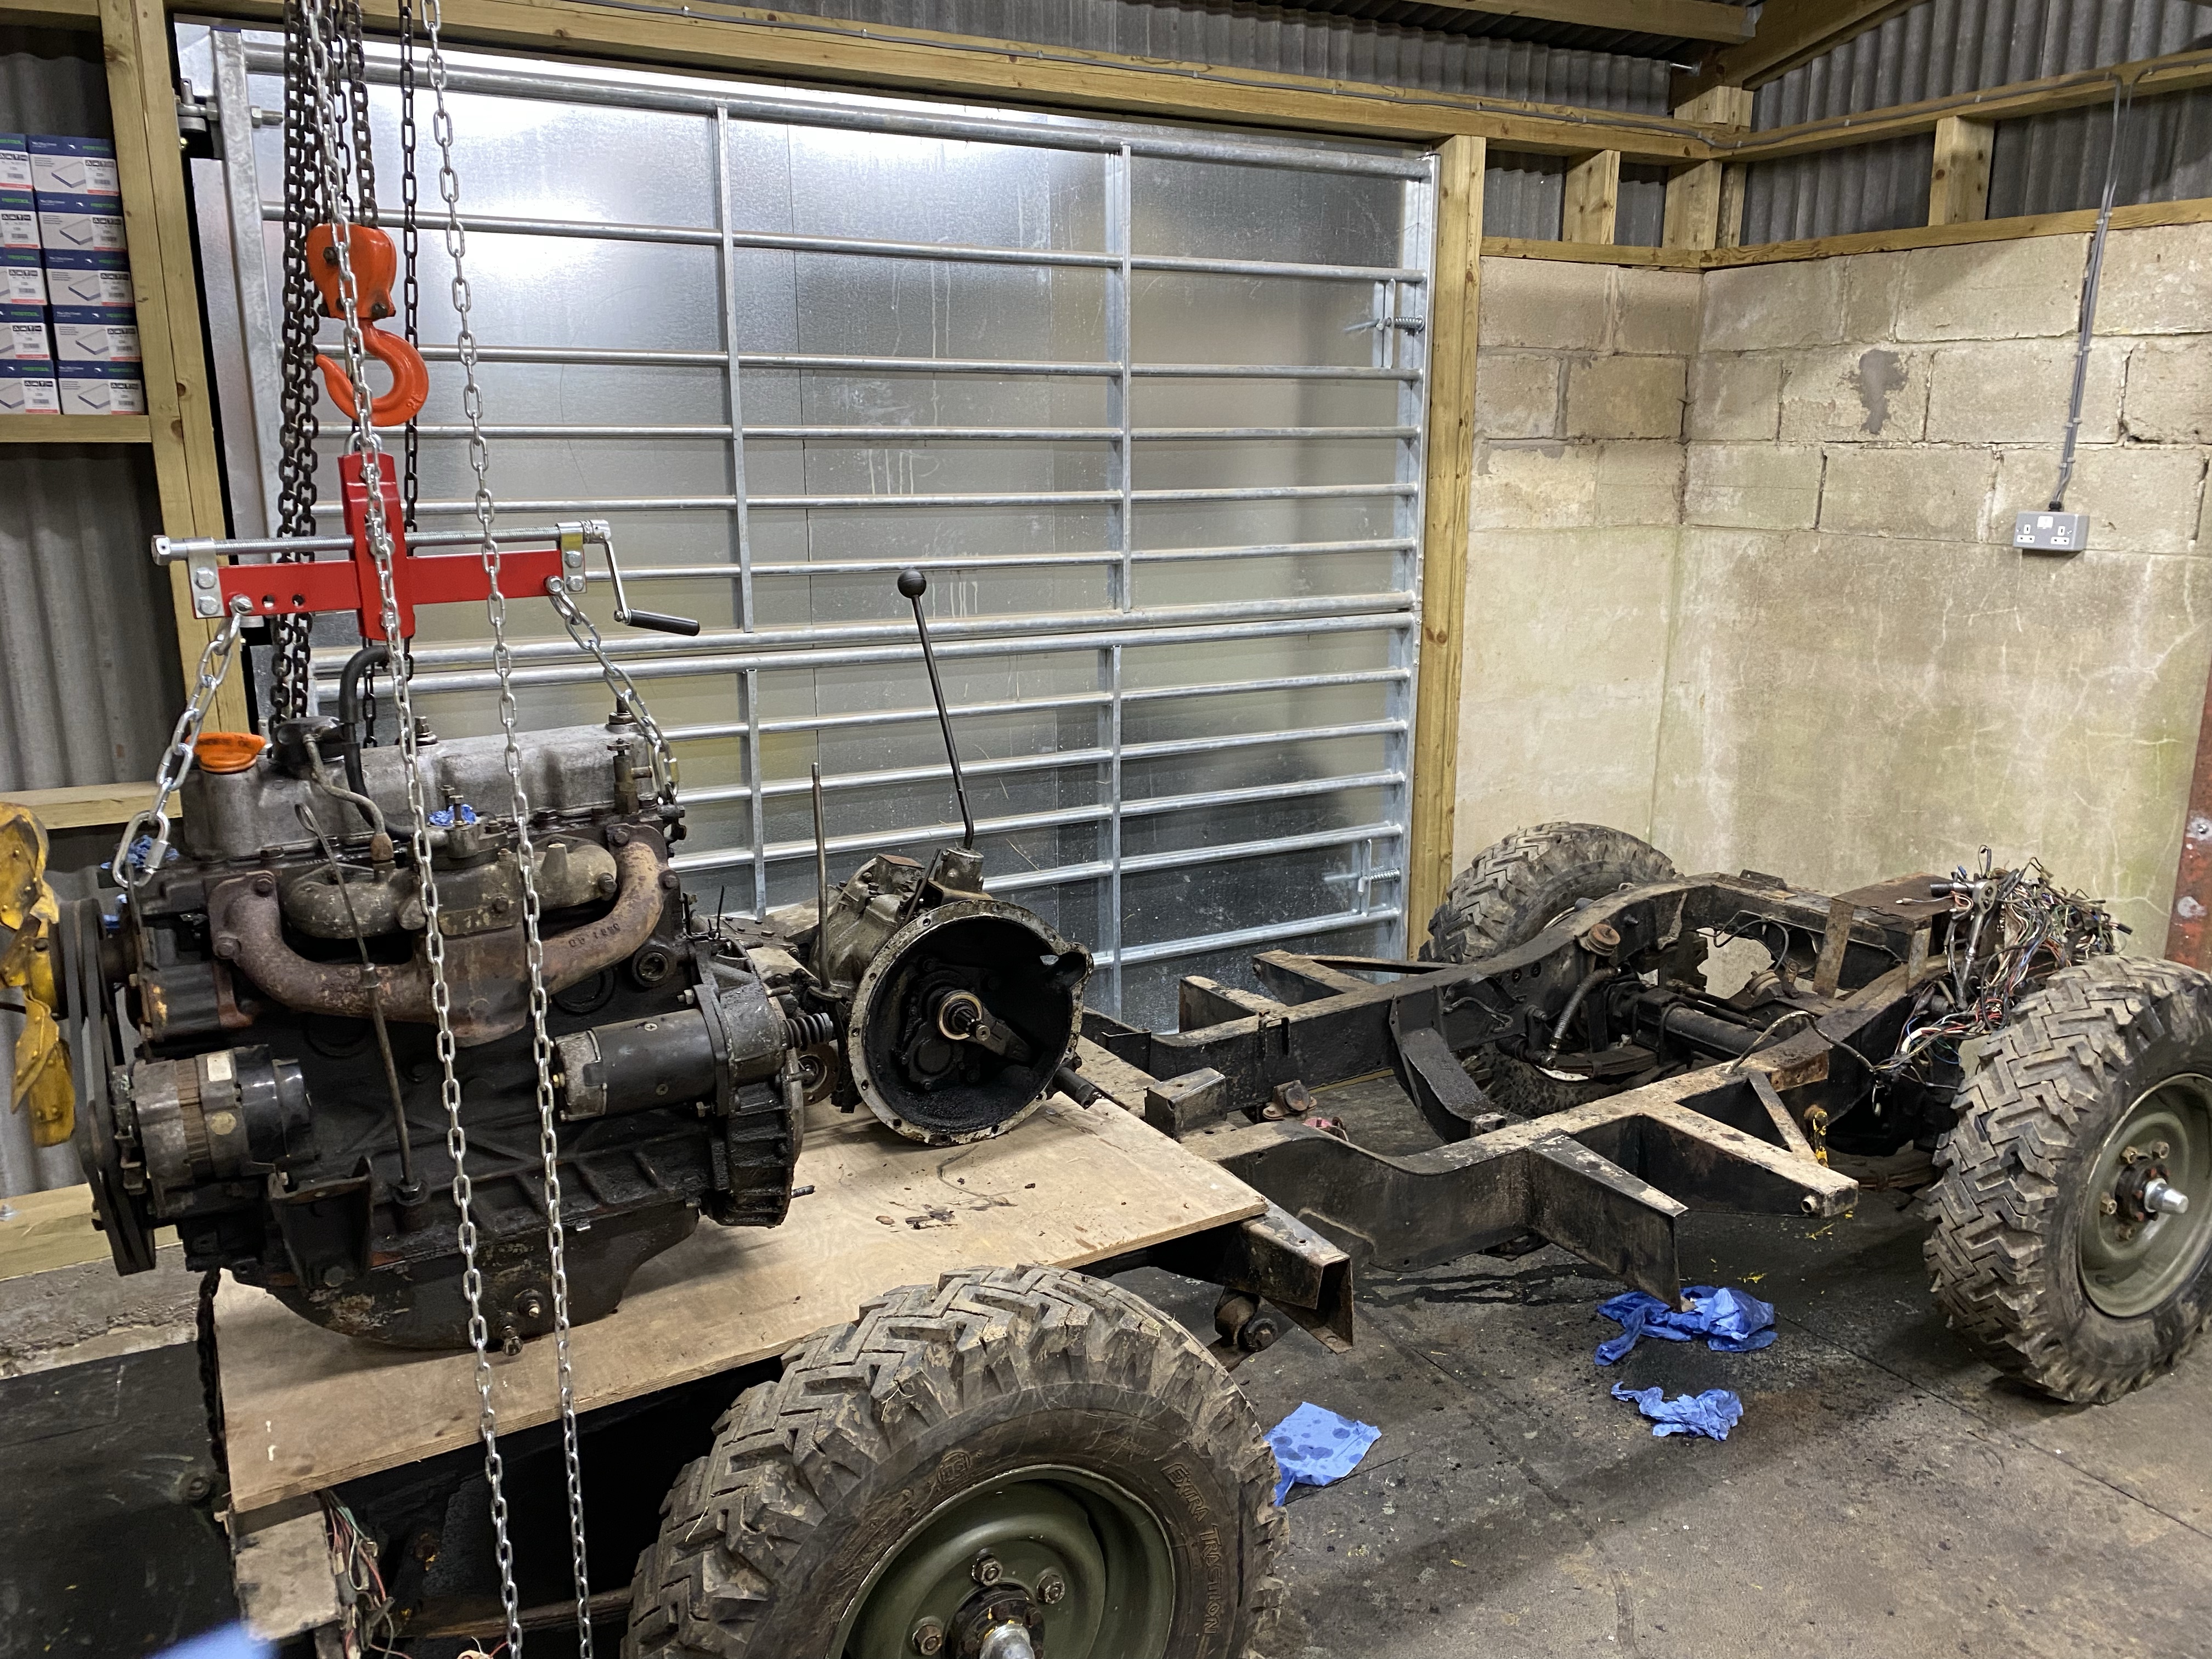
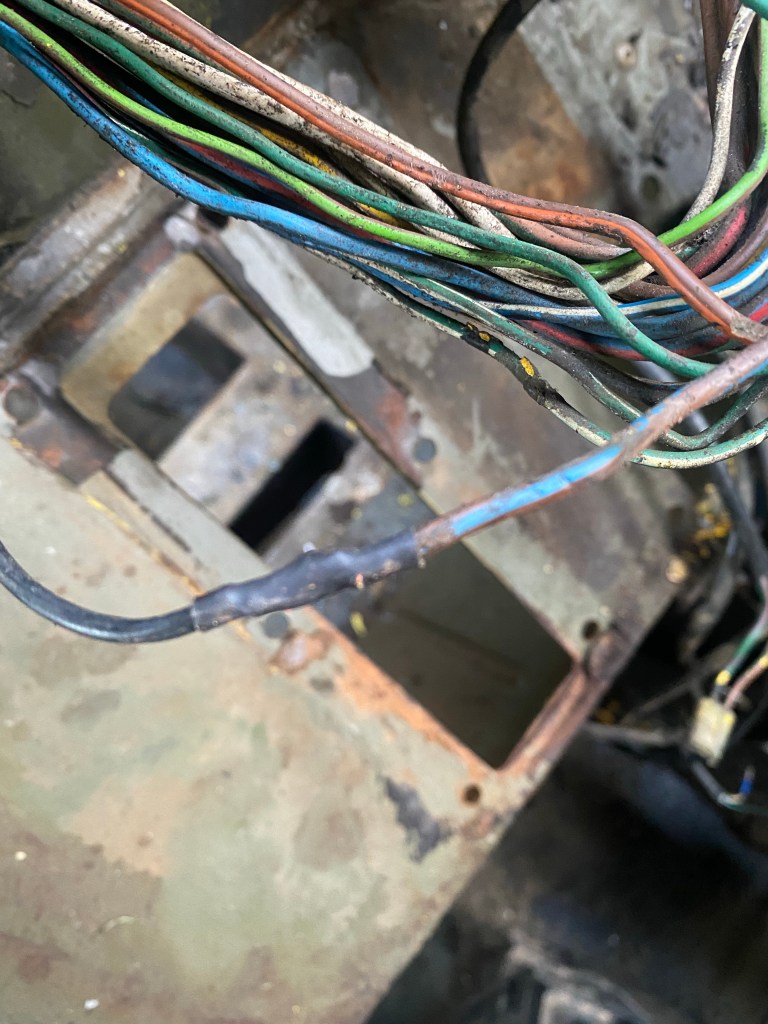
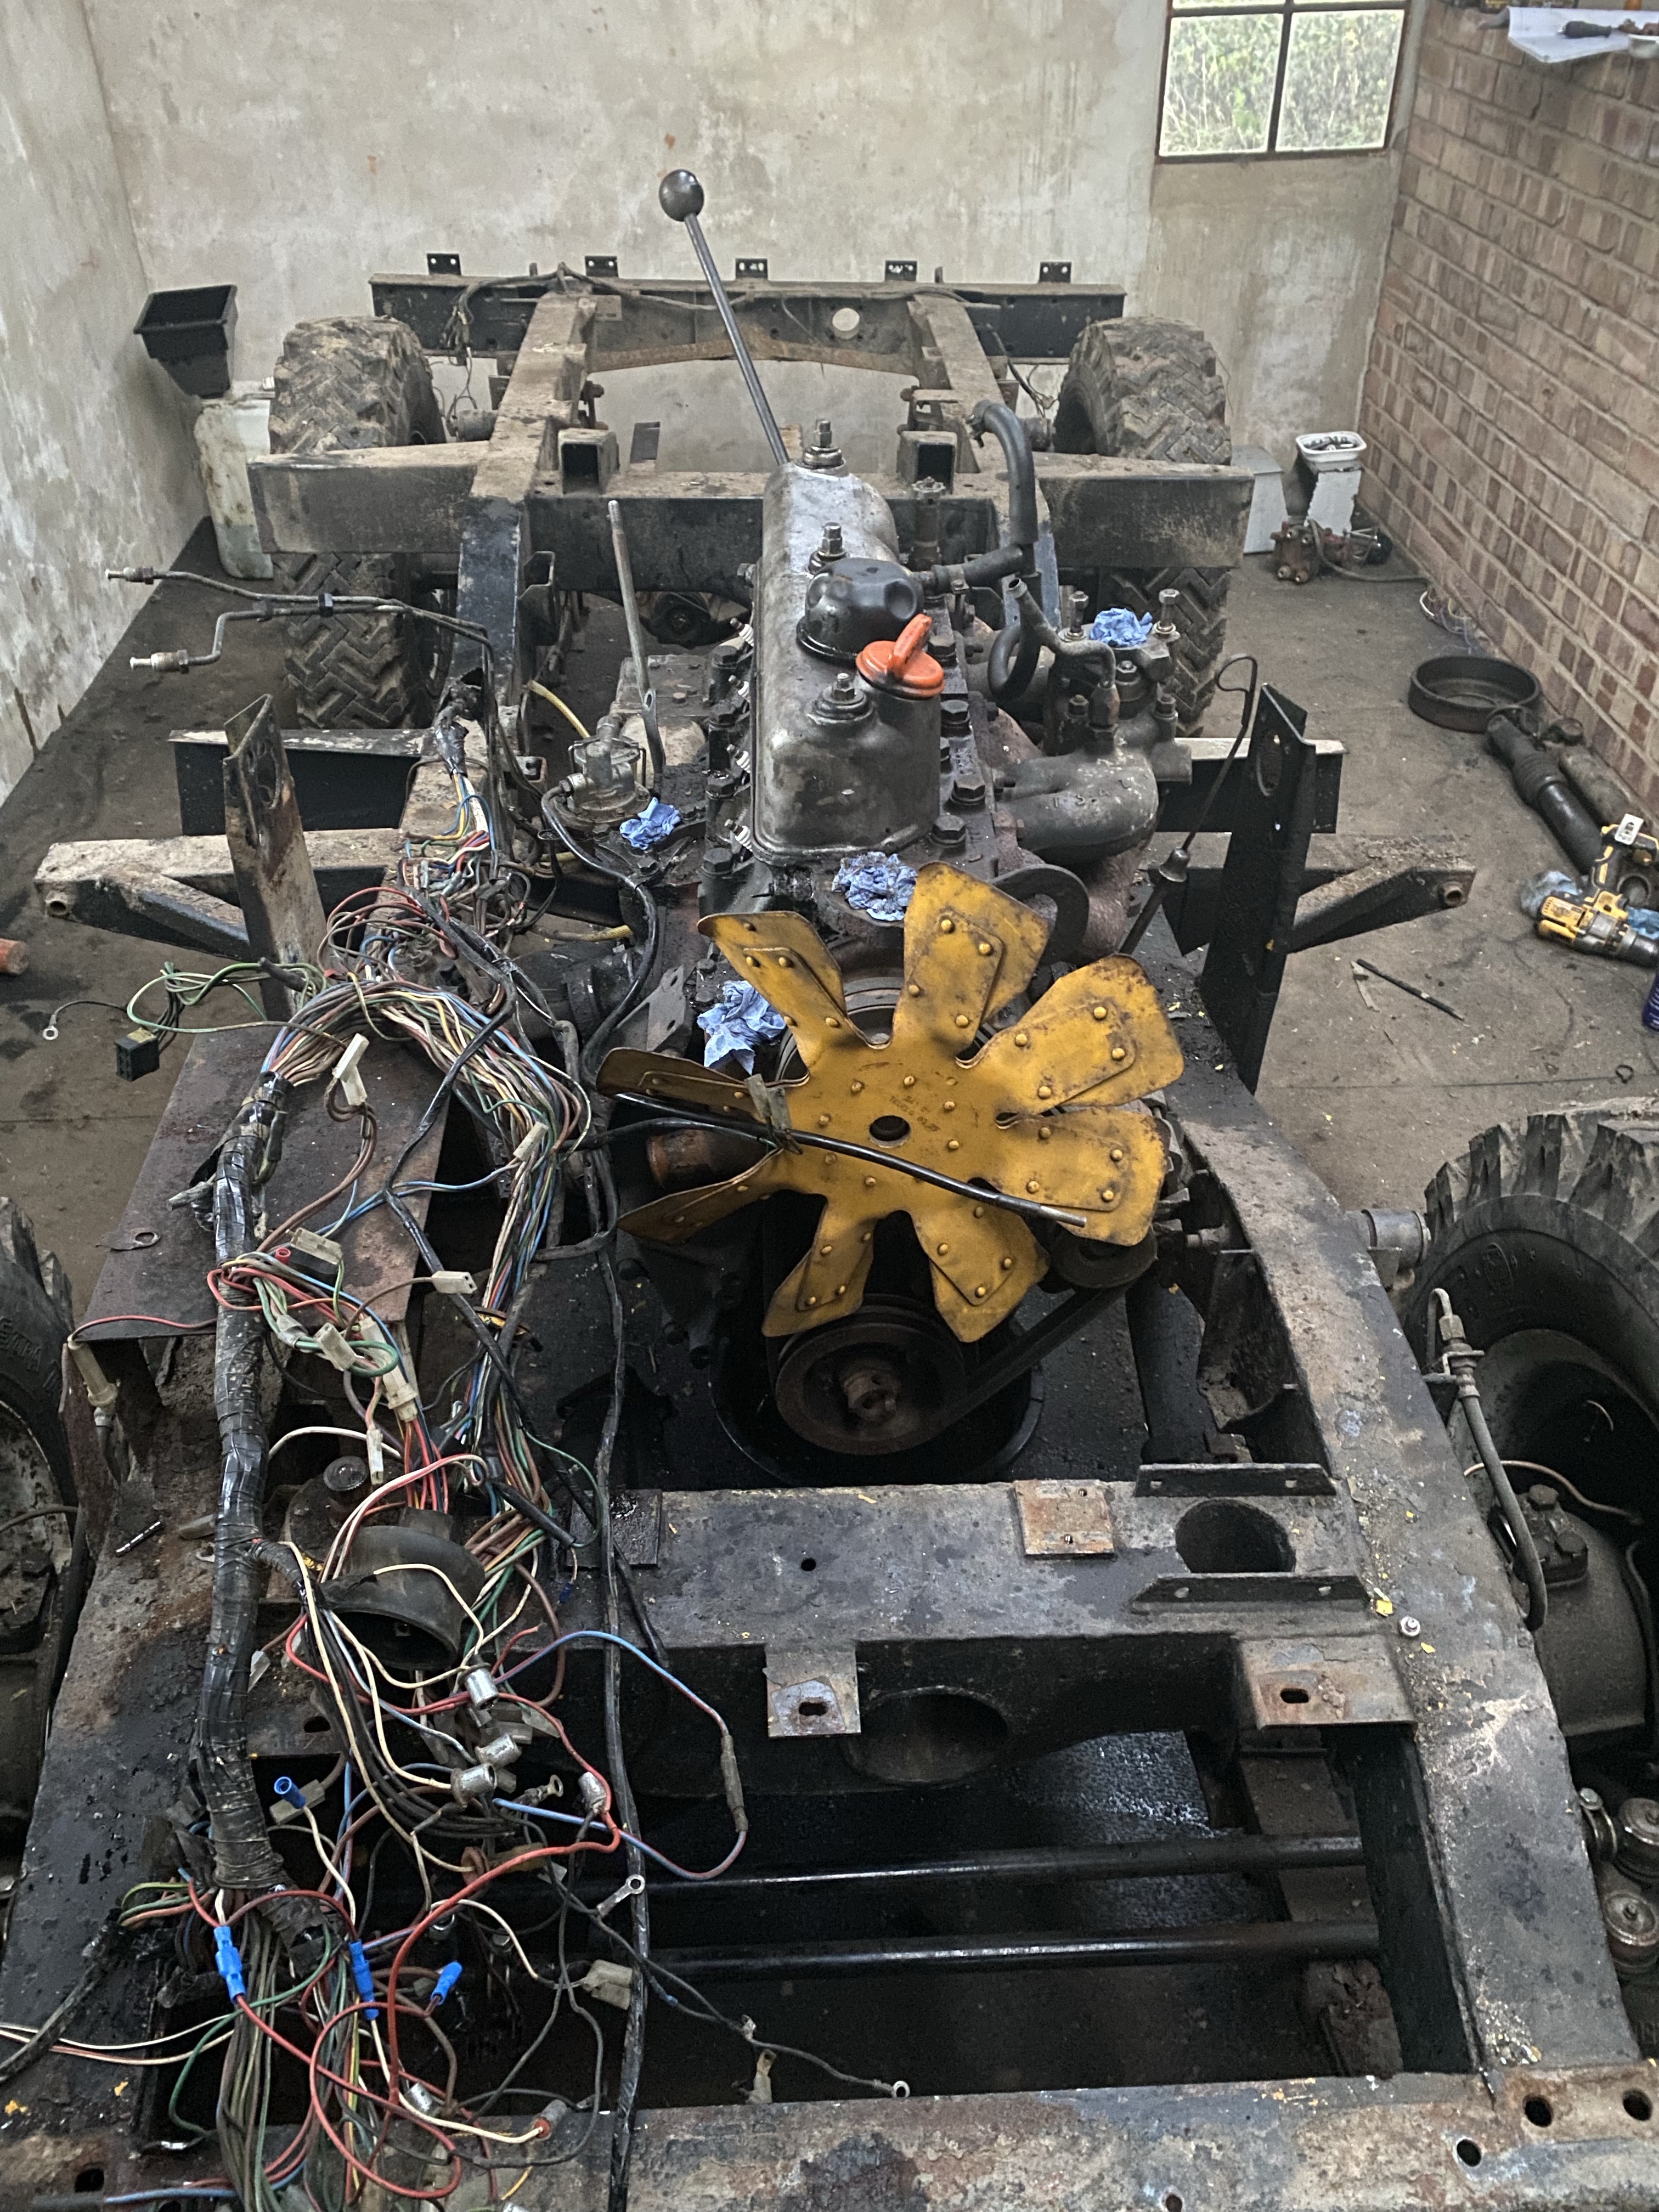
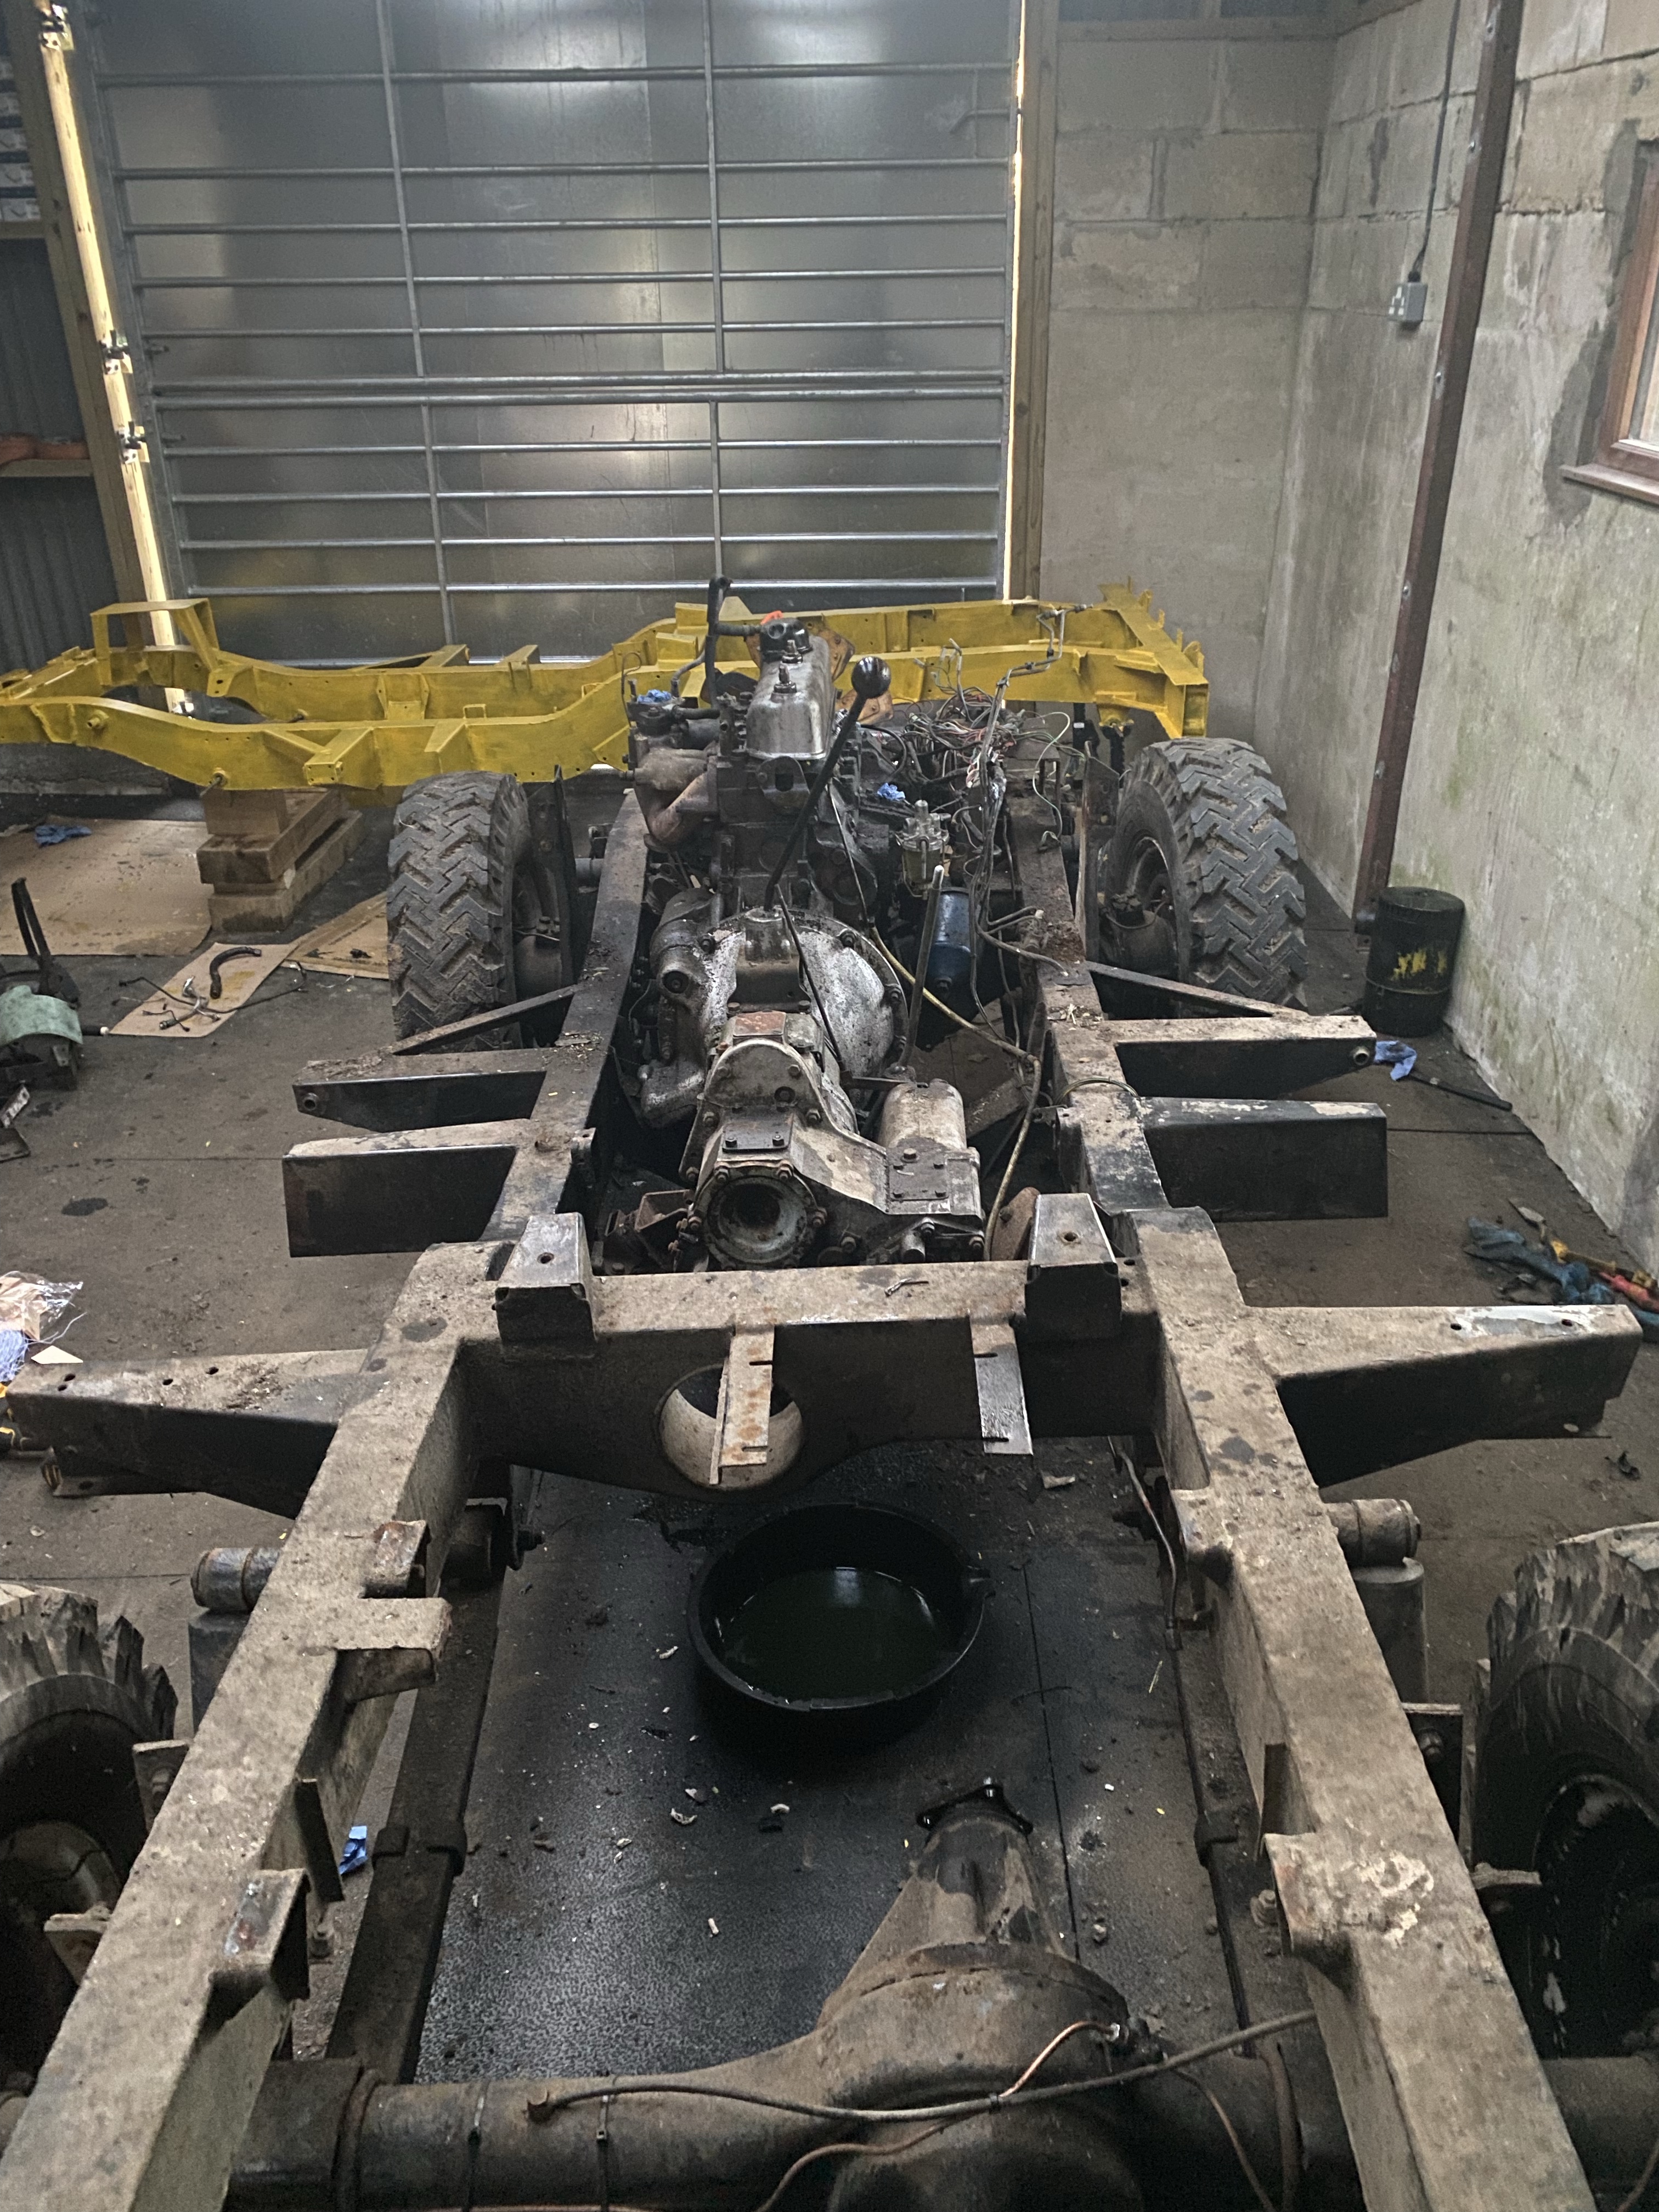
A little bit of tidying of the workshop was required before moving onto cleaning the block, and starting to clean the head (I’ll start stripping that later once I have tidied a bench) and the pistons.

Enough to make a gasket weep.

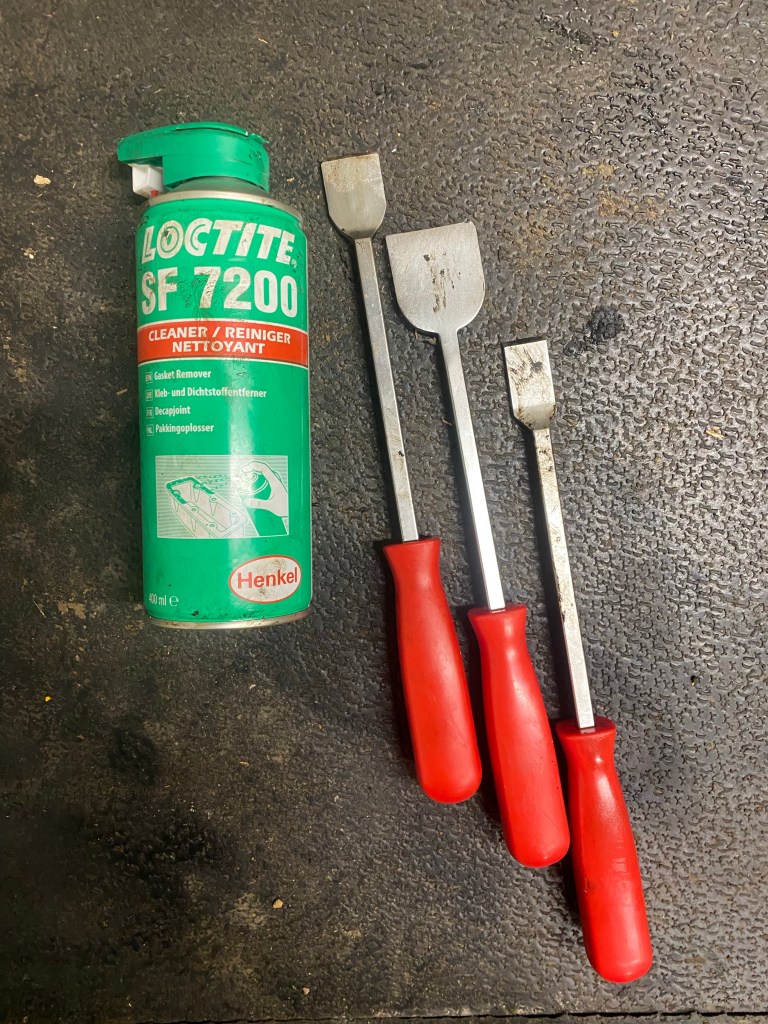
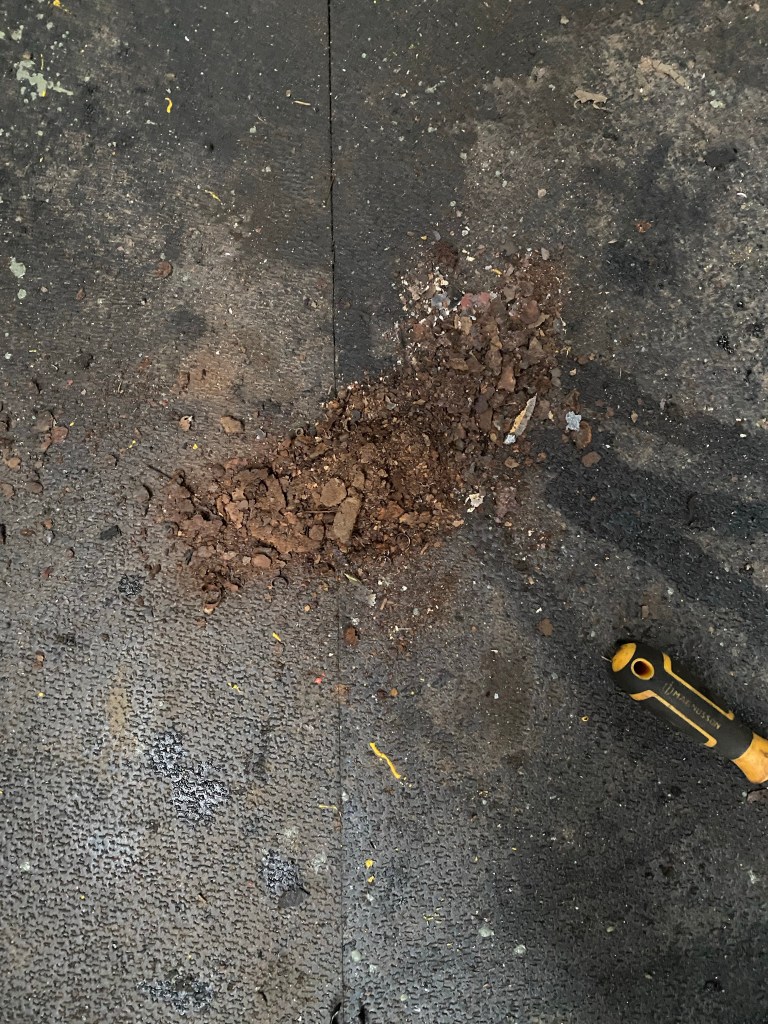
Armed with my scrapers and gasket removal spray, I attacked the gaskets, scrape, spray, leave, spray, scrape etc etc. The Loctite is actually pretty good but best to remove as much as possible first. It also softens carbon deposits – more on that later.

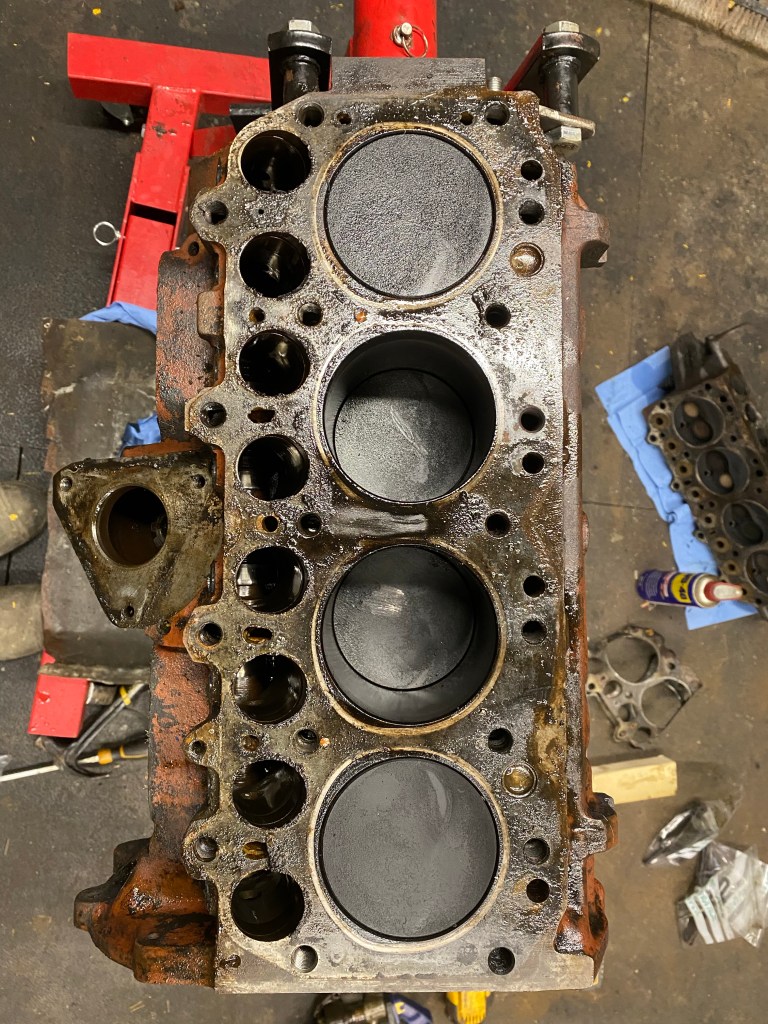
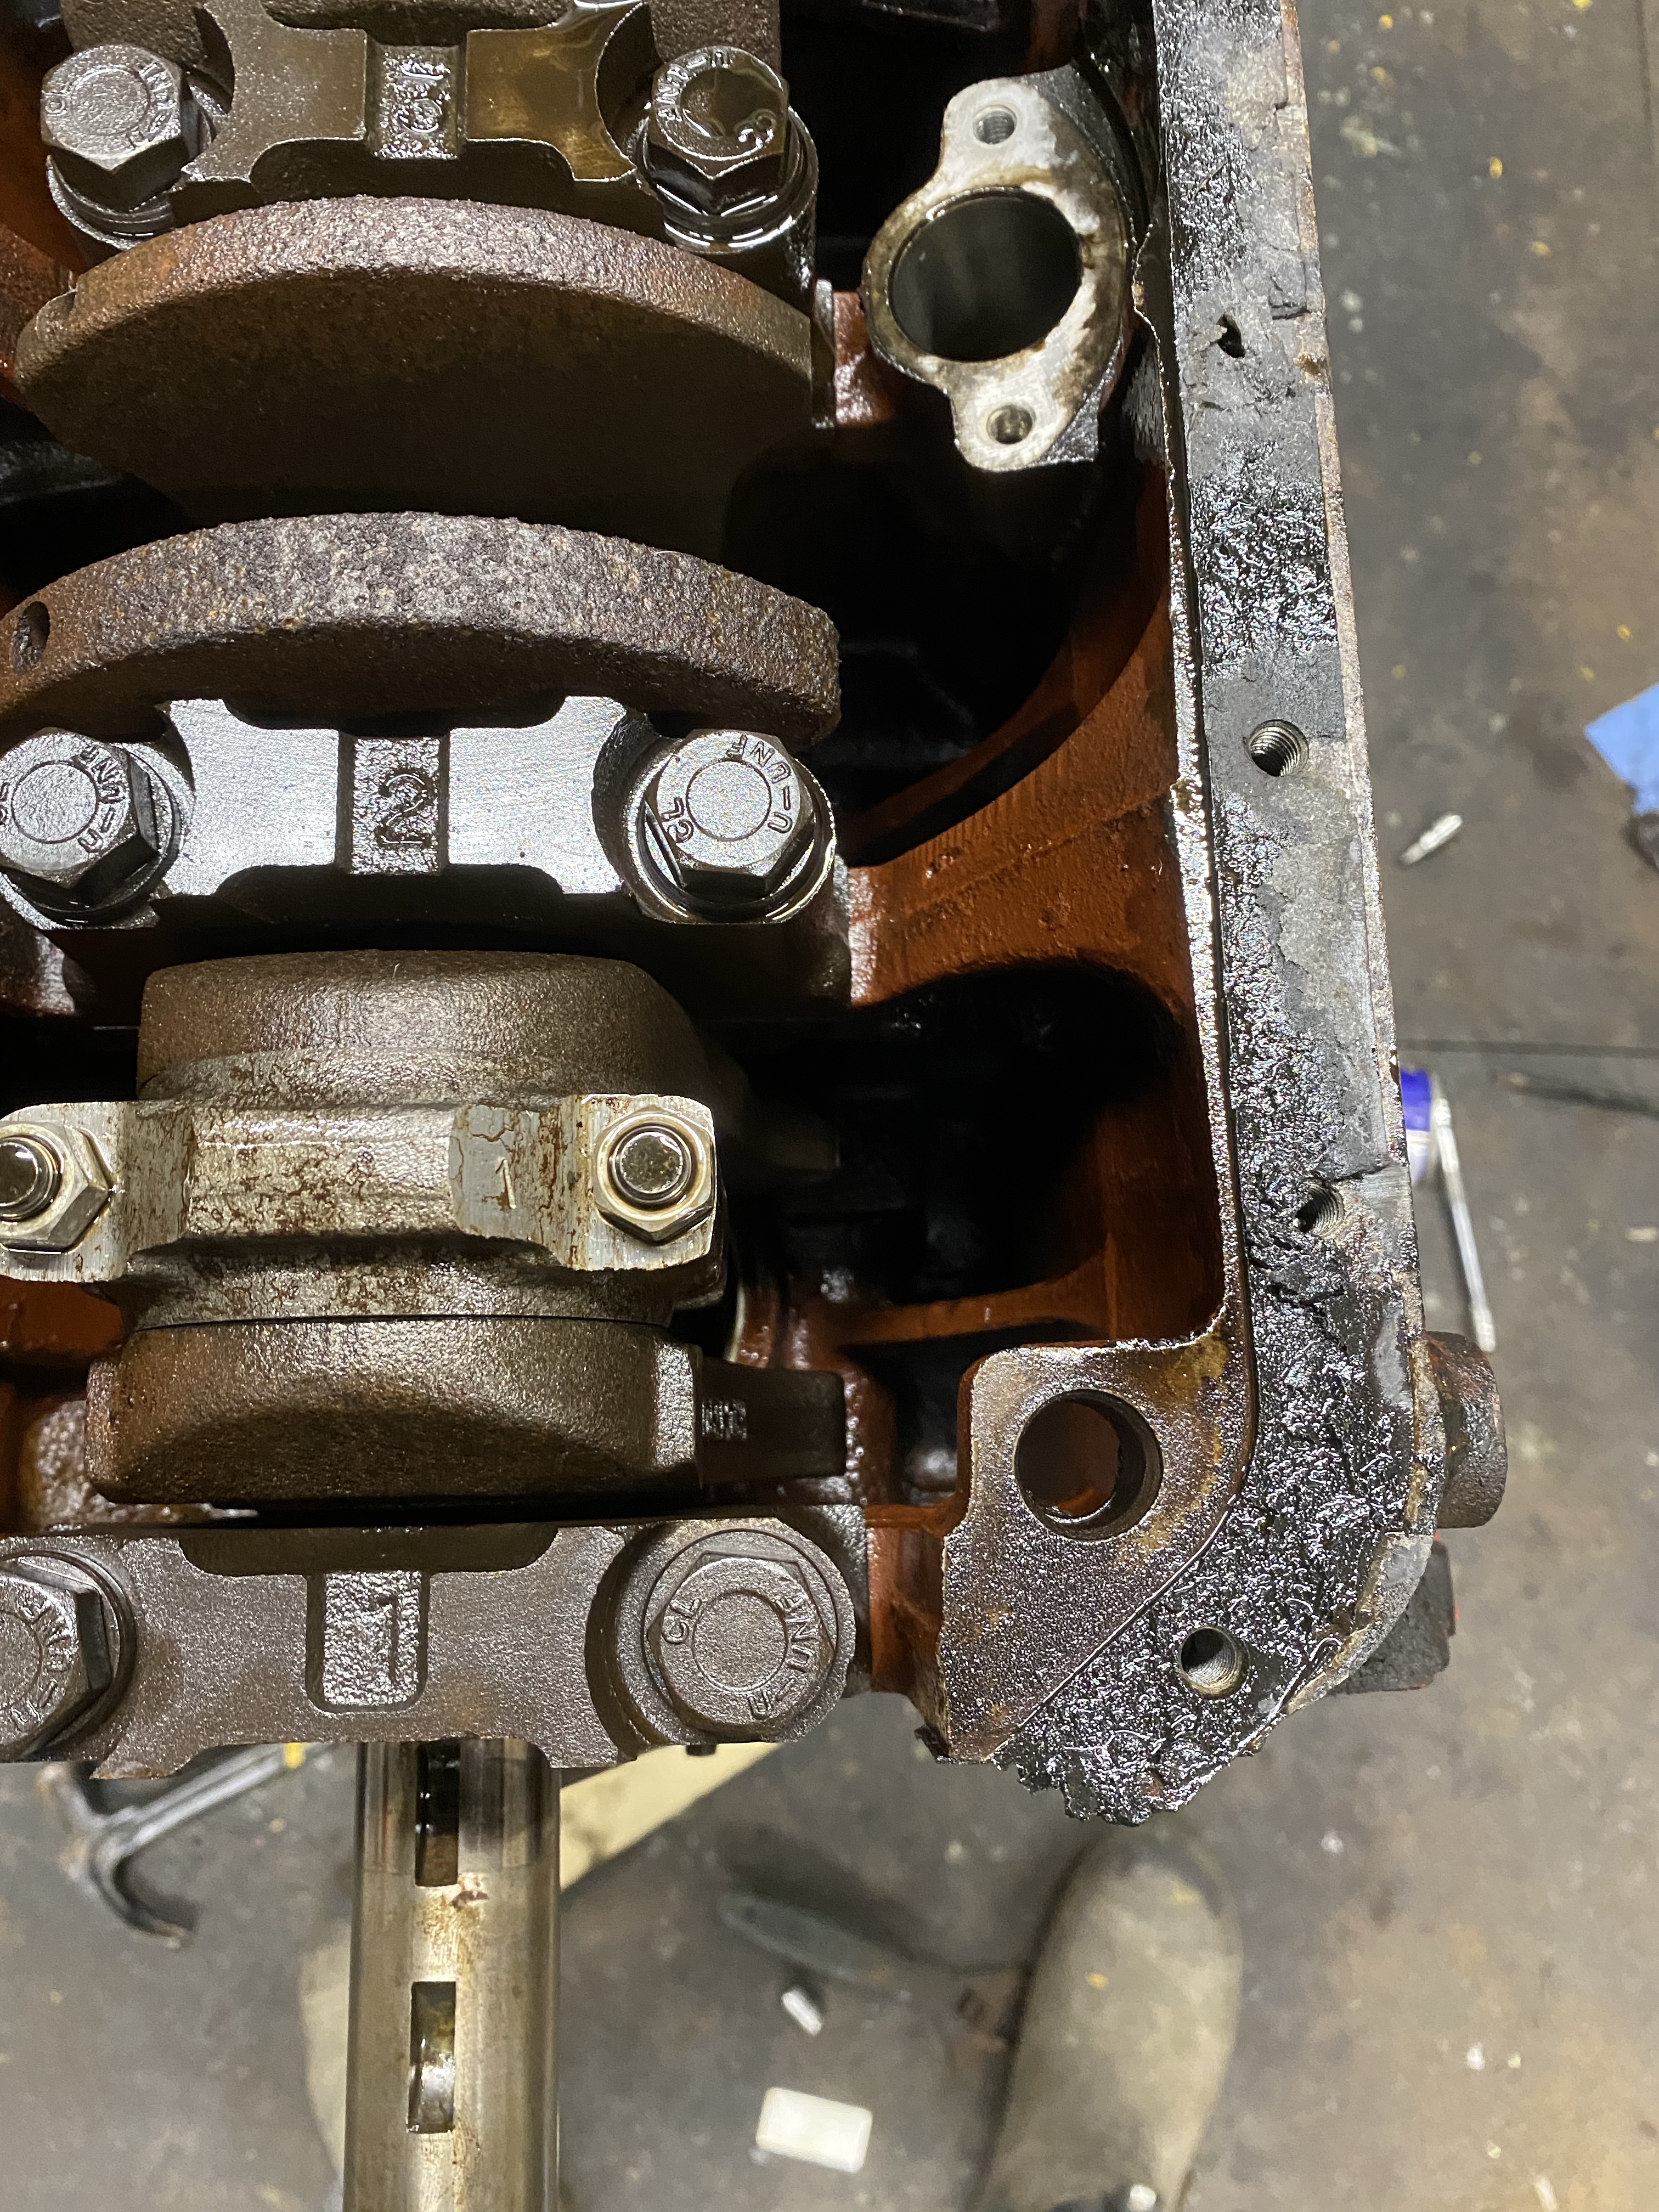
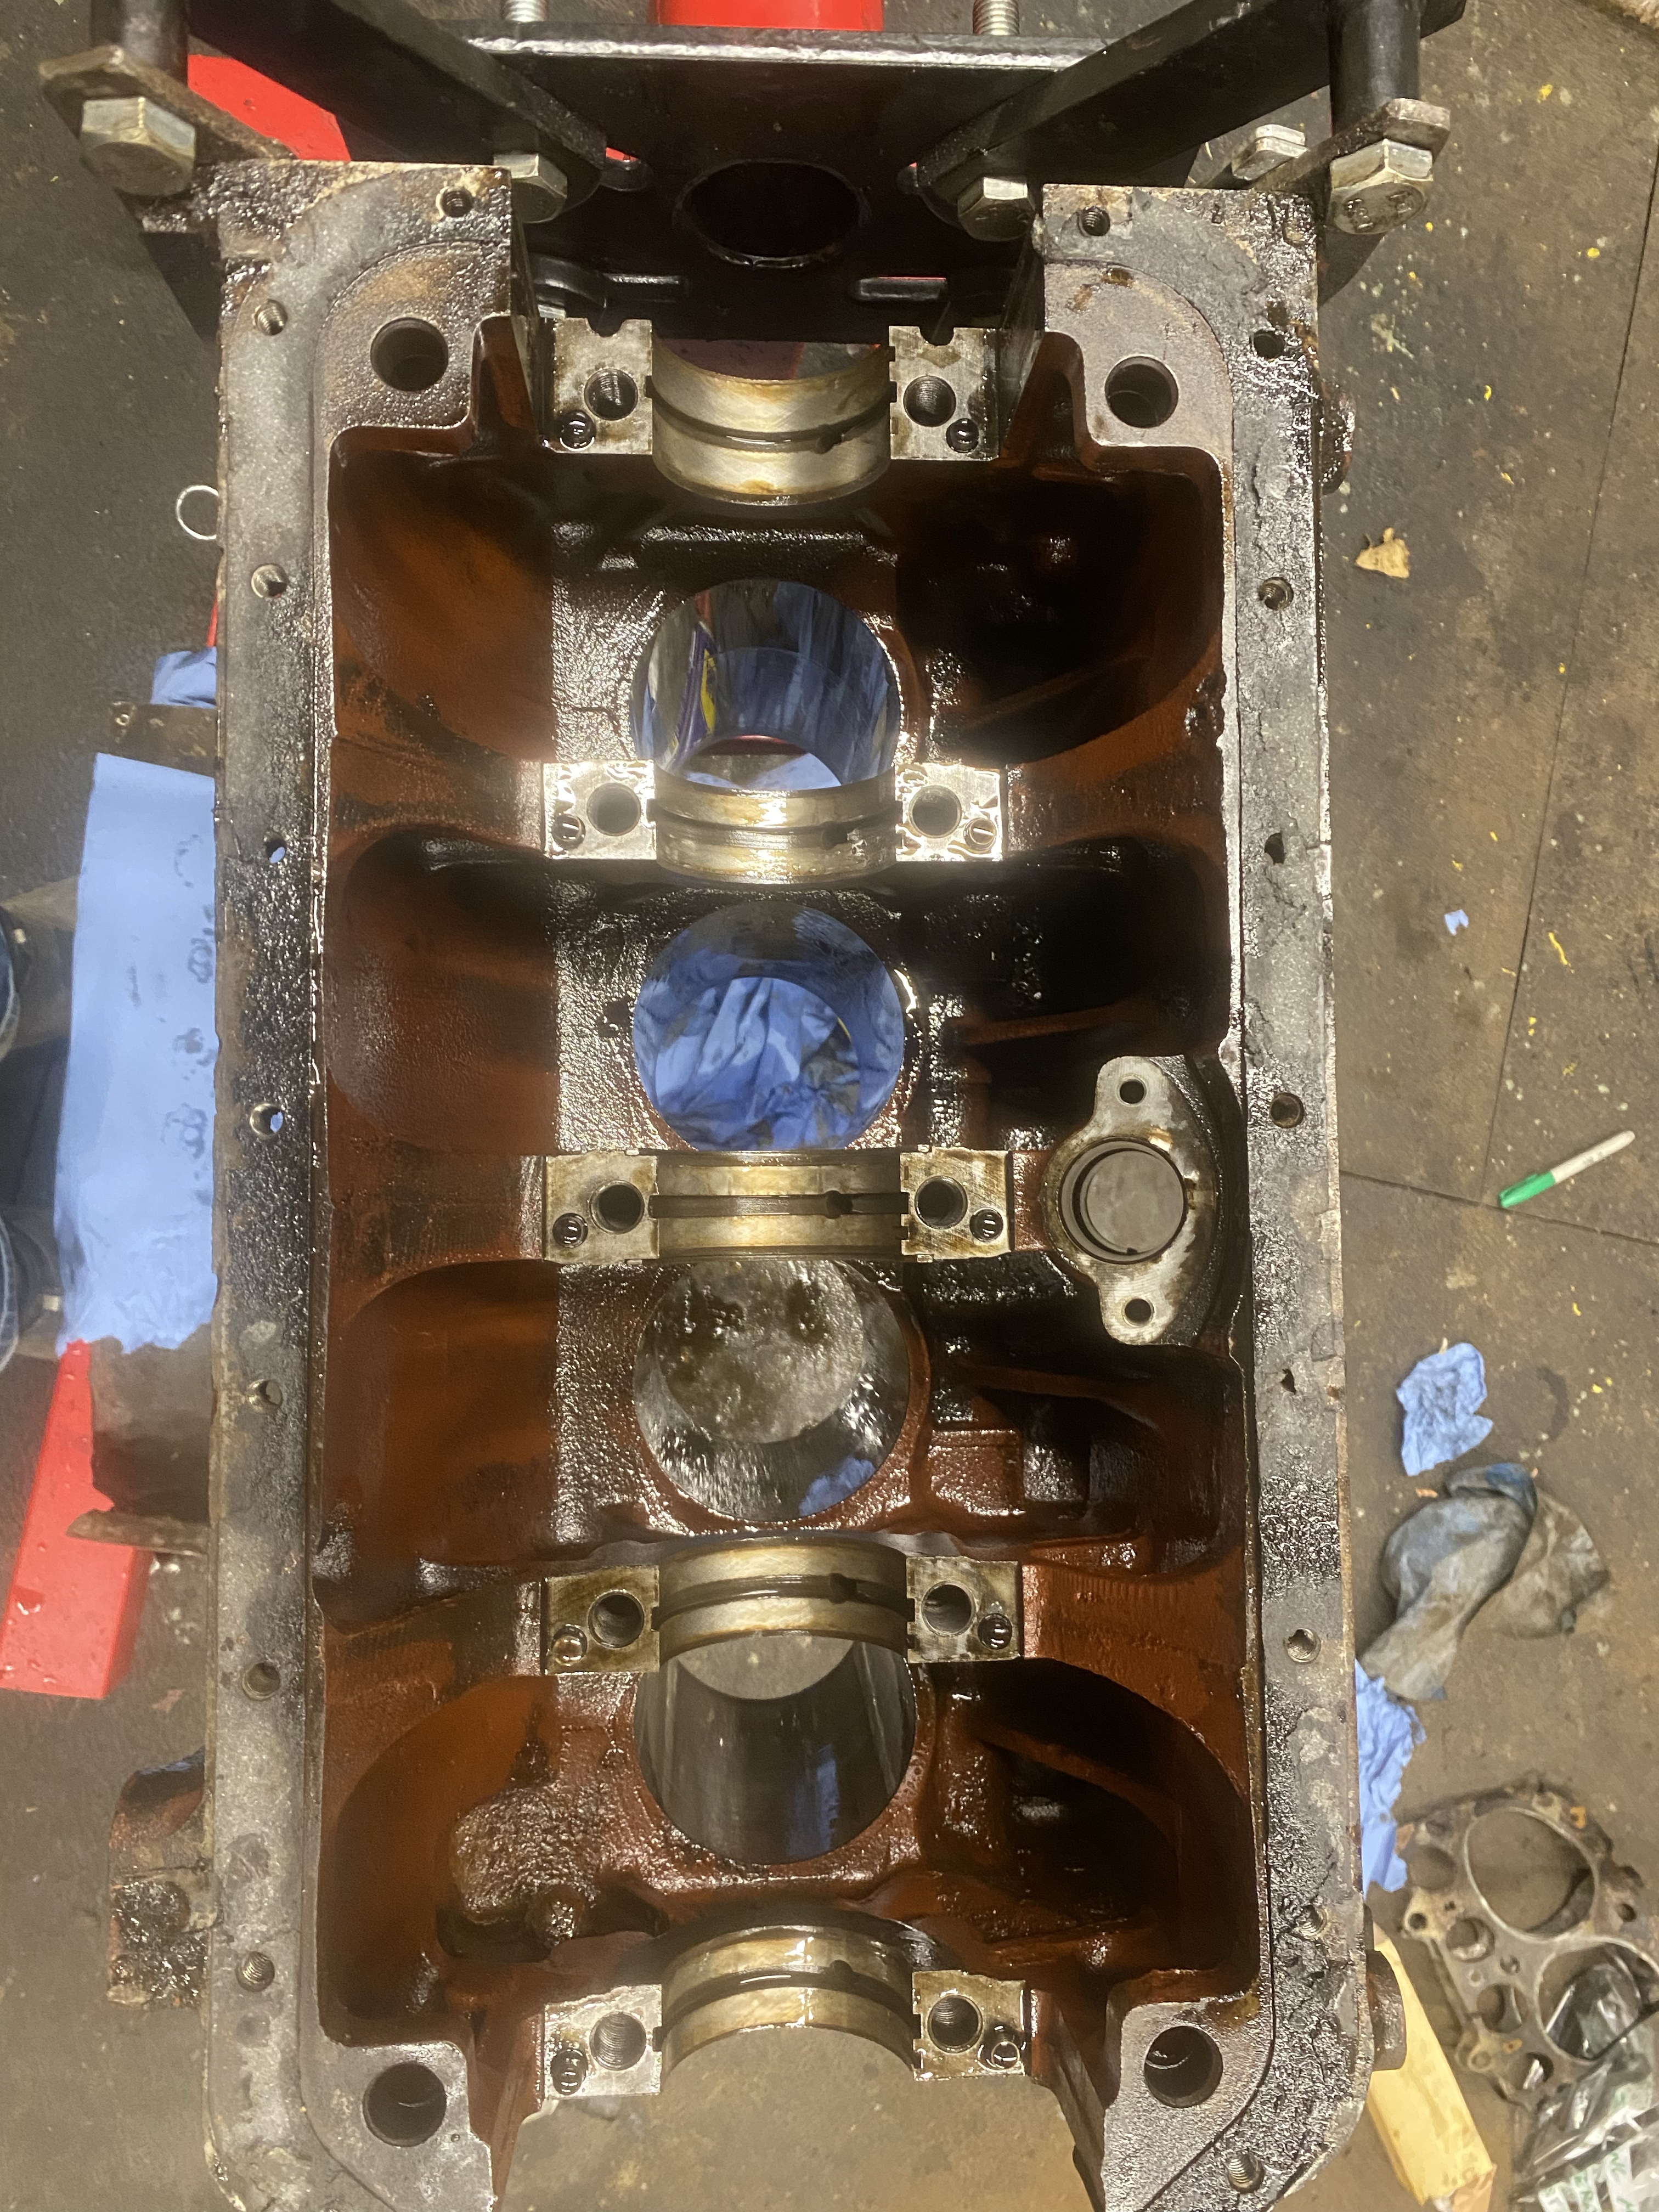
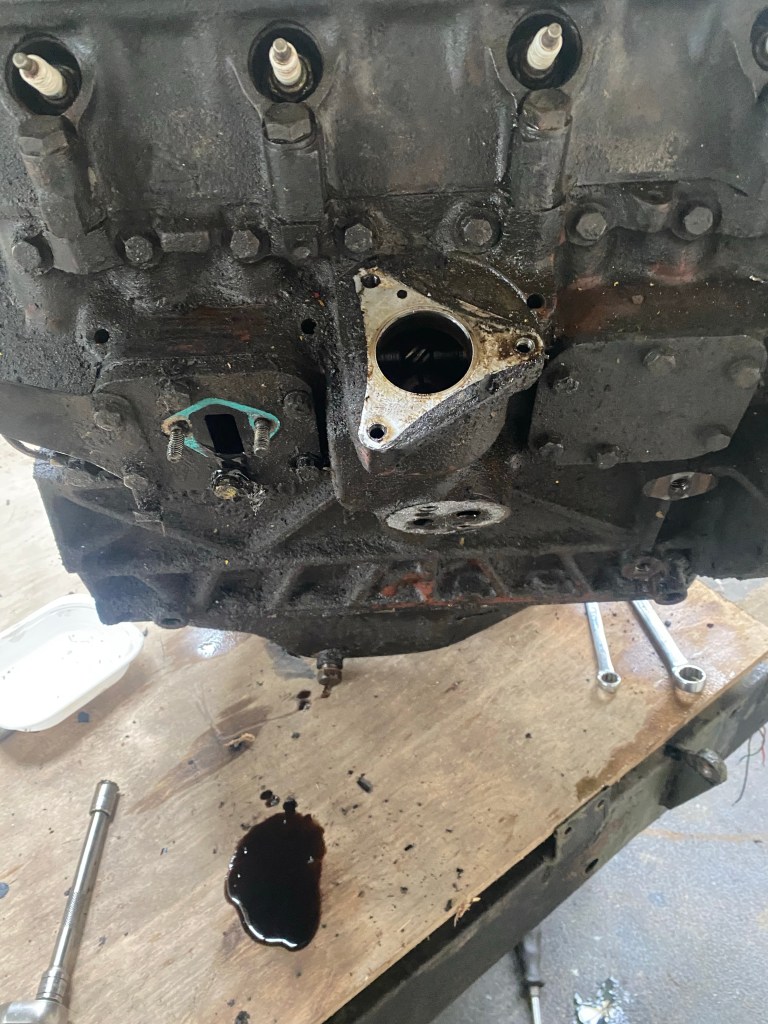
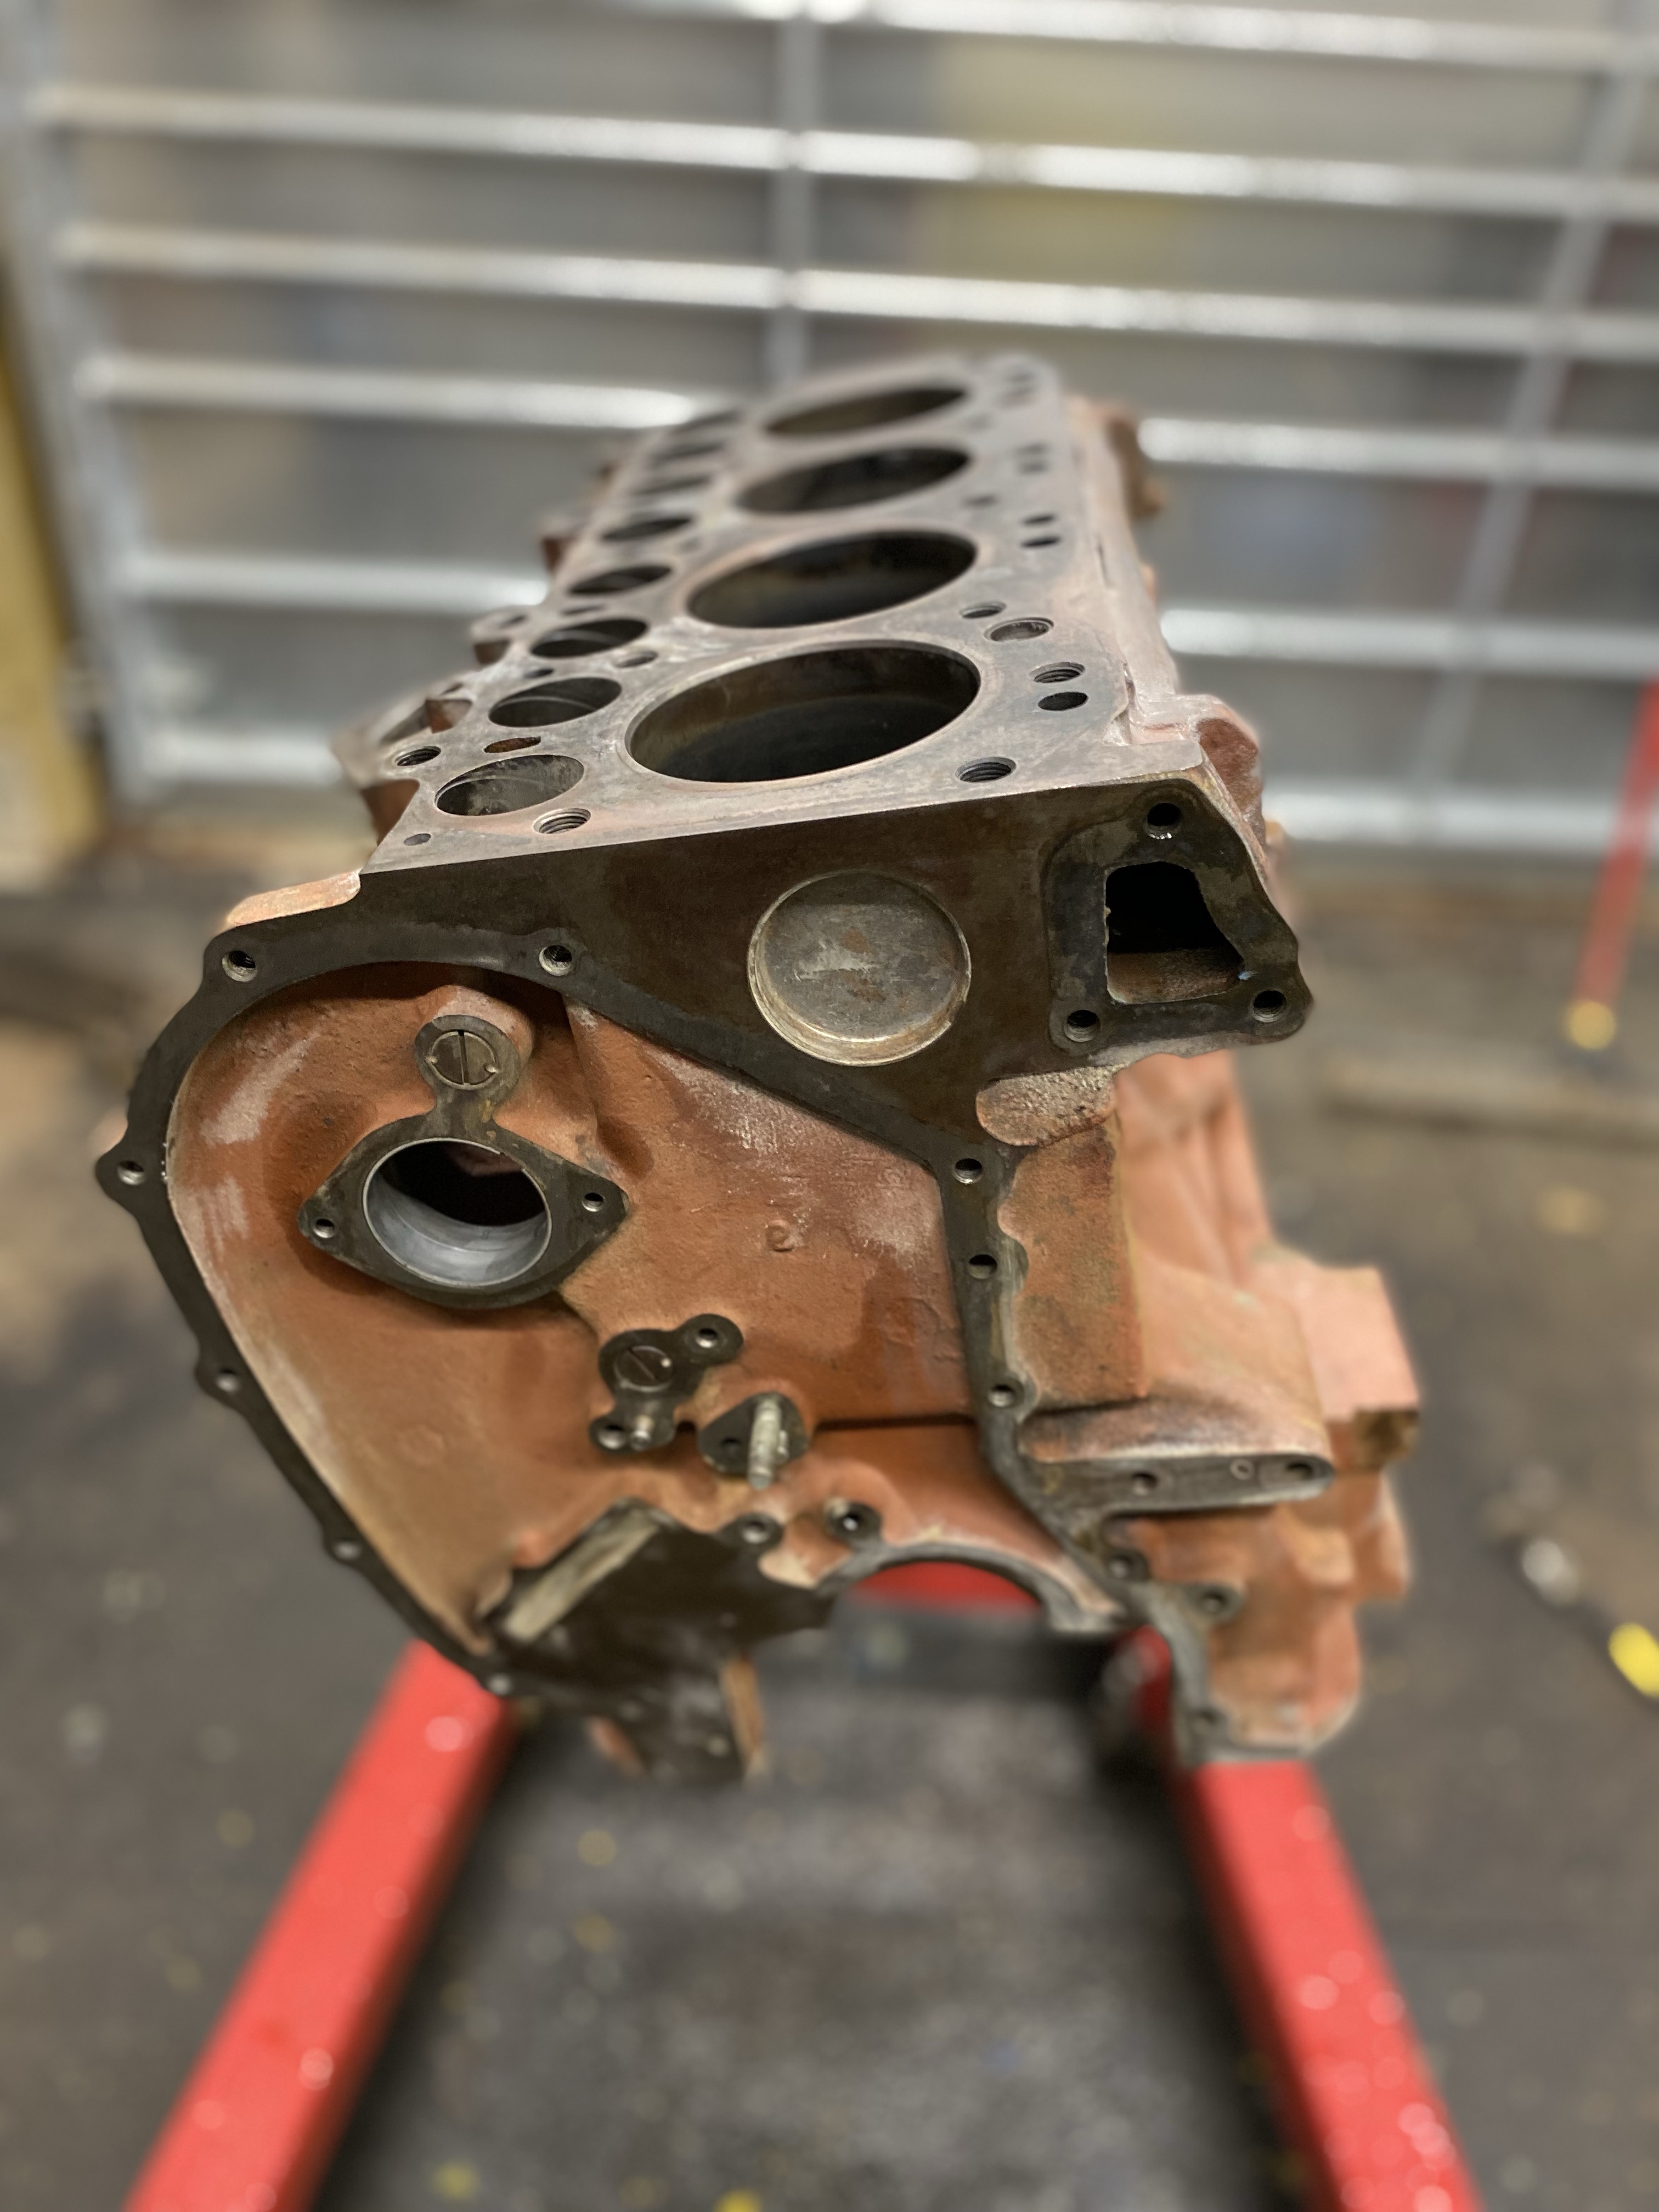
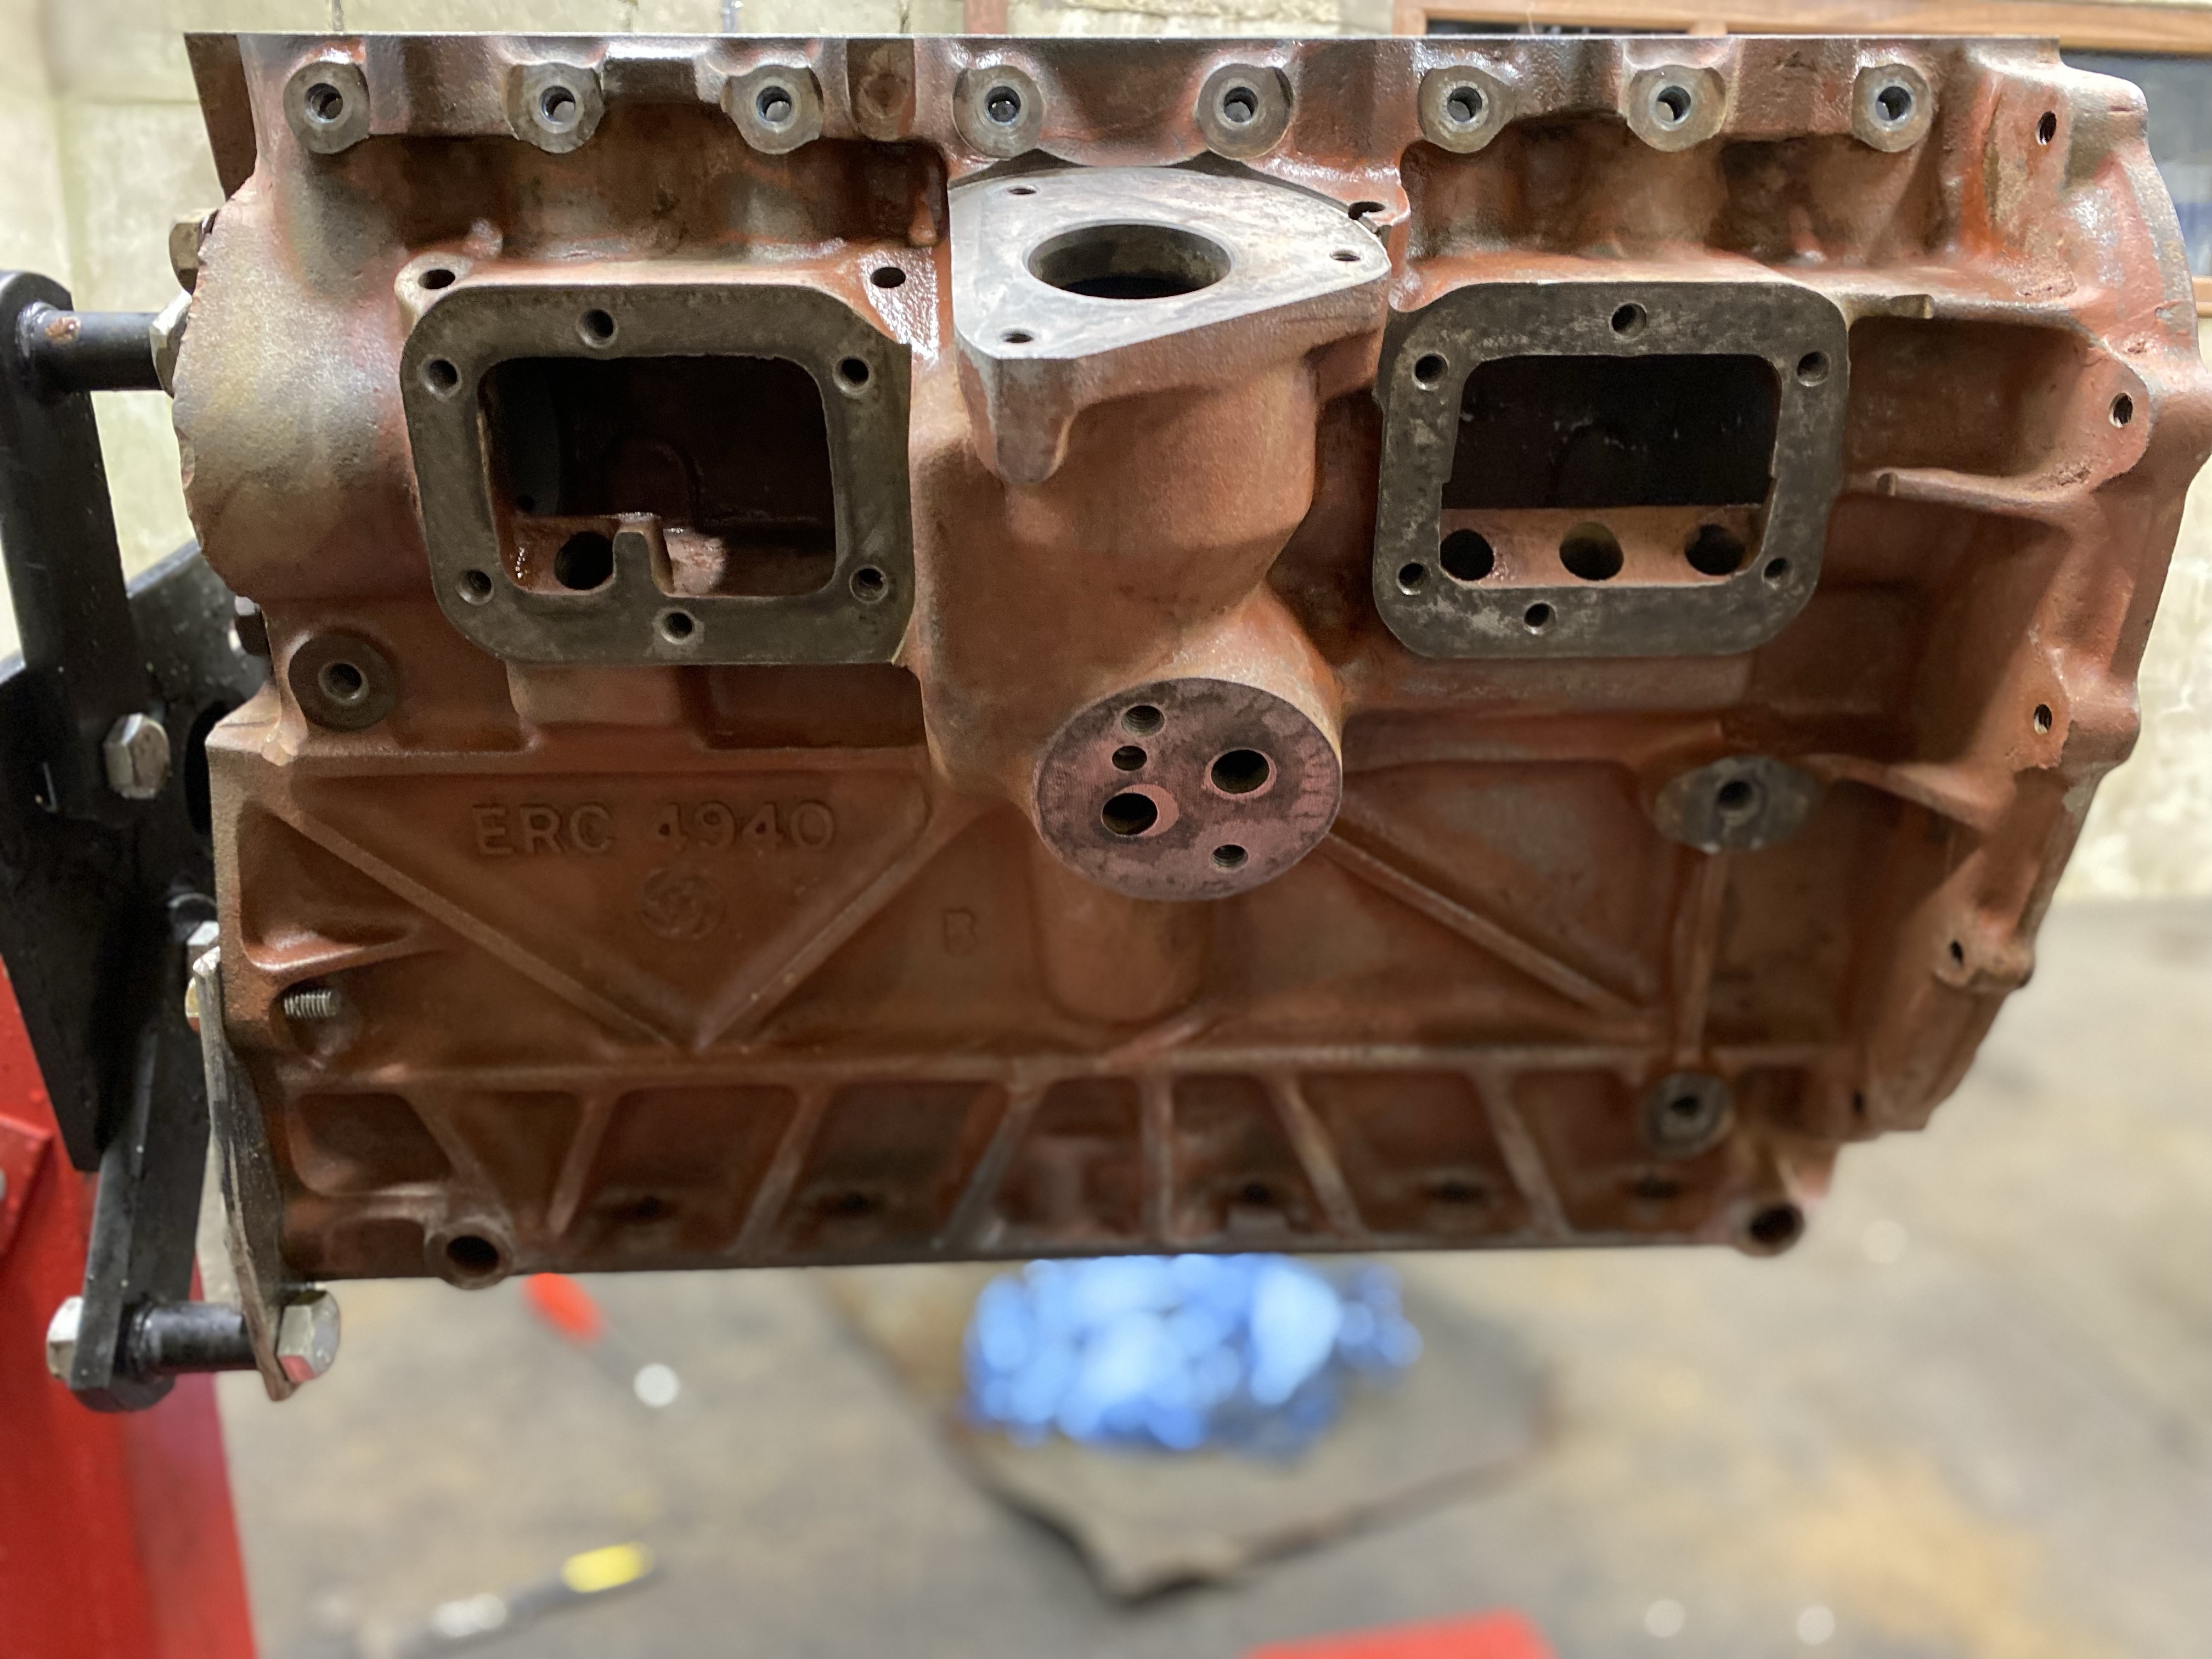
Gaskets removed I set to the outside and inside of the block with engine degreaser and a brush. This cleared most of the collected oil, but a jet wash removed the rest. It’ll need prep cleaner before painting but it is pretty clean. I also took the chance to blast through the coolant galleries. It may be better to have done this with core plugs removed, but I am still in two minds about replacing them. If it ain’t broke don’t fix it said the man who had to pull the engine again.

I dried the block with compressed wire and wiped the cylinder bores and sealing faces with light oil.

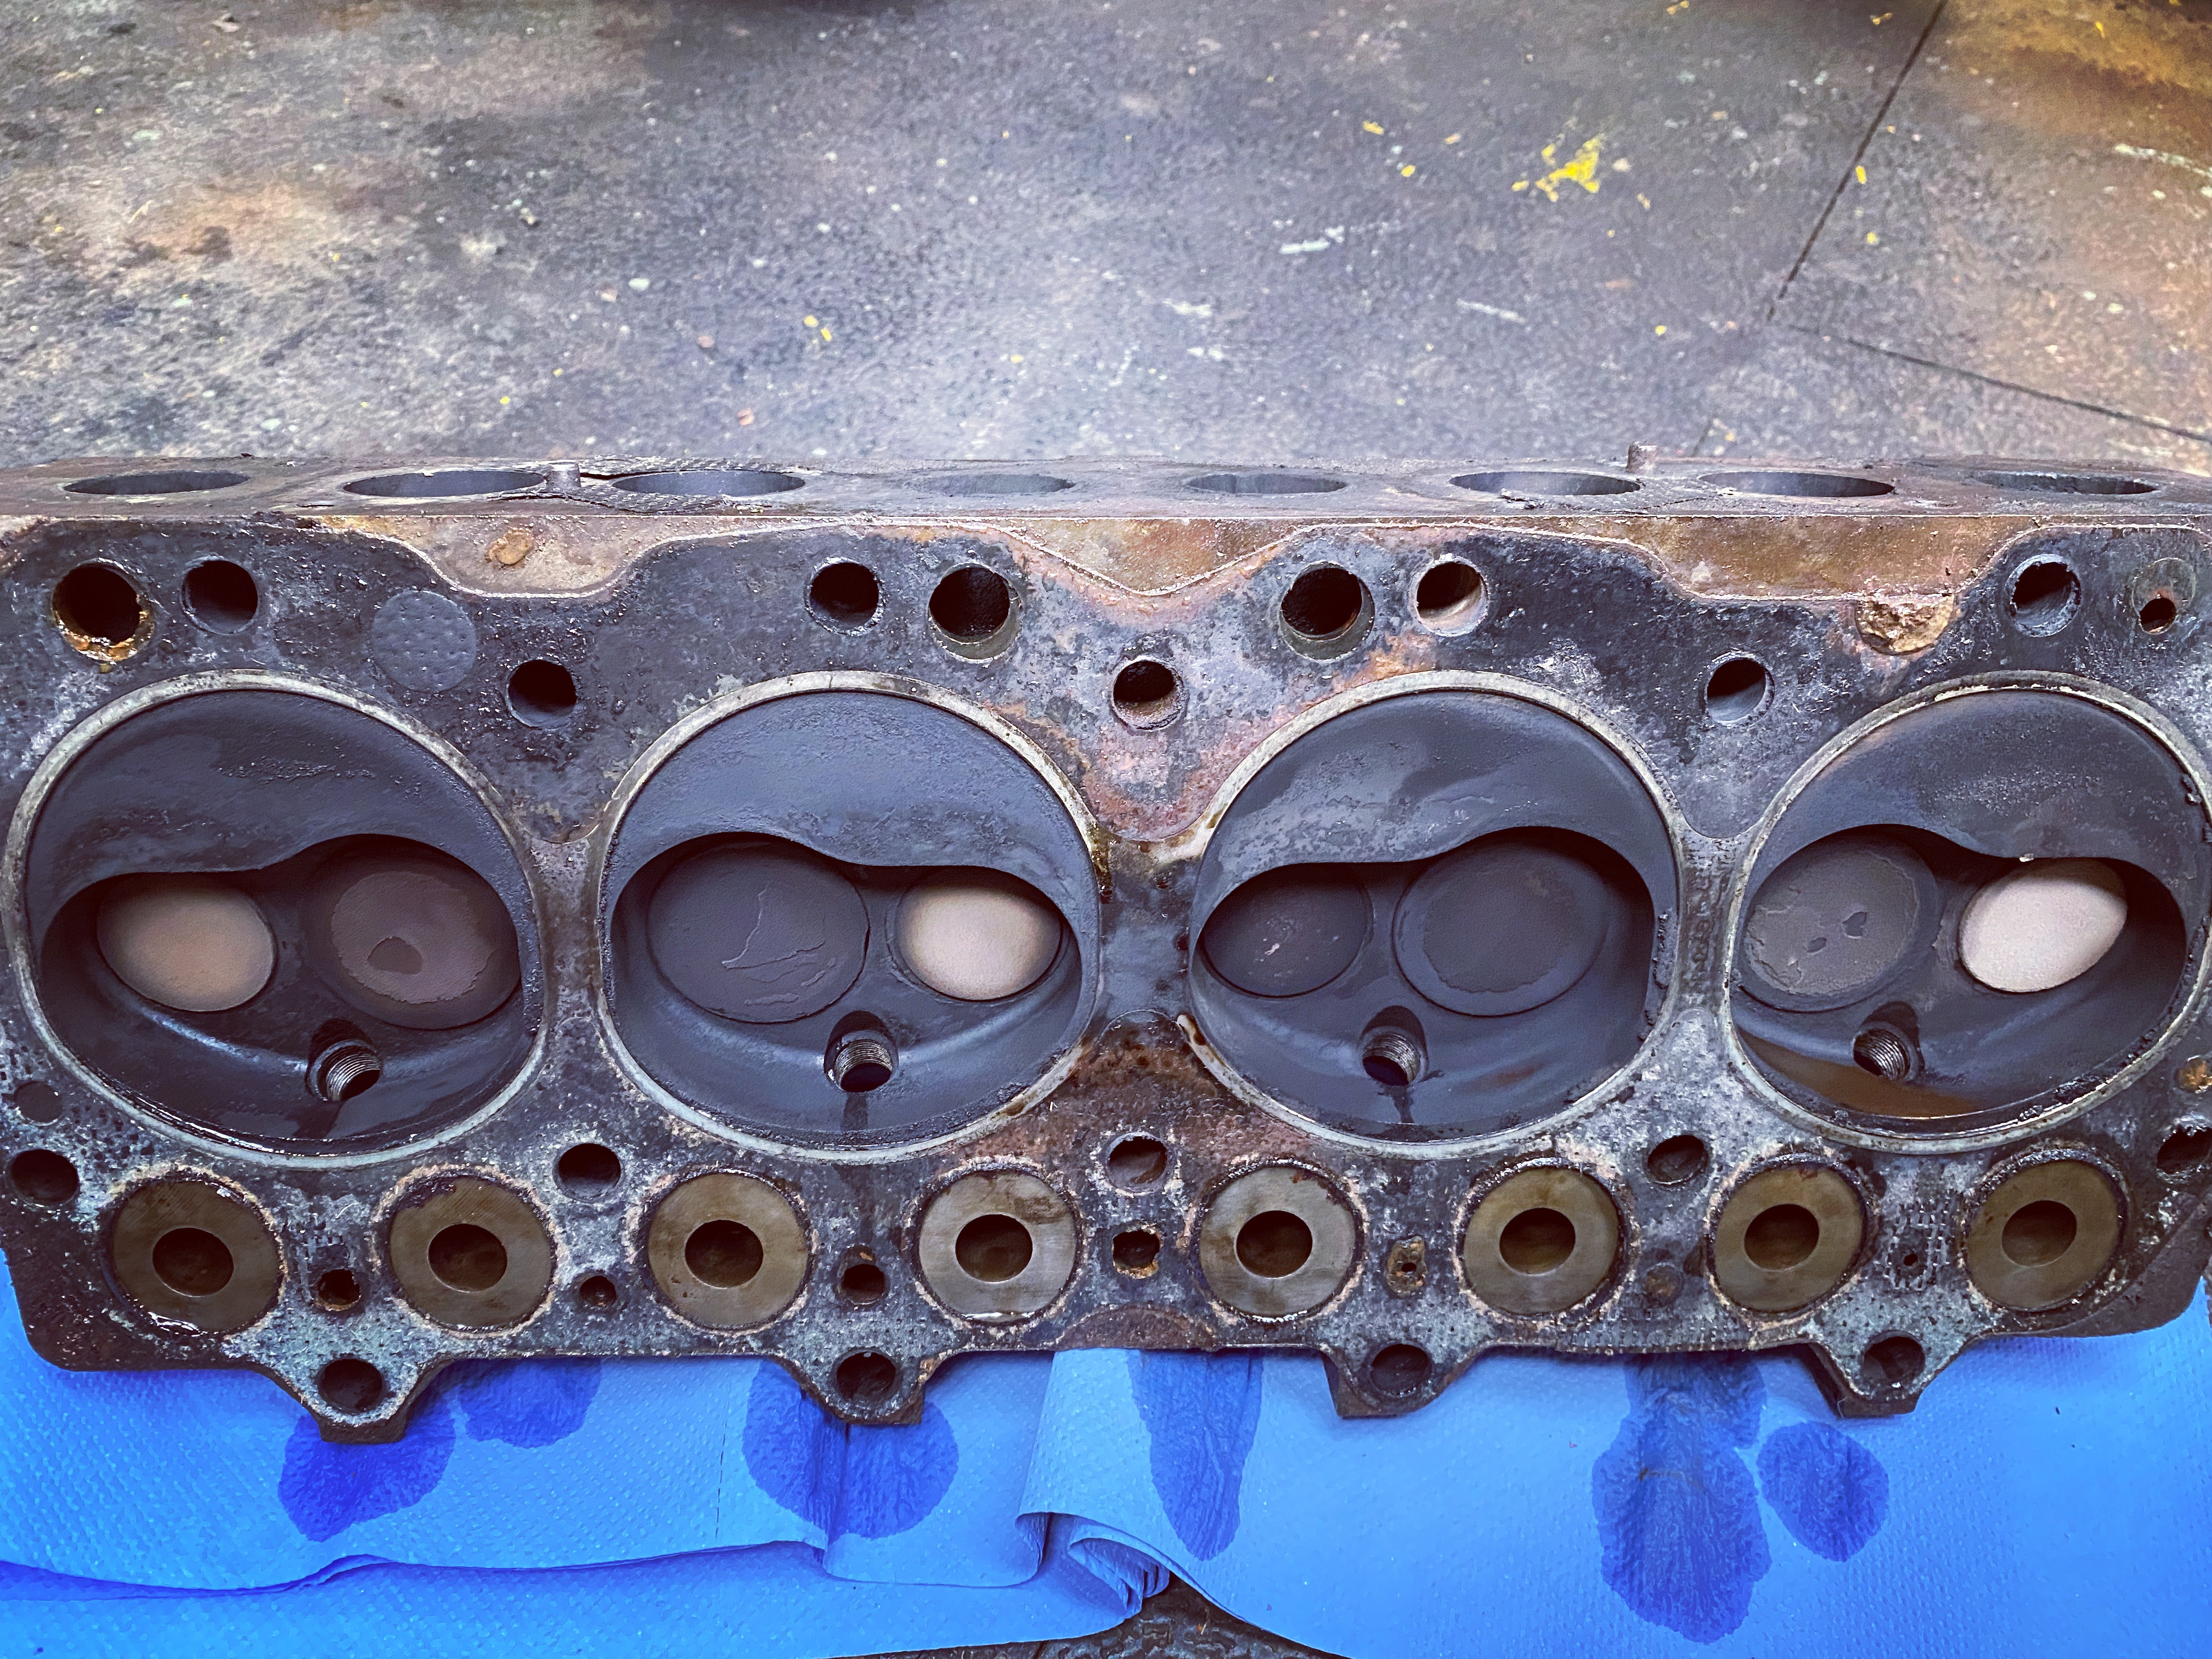
Over to the head and pistons. I thought whilst I was cleaning the block I would go lean the faces of the head and remove the carbon from the valves and pistons.

Head had been doing a bit of carbon capture.

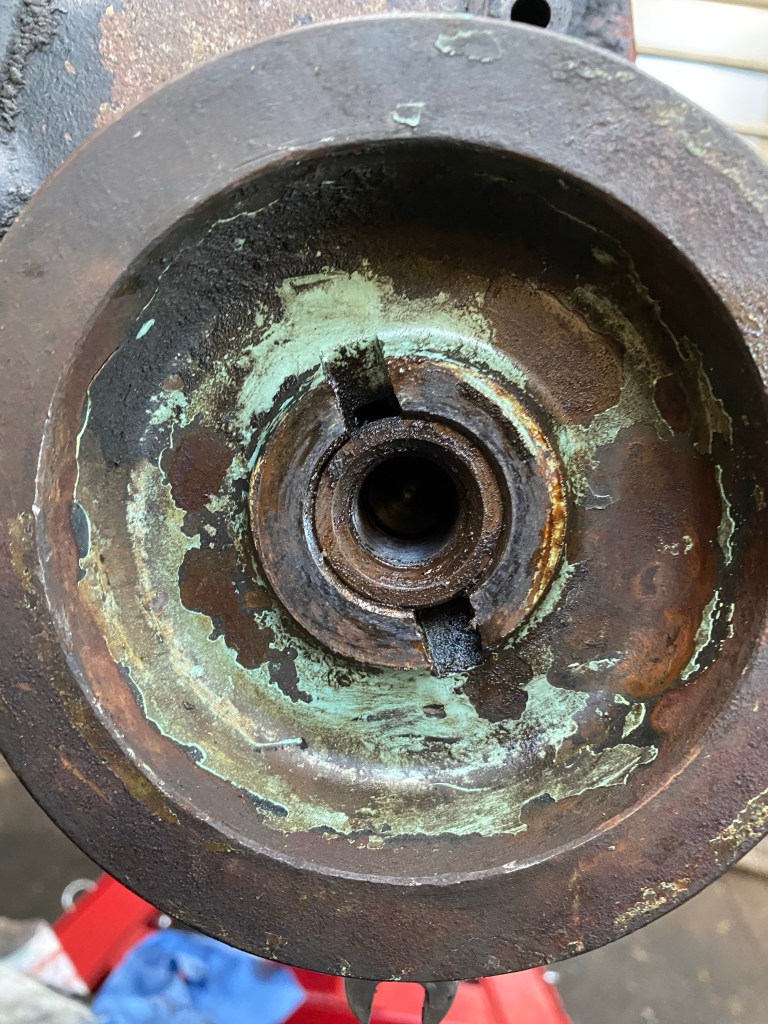
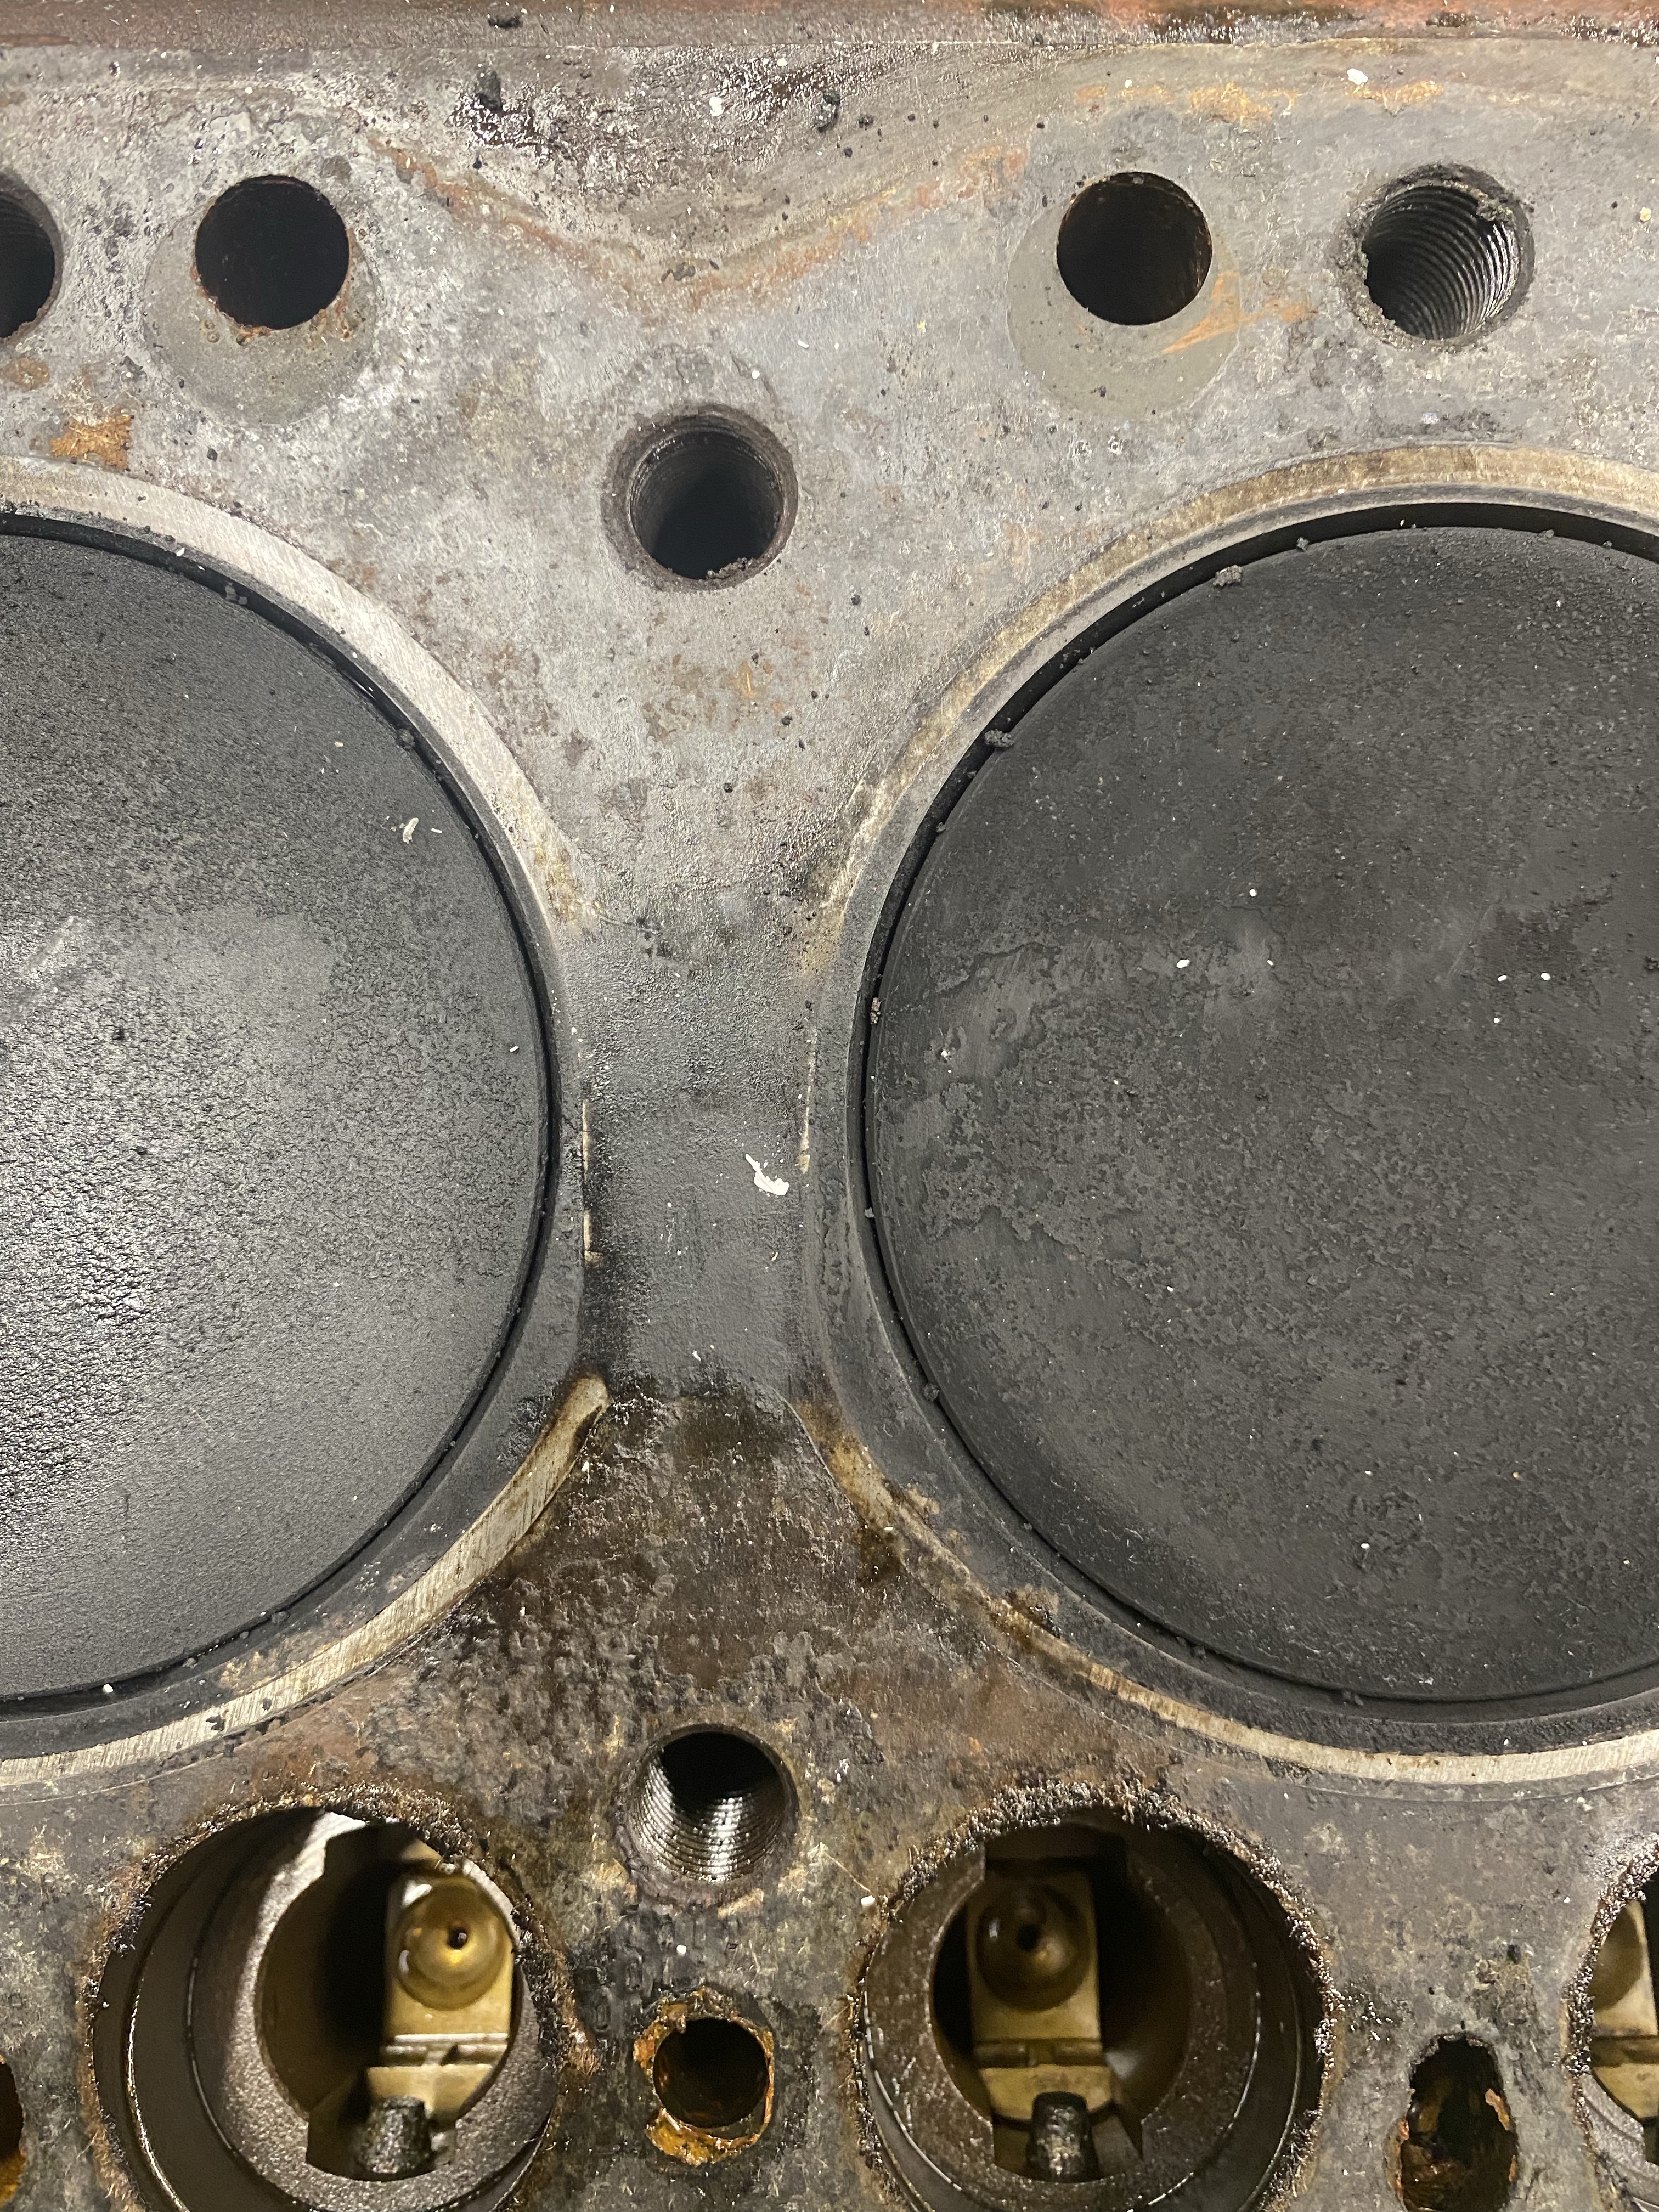
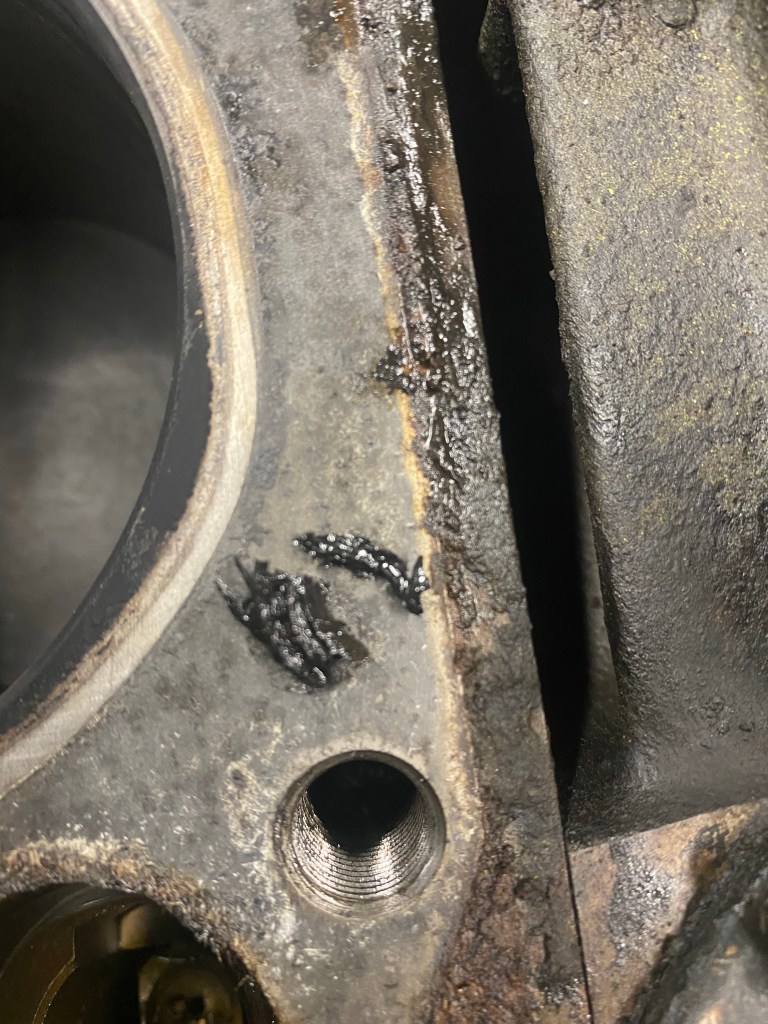
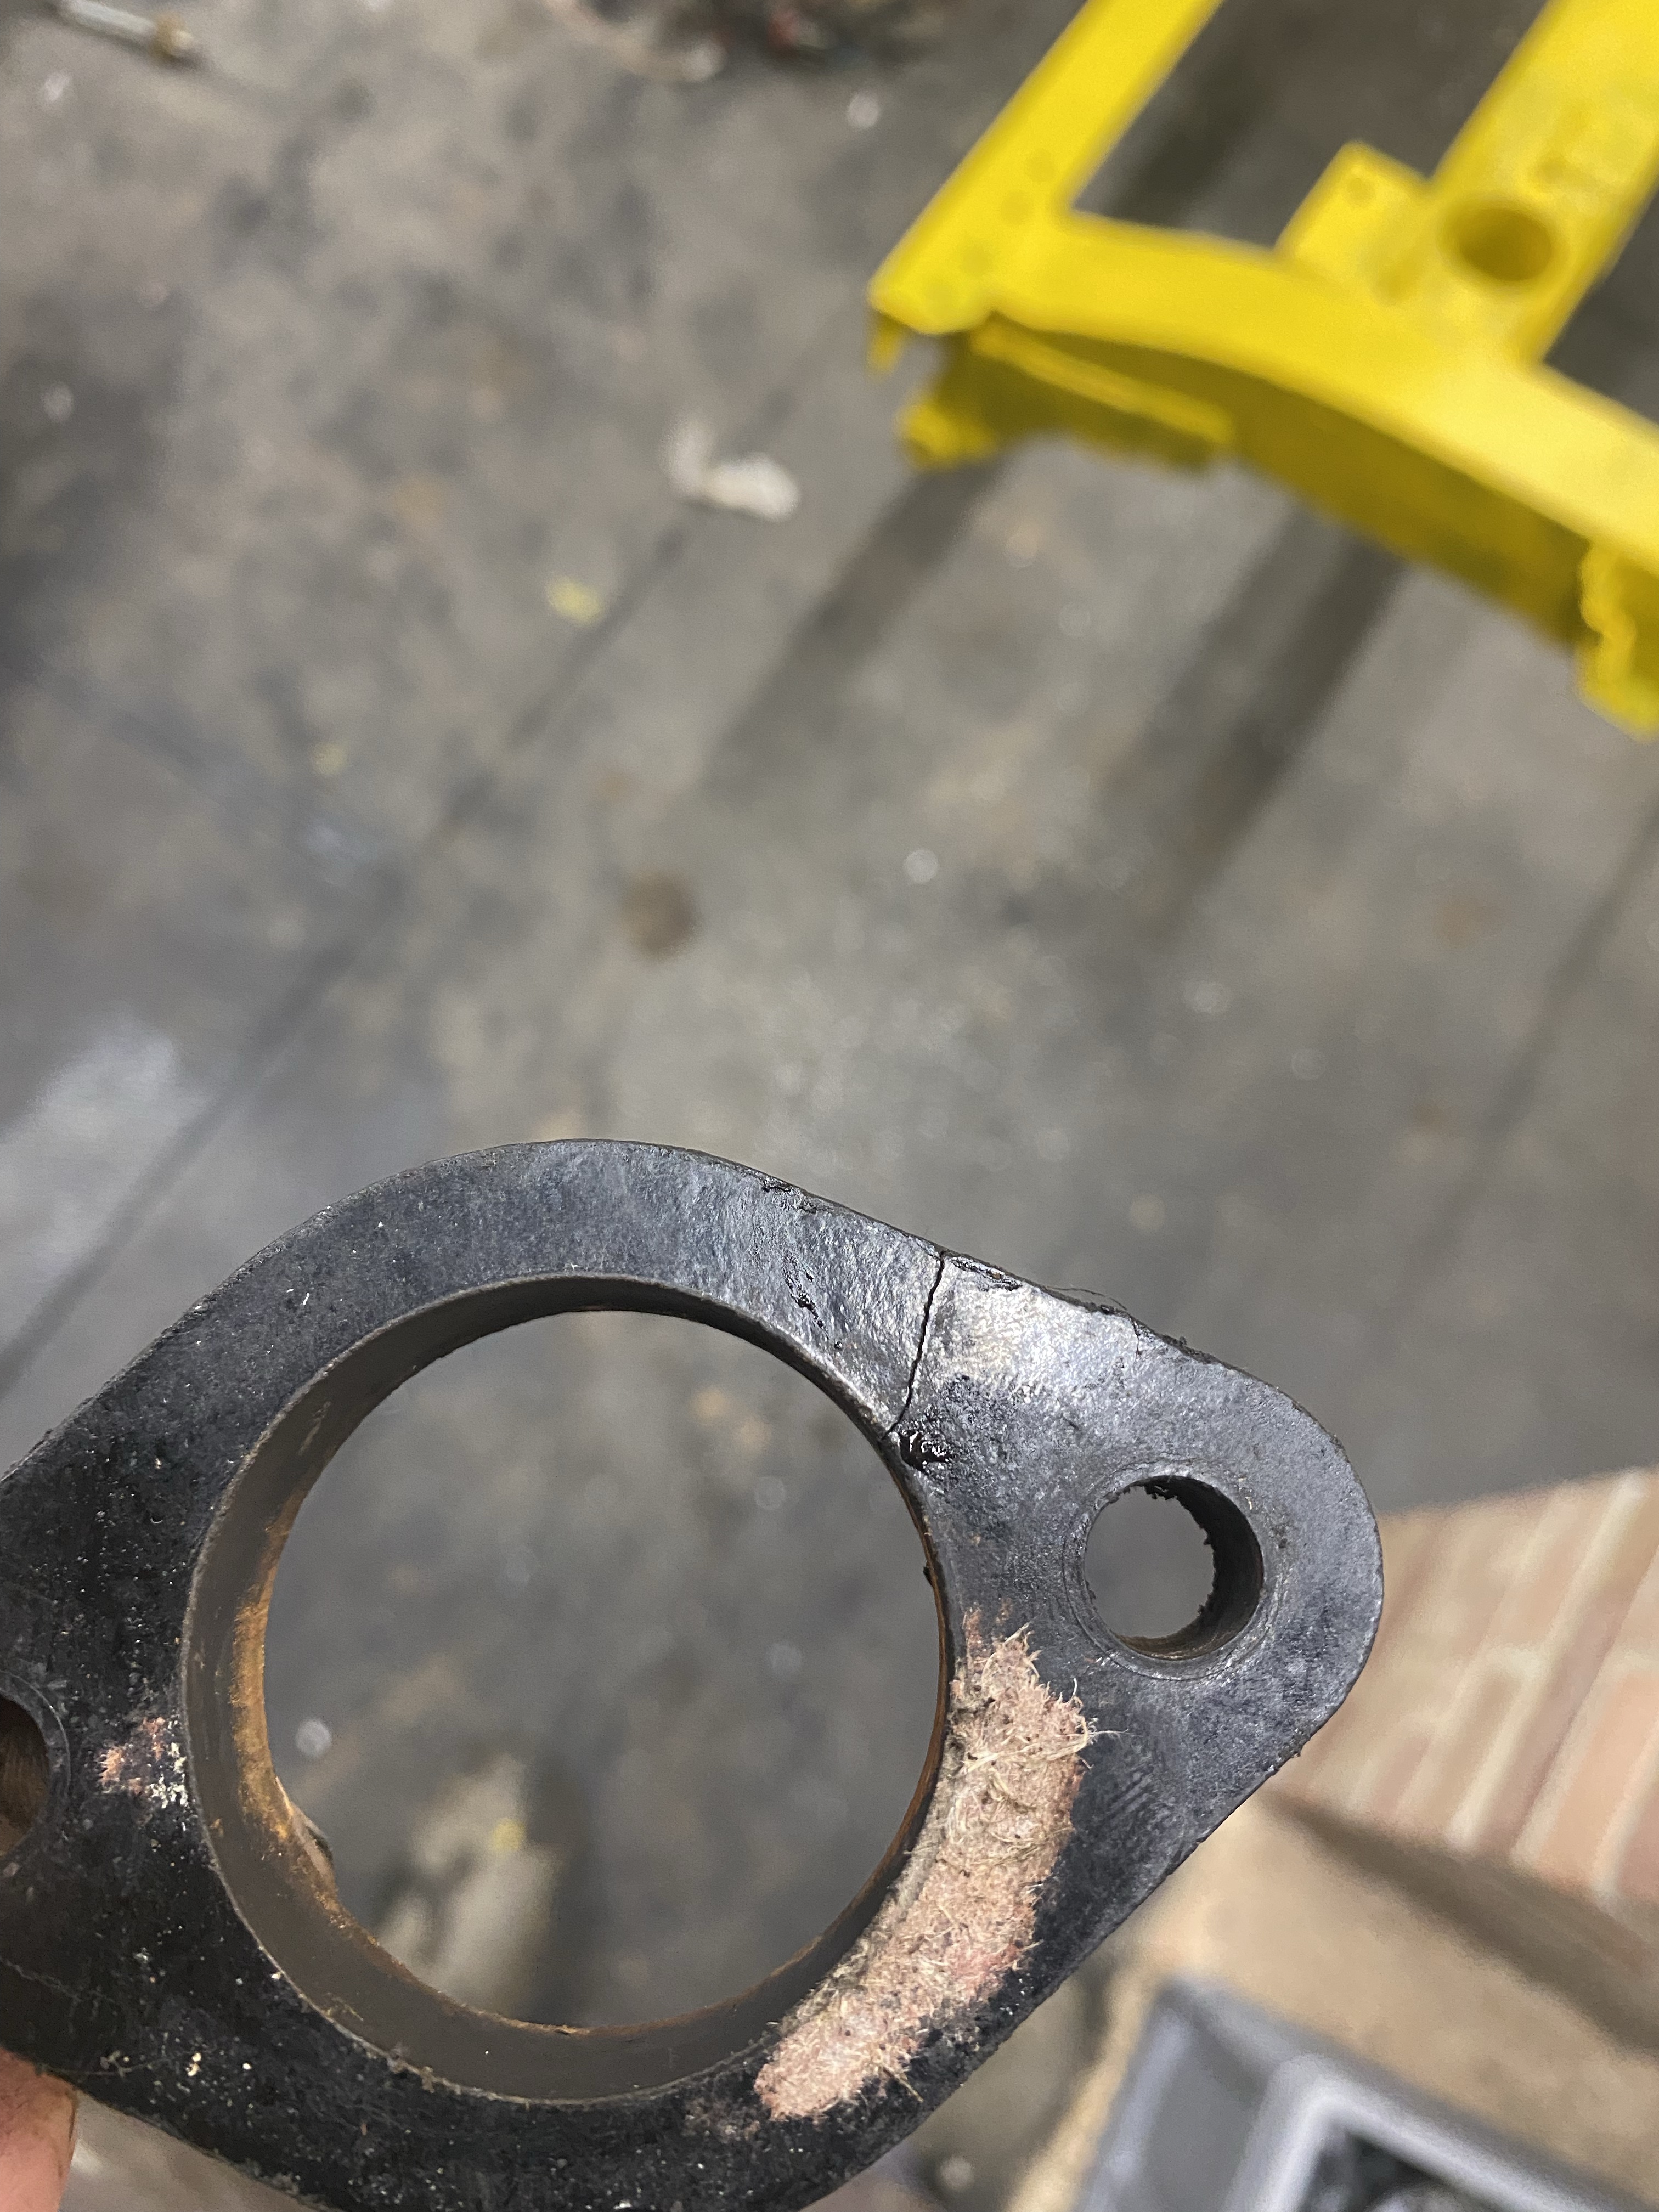
Head looks ok (no obvious cracks between 2 and 3) and given the thick layer of carbon came off the valves I started thinking this may equate to more horses and would it be worth also porting the head. At this point I started cleaning the pistons. Scraping, spraying, scraping and spraying and scrubbing and they were coming up well until ….

Nearly a slice of crown.

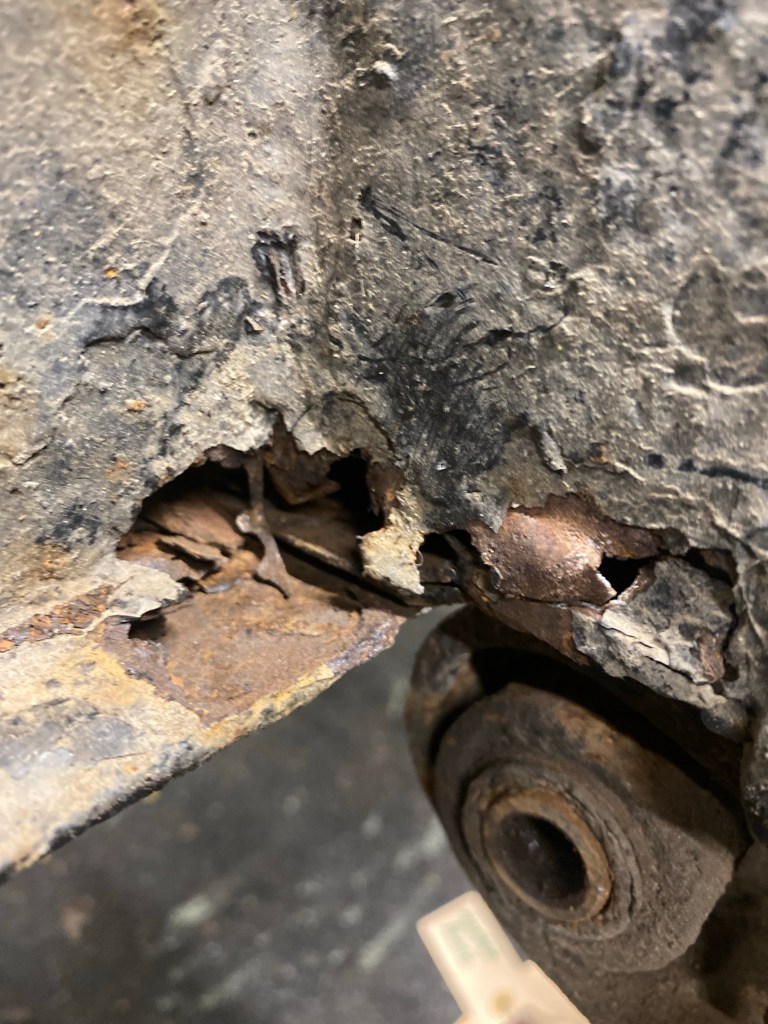
A cracked crown is not a good thing. A broken crown whilst the engine is running is a very bad thing. One has to find silver linings. Now the question is replace just this one or all four? The core plugs are looking cheap now!

Block tackled.

A rather more productive day than yesterday. I decided that the old chassis had to complete its journey and so out came the angle grinder and into smaller pieces went the chassis. If I was in any doubt about the need to replace chassis, I was no more after this.

Chassis chopped the 130 was brought into service as a hearse, taking an ancestor to the promised land (well a tip).

Chassis in need of some welding.

Back to the engine rebuild I set myself the target of getting to a bare block today. First job was to remove the starting dog.

Ready to pull.

The pulley came off easily with a bearing puller, using the starting dog as a base to pull against and to stop the pulley flying off. I did however notice that the pulley has some damage, it looks like a slight dent that has cracked the casting. Maybe a No. 1 persuader was used instead of a No. 2?

.

Not good.

With the pulley off the timing case could be unbolted and pulled free.

TDC on 1.

A bit of fiddling got the chain tensioner out – there is probably an official way but mine also worked. The crank and cam sprockets came away easily along with respective keys. Next out we’re the cam followers, the securing bolts are Loctite secure rather than being drilled and wired.

Following this …
Nearly there.

With the cam shaft retaining plate removed I thought the shaft would slide out. No, bearings won’t clear the oil pump / distributor gear. How is it held in? I turned to the parts book for inspiration.

21 – Screw, Grub. Locating drive shaft.

Now to find where this grub screw was burrowed. Think like Land Rover!

Found it!

Buried under the gasket for the oil filter assembly was the screw, it turned easily and and the pump gear slid out easily. The cam shaft also now slipped out nicely.

Finally.

Time to spin the block over and removed the 5 MB and disconnect the pistons.

The pistons actually came out easily – there was barely a wear ridge – but they do need a bit of TLC. Block now naked save for the cam shaft bearings and core plugs (none of which are leaking) it was time to finish.

All is going to pieces.

Nothing like all hands to the pumps.

I am back to work on 05 KD 28 after a long work trip. Unfortunately I got nowhere near as much done today as I had hoped as the replacement of the P38 catalytic converters took priority and a long time.

With limited time I set about removing the oil pump and water pumps, in readiness for removing starting dog, crank pulley and timing case.

Definitely not rusted in.

No time for timing.

I also took off the two cam cover plates and timing inspection plate. Next job is to get the starting dog off – if I can find the socket ….

Beheading.

I did not have a great deal of time yesterday to do much before I go away for the best part of two weeks, but my curiosity led me to commence work in the engine, partly to ensure it was dry.

Rocker cover and heater tap off I then moved to removing the head. I had suspicions of a HGF, and the engine has been a little sluggish generally so I was keen to see if there were major issues. I cracked the bolts off by hand in the tightening sequence, before spinning them out. Head lifted off it was revealed that cylinders 2 and 3 had been communicating.

Generally it could do with a good clean. There is hardly a wear lip to speak of so a light hone should clean that up. Valves and seat will be lapped. There was some debris in tappet guide No. 1 – so I’ll have to find were that was from if not the gasket.

A mystery at the moment.

Valve stem seal and guides will all be replaced as will the tappets.

Spinning the block over, with bucket to catch last of coolant, oil and sludge, I set about removing the sump. This took a bit of persuasion to remove despite the fact it was leaking. The sump had some sludge in it but not too bad. The oil pump and screen look as good as new.

A good clean awaits.
Nothing needed here.

There won’t be anymore work until November 20th. I’ll get back to the chassis, start the axles (mainly diffs and cosmetics), refurb the springs and crack on with the engine. It’ll be nice to finish some bits!

Pieces of 88.

I think that today marks the end of the strip down and the start of the restoration proper. Yes parts will need to be stripped and rebuilt but that is all part of bringing them back to life. The next phase will be about cleaning and restoring.

On the subject of cleaning I did try to remove most of the accumulated oil and general detritus from the engine before going any further with that particular part of the project.

Not sure this is in the manual.

By no means was this a deep clean but it did make a big difference.

Only a little yellow overspray.

As the chassis was fully detached from the axles all that remained was to remove the loom. This was going well until it stopped going well. The loom stuck solid about half way out. Oh well time to chop the chassis and see if that helps.

I do not believe even the folk of Solihull could install a cable tie mid way in the chassis rail.

The cable tie was clear evidence of the previous work to the chassis. I knew it had new outriggers but once I cut into it I found the extent of the repairs. This was not the only surprise found in the rails.

Maybe someone’s lunch?

I can only imagine the foil was a makeshift heat shield during chassis repairs.

This was expected.

A substantial amount of rust left the chassis as I chopped it into three manageable sections. I did finally get the loom out too. Which revealed more horrors.

Calamity looming?

The section above was rigid from having melted. It may explain some of the odd behaviour of the towing electrics. It could have been due to some welding or it was arcing amongst itself. Either way the loom is toast.

Chassis chopped and moved I turned to removing the springs from the axles. Rears had been off about 10 years ago to be regreased so they weren’t to hard to release. One issue to note though; one U-bolt is short and so nuts only just fully on.

I think they should be the same.

The fronts put up more of a fight. I needed to repeatedly tighten and loosen the nuts with the impact wrench to get them off. They were hot nuts after that!

Is it autumn?

Rebuilding leaf springs is actually quite therapeutic and I will have plenty of time with these. With the springs off the main strip down is complete. 05 KD 28 now has a wheel base of 8.8 inches and a long way to go until back on the road.

Simultaneous differentials.

I may need to drain the oil from the axles before they drain themselves.

Detachment.

I am a bit late with this update on yesterday’s progress – some real life after a day in the workshop!

I was a little late starting as I was waiting on bolts to mount the engine. I did some tidying and then took the manifolds and fuel pump off the block. Before the manifolds came off the carburettor mounts needed to be removed only slightly truly part was removing the inlet manifold spacer and liner. The spacer was cracked already but still took a bit of effort. The liner needed some gentle radial tapping to free.

Manifolds came away easily and I also took the studs out of the block. this gave me a better look at the broken down pipe studs. I am going to drill and tap these and if needed tap them to a slightly bigger size (maybe metric!) and fit modified studs

Some finesse required here.

Removing the fuel pump was straight forward and I did also remove the cam cover bolts on which it is mounted expecting it to come away which it did not. I’ll leave that for now.

Still leaking!

Bolts then arrived and of course they are not correct (I had looked in the book of lies for the thread rather than looking at the bolts) so I moved to Plan B which is probably better although more involved. This required plates to be fabricated to bolt to the block with the original bolts such that M16 bolts could run back into the engine stand tubes which accept an M16 reassuringly snuggly.

With the engine mounted and the gearbox out of the way I could continue detaching the rear axle from the chassis. it was amazing how much rust was rattled free by the impact wrench!

The Emperor’s new rear cross member.

With the spring bolts out, dampers off the chassis was left resting gently on the springs. With the chassis somewhat precariously balanced I naturally concluded that now was the time to try to get the steering relay out.

I must admit that I cheated. It dawned on me that I was going to split the chassis into sections to dispose of it so why not cut the steering relay out. The main aim was not to cut the relay itself! This operation was akin to opening a tin of beans with an angle grinder.

With the relay released from the claws of the corroded chassis I gave it a good wire brush to see what sort of condition it was in.

That’s a keeper.

It’ll be rebuilt with NOS shaft and bushes. Genuine Parts of course.

A spring forward.

Yesterday the catalytic converters were stolen from my P38 and so the first order of my day was to survey that damage and order the parts – installing them will take me away from 05 KD 28 for a couple of hours or so in the next few days.

Not 05 KD 28.

Back to more positive things now.

The front end strip down is now complete save for actually drawing the axle from beneath. Brake lines and junction came away nicely, as did just about everything else surprisingly! The old cooler hose to mount needed persuasion in a vice.

Despite being drenched in oil it was stuck fast.

Engine / gearbox mounts also came out well. These will be replaced of course but interesting to note one of the gearbox mounts had sheared off in the middle of the rubber.

The only other challenge was the offside lower damper mount. The split pin refused to budge so I cut it off and drifted it out with a punch. Dampers off and the front sprang up. There is life in the springs!

Spring in her step.

I then the yes with the idea of splitting the transfer and gear boxes, but this would have required more time than I really had. I had a bit of a look under the various inspection plates to get my bearings ready for the splitting another day.

Maybe another day.

I turned my attention to the engine. Clutch, flywheel, bell housing all came away nicely albeit with a lot of old oil. I am now ready to mount the block onto the stand … oh wait I don’t have the requisite 3/8” x 3” UNF bolts to do that! Fingers crossed they arrive by Saturday.

Now that is a good colour.

I had already decided that the block would be the correct terracotta shade it was when it left the factory but the sight of the original unmolested paint put pay to any doubt.

Whilst the block is here I have also back off the manifold bolts. Not a single one snapped! Phew.

Rearranging the pieces.

As the strip down has progress the floor of my workshop has got more and more cover in mud, fluids, and broken bits of bolts. Time for a tidy up and as this meant getting both chassis out side it was also time to put them into the new places. Old under gantry and new towards the back.

One foot in the grave.

That done I could focus on a few more odds and ends before lift the engine and transmission. Brake pipes, brake manifold, bulkhead supports, and oil filter.

Last but not least, undo bellhousing bolts, and the engine / gearbox mounts and lift the whole lot before splitting on the level. I should mention that two studs came out but that isn’t an issue and one didn’t have a nut on! To be fair it is the one hidden below the clutch slave cylinder, but then again that is just plain lazy.

Next job is to get engine ready to go on stand and split transfer and gear boxes and put them onto the bench. Then the axles can come off – fingers crossed.

Shedding lights.

This is a somewhat delayed commentary on the headlights. At the time it seemed like a rabbit hole and so I parked it until I had time to think about it.

The wiring on the headlights has been past it for sometime and indeed I had had to effect temporary repairs to get it through the last MOT test. When do this I noticed that the lights had a small additional bulb fitting. I didn’t have time to really think about this as I had to get the car to the tester.

Rhymes with city light.

Thoughts of this extra bulb stayed in the back of my mind until the strip down of the lights and me noticing that they are pretty crap even for BL in the 1980s. I can’t believe I had missed the fact that these are ‘AUTOPAL’.

Not my friend.

Before even checking the brand I did reach the conclusion that the military probably didn’t spec city lights for these vehicles. Even the most profligate and incompetent MOD procurement chap would realise that it was not the done thing to leave the side lights on and require a little extra glow from the headlamps when parking up in a combat theatre. Although I do have an image of a man with a pipe saying ‘Don’t want those damned tanks taking off our wing mirrors old chap’ somewhere in Whitehall.

Now I get why someone would have replaced the headlamps – H4 bulbs are somewhat easier to get hold of than prefocus – but seriously why not Lucas or Wipac? Needless to say they are being replaced. I’ll take a picture when they arrive but let’s be clear; I didn’t spend the 1,500 quid that a pair is on eBay for!

In other news I wrote a supplier an actual paper letter today and I liked it!!

The clocks went back, the clocks came out.

After a wind induced break (not that kind) I was back at it. The steering column was going to come out now.

Nice to see under the oil.

A couple of bolts seemed to hold the box to the bulkhead bracket and a couple more hold the bracket to the main chassis / bulkhead bracket. Taking out the first two left the box still sitting snugly. The last two rendered it free wether by vibration or otherwise. The backer on the bulkhead was slightly less forgiving but only one bolt snapped.

Not sure these are factory specification. They may be a line worker’s fudge.
Intact at least.

The accelerator linkages and hand throttle all came out nicely and so did the various earths, wire clips and brake line mounts. This was the start of a very tedious phase. Lots and lots of little bolts and then the electrics.

05 KD 28 has FA to the power of -0.5 electrics but not there are a lots of wires. It is however possible to workout what they all do. I have absolutely no idea what the electrickery in a modern car looks like and have no desire to find out. I am not going to bore you with the notes and pictures I took of the wiring, but suffice to say it took a long time to back engineer the loom as is (not what it will be and for which diagrams are available). Here are some of the delights I found.

Hmmm ?
One of the many colour changes.
One of the many damaged wires.

The cold start switch has a broken terminal which may explain why there is no bulb in the warning light, but apart from this I can see a new loom sorting a number of issues and preventing a fire – noting that the wiring is about the only flammable (or at least meltable) non-fuel thing in 05 KD 28.

The last step was feeding the loom out of the bulk head. A careful process even though it is scrap.

This is what success looks like.

Now only six bolts stood between me and reaching my goal. Surprisingly no dramas to speak of, some interest in the spacers, but most importantly no serious trouble in the bulkhead. The bolts are a little waisted.

They didn’t snap at least.

Objective reached; a rolling chassis albeit with engine and boxes in place.