This is actually work over two days but Boxing Day socialising meant that yesterday’s work didn’t merit a post.
The head is nearly ready for reassembly but first it needed the valve seats recut to ensure they the chamfer is concentric with the new valve guides. The head has hardened seats already so this was a light cut until the entire surface was bright.
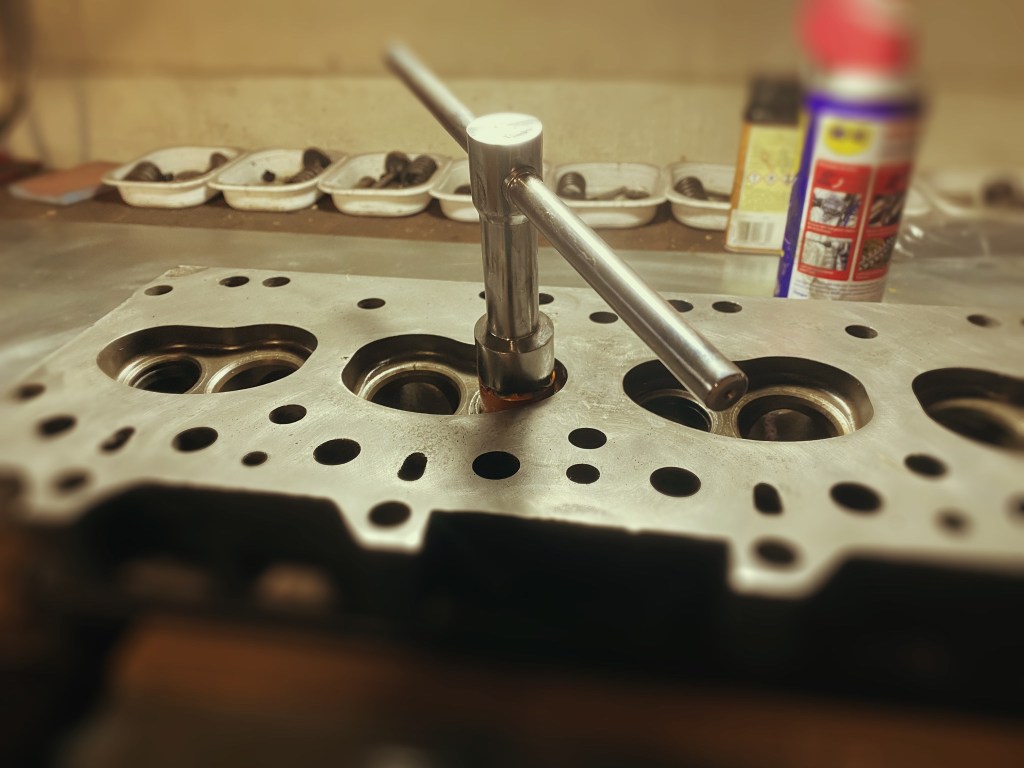
With the seats cut I set about selecting which new valve went with with guide best. This was a bit of trial and error to see which ones were closest. Interestingly one of the exhaust valves was a bit larger than the others (fractions of tho) but they all had their favourite guides. It is also interesting to think of all the tolerances that add up to give the clearance between guide and head.

I used an adjustable hand ream on the guides and opened the holes out until you could sense clearance and the passed a spin test, and a drop test – the valve should spin but not for long and should slowly fall into the guide. I had tried measuring but the error on measurement of hole was too much so I resorted to ‘feel’.
After reaming and cleaning the head (again) I knocked in the new core plugs each with a smear of Hylomar Red. They went in easily, but with reassuring resistance. I had run some scotch brite around the apertures first and used sockets as drifts although it was easier to set them off with a nylon dead blow hammer.
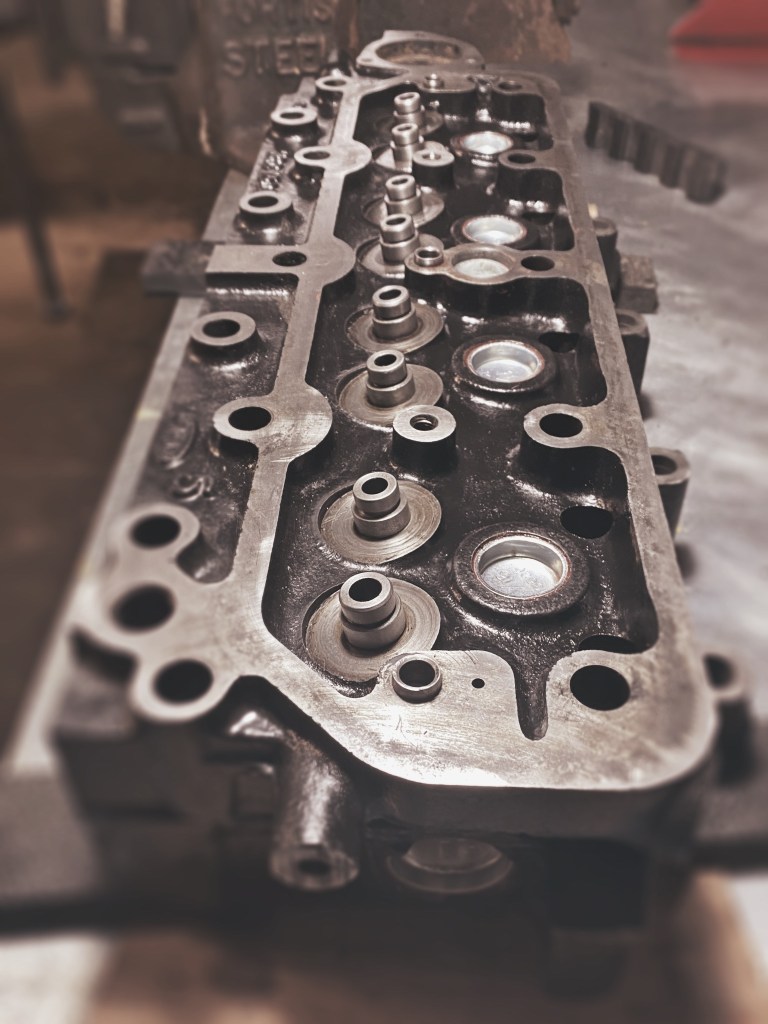
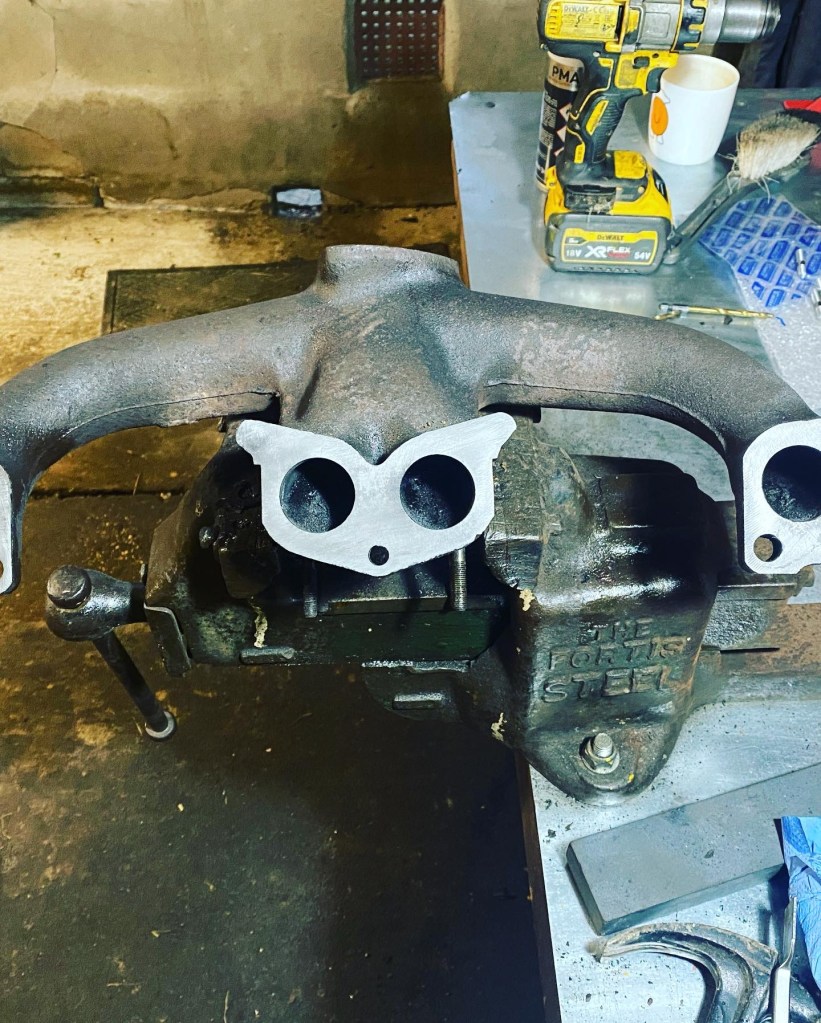
After staring at the head for most of the day, I wrapped it up in an oiled cloth and moved onto the exhaust manifold. Well it will bolt to the head.
One of the three studs between the manifold and down pipe had been replaced by a bolt before, one stud had snapped when taking the down pipe off, and I had to cut the third.
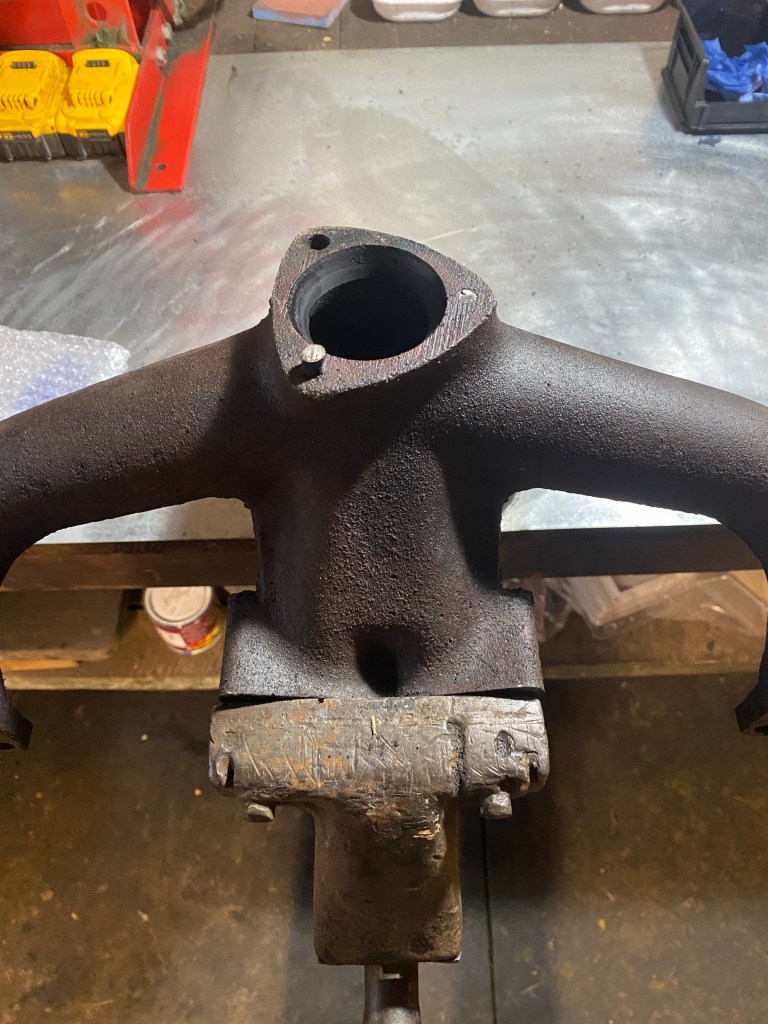
Step one was to cut the protruding stud flat and generally flatten the flange. I then progressively drilled out the remnants before tapping to 5/16 UNF to take the proper studs.
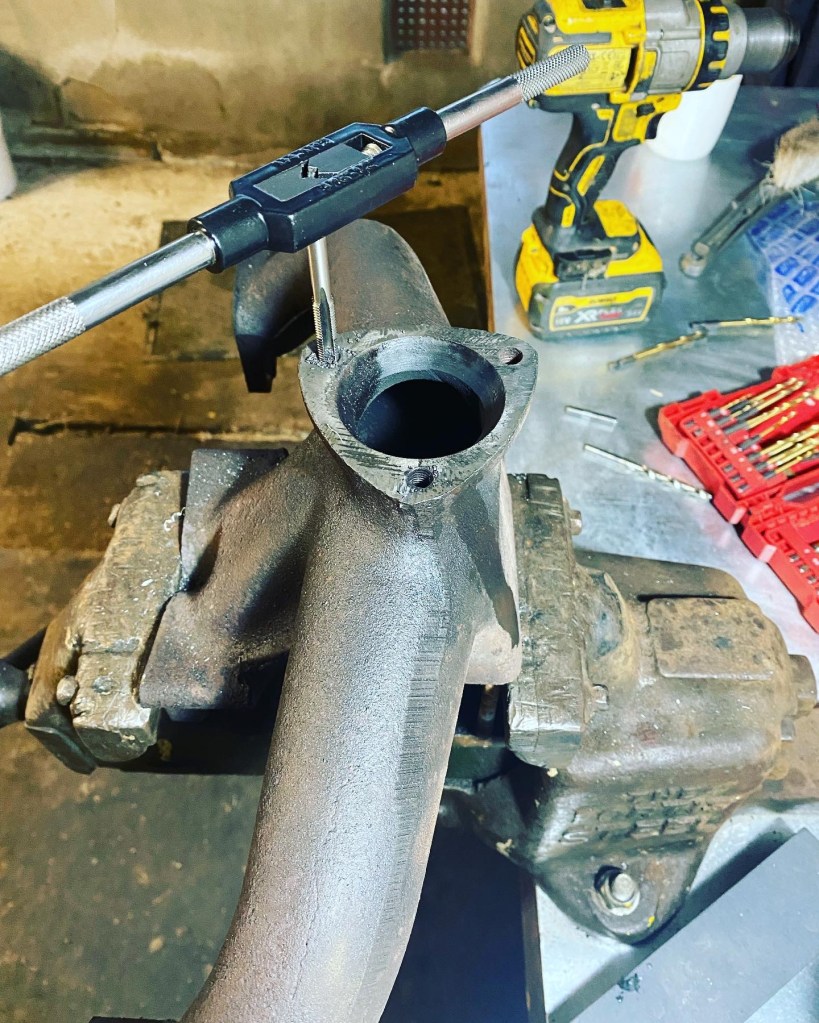
The third, previously drilled one, still has a little thread in it so I am going to pin a stud in it and fix with JB Weld Extreme Heat. The pin is to resist twist.
After prepping the three stud holes I cleaned up the flange faces by having to chisel off some gasket and then file them flat.
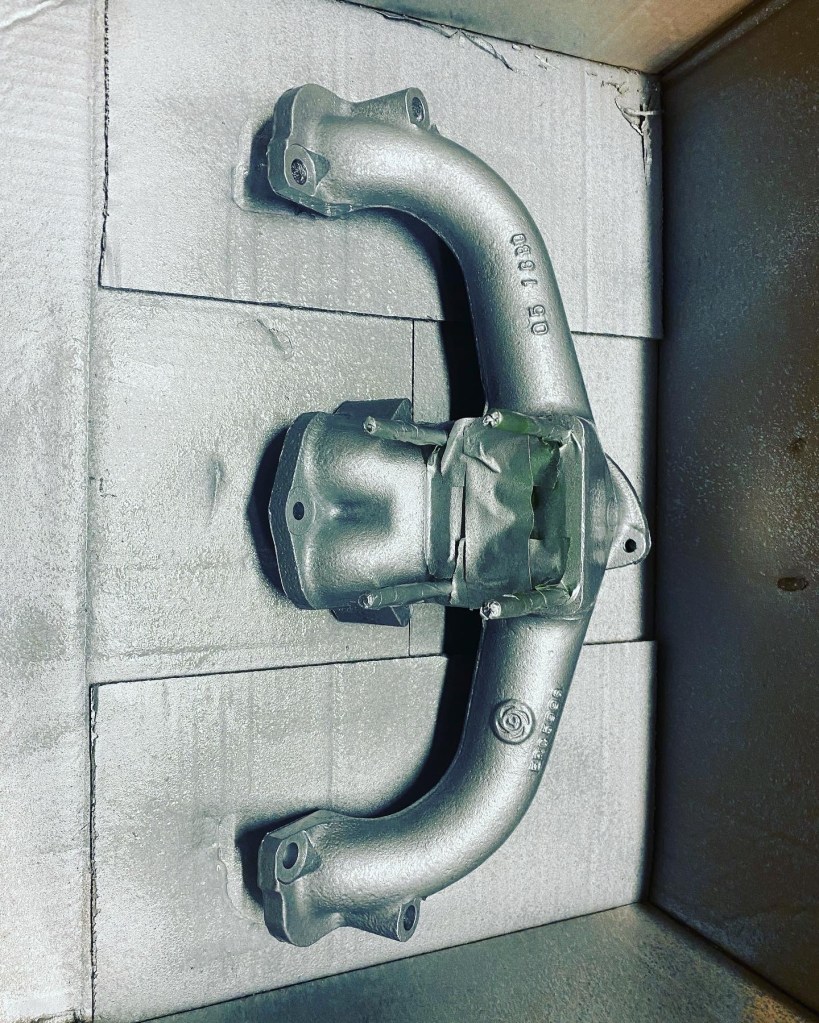
I than gave the manifold a though wire brushing, decoke and decrease before spraying it with VHT aluminium coloured paint. It will soon go back to original cast appearance but this keeps it cleaner for the build.
Tomorrow I’ll lap the valves to the seats and sim to reassemble springs, and tappets. I might even get the block moving forward too!
